Grab a Relic artillery from A Realm Reborn !
With Final Fantasy XIV : Endwalker now in its post - halt capacity , some players are eager to complete their in - game aggregation with some of the A Realm Reborn relic weapon . The Realm Reborn souvenir artillery are also known asZodiakweapons and are unlocked via the Relic Reborn repeatable questline .
The Relic Reborn questline is the master quest for unlock the Zodiac Relic Weapons . Each of the original ten socio-economic class has a questline and a Relic Weapon associated with it . Here ’s how to you start and fill in this long and complicated questline :

FFXIV A Relic Reborn Questline Guide
First step, find Gerolt
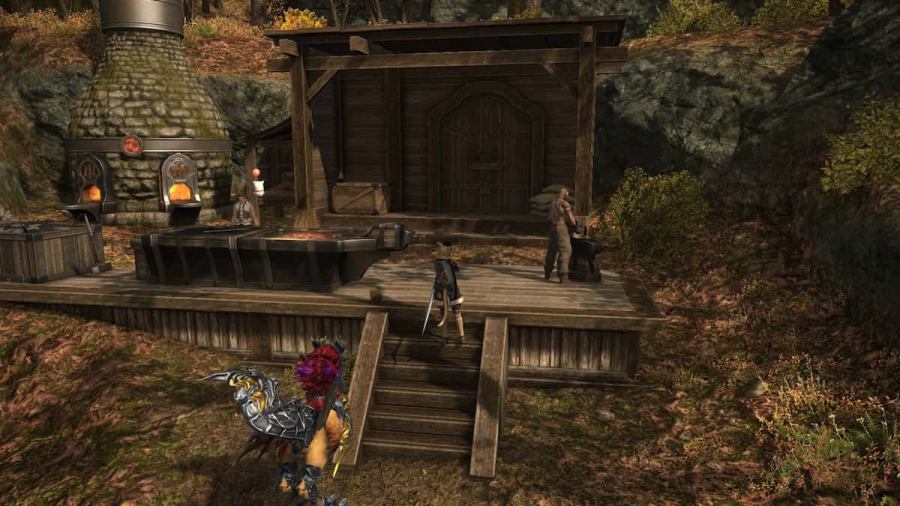
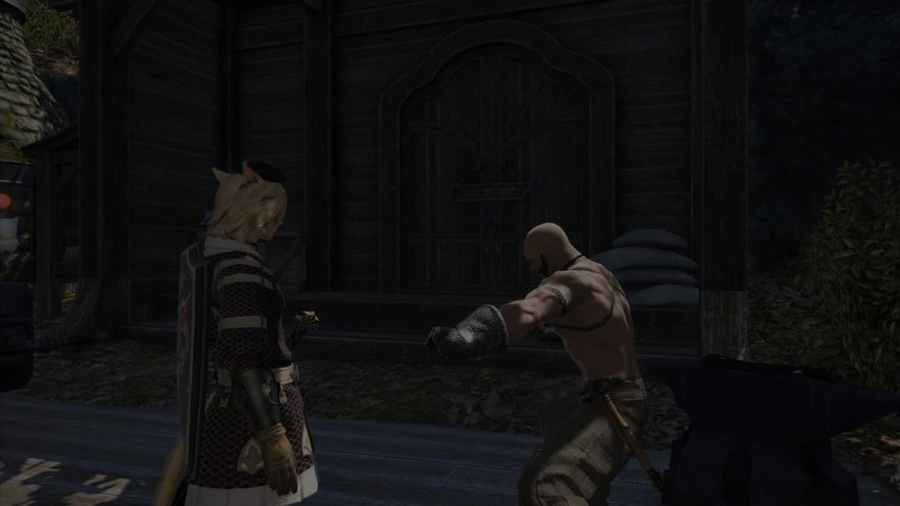
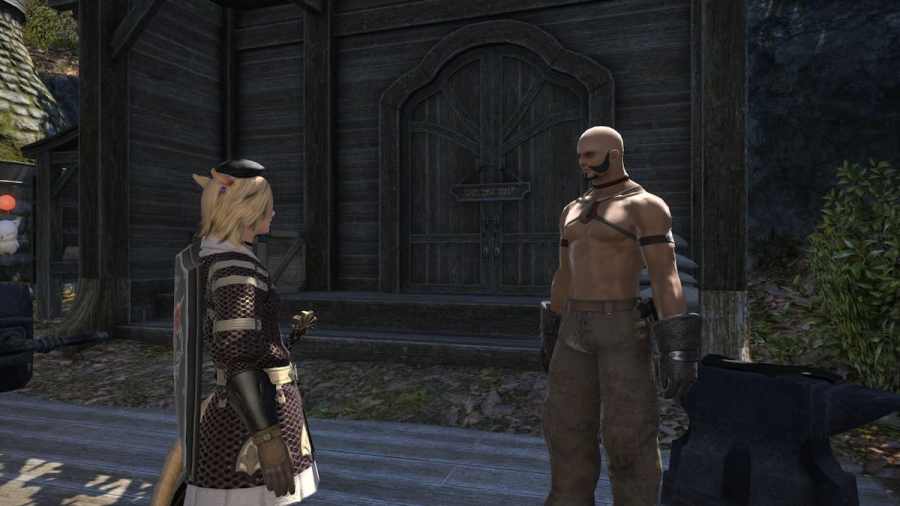
The first part of the Relic Reborn quest is to actually unlock the immense questline by findingGerolt , the fabled smith who is able to craft Relic Weapons . start out atVesper Bay , Western Thanalan(X : 12 , Y : 14 ) , you ’ll involve to complete the Weaponsmith of Legend quest to incur Gerolt ’s hiding stead deep in the Gridanian wild .
Related : Best Zodiac Weapons in Final Fantasy XIV Online
Relic Reborn, Part One
Once you ’ve unlocked the Relic Reborn quest , your first chore is to turn up the break quest weapon from one of theBeastmen Strongholds . This is entirely dependent on your specific line , but it is usually in a eminent - level area with beast tribe mobs around degree 45 to 50 . Once retrieved , give back to Gerolt .
Relic Reborn, Part Two
It ’s metre for some melding . Purchase or craft the course of study weapon(this usually command getting the material from a donjon ) , then sequester two materials to it . The seeking details which materia to attach . you may skip a lot of the work from this stage by having the Johnny Cash and buying it off the marketplace and getting aMateria Melder NPCto do the melding for you .
Relic Reborn, Part Three
Now comes the first fun engagement of the Relic grind . You ’ll have to complete theA Relic Reborn : The Chimeratrial with your new weapon equipped . These run can sometimes have a long waiting line fourth dimension , so stay patient ! Once completed , you should have theAlumina Saltsitem , so it ’s onto the next whole step .
Relic Reborn, Part Four
This step is about gathering materials . You ’ll go on a bit of a fetch pursuance to getRadz - at - Han Quenching Oil , Thavnairian Mist , and finish the dungeonAmdapor Keep , which brings you to the worst part of the questline .
Relic Reborn, Part Five - The Grind
This is the grindy part of the missionary station ; it ’s time to pop a big number of specific enemies . Each will be specific to your Relic quest and form , so make up aid to the quest markers . This used to be a quite a little longer , so be happy you ’re only killing two or three XII enemies instead of the hundreds from the past times .
Relic Reborn, Part Six
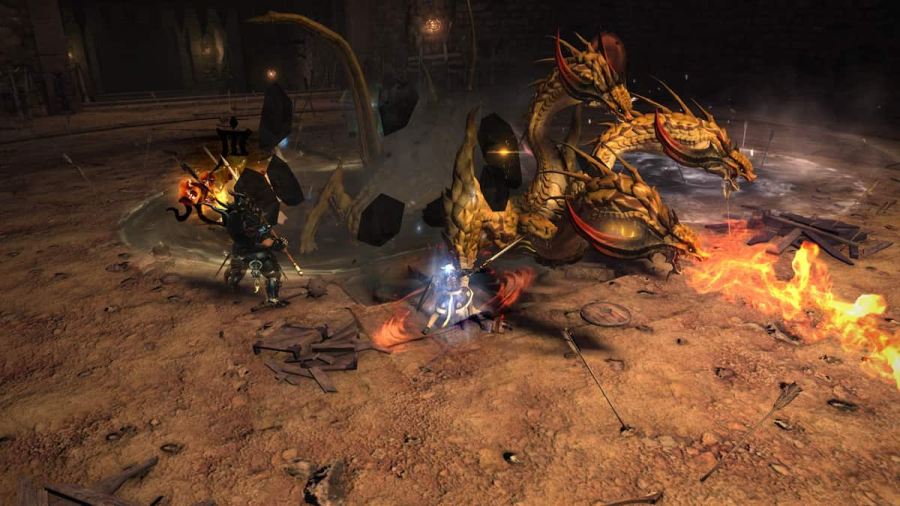
We ’re now at another fun part : killing the Hydra . You need another item to deteriorate from this , so queue up fit out with your bare Relic weapon forA Relic Reborn : The Hydra . Once complete , give your arm off to Gerolt and get quick to kill some Primals !
Relic Reborn, Part Seven
Le’ts start with some Primal competitiveness ! The first Primal you defend is Ifrit . Use the responsibility viewfinder to inscribe theBowl of Embers ( Hard)to defeat Ifrit . Once he ’s defeated , you ’ll obtain theWhite - blistering Ember . Once you ’ve defeat Ifrit , leaving the example will automatically give you the item , and you’re able to move on to the next stage of the quest .
Relic Reborn, Part Eight
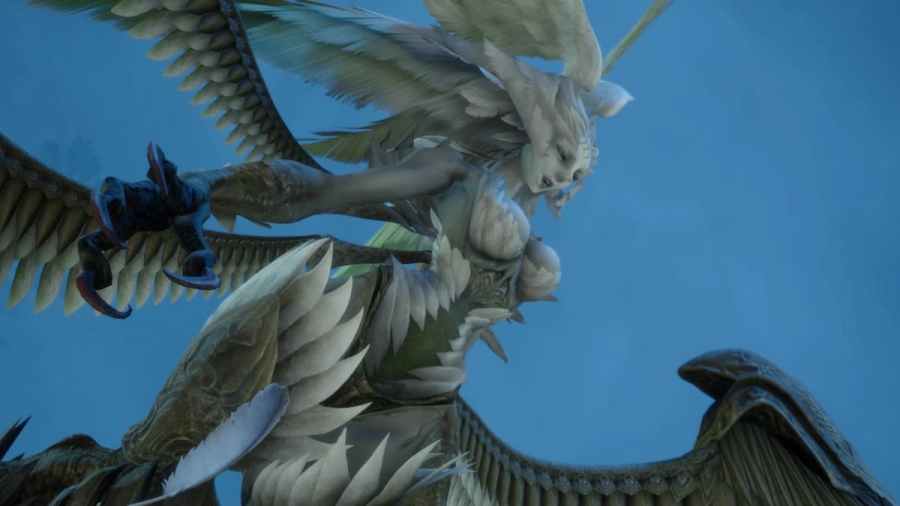
Next , you ’re fightingGaruda in Howling Eye ( Hard ) . This is for theHowling Galeitem . Again , like with Ifrit , once the conflict is over , you ’ll mechanically be given the token upon leaving the instances , and the next part of the pursuit will begin . Garuda can be one of the slower fights to pop if you ’re queue up in the Duty Finder , so be patient with this one — it can take a while .
Relic Reborn, Part Nine
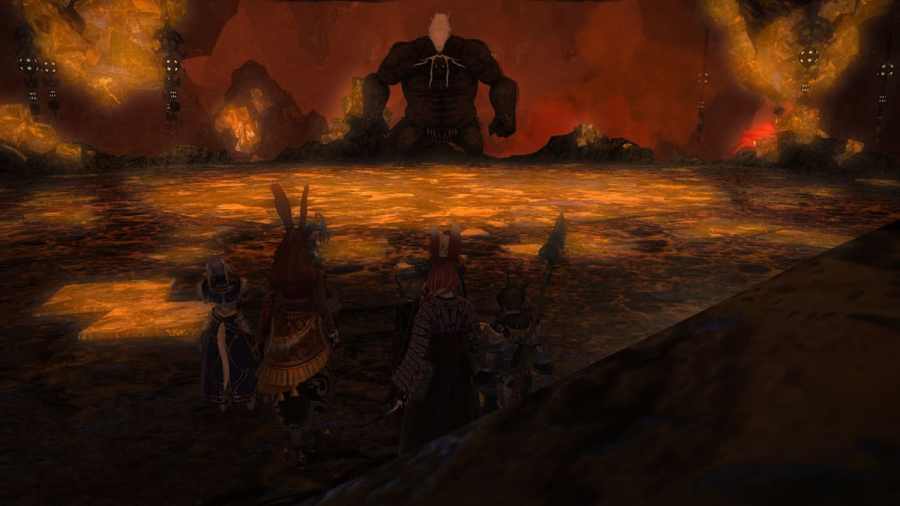
Almost done ! The final item you postulate is theHyperfused Ore. You ’ll obtain this from completingThe Navel ( Hard)and defeating Titan . Like the last three fighting , once you leave the case , you ’ll automatically be give the item . Head back to Gerolt and move onto the final stage of the Relic Reborn quest .
Related : Final Fantasy XIV Butterfinger Collab : Can you still get the Chocorpokkur Mount ?
Relic Reborn, Part Ten
Last step ! It ’s time to grind some Allagan Tomestones of Poetics . You ’ll ask the Radz - at - Han Quenching Oil fromAuriana(X : 22.7 , Y : 6.7)in Mor Dhona . And you ’re finally done ! clock time to look up to your blade - unexampled Zodiac weapon !
For more Relic data in Final Fantasy XIV , check outWhen does the Final Fantasy XIV : Endwalker Relic Weapon pursuit release?on Pro Game Guides .