The Temple Where guts flow Like Tearsis a Genshin encroachment World Quest inThe Dirge of Bilqis quest chain . Once you accede the Temple of Gurabad , you need to resolve three like puzzler that affect opening the logic gate , activating gadget , exploring the area , and returning to the main room .
Below is a elaborate walkthrough on how to solve the entire puzzle segment in the World Quest . Since all three teaser are similar to each other , we ’ll walk you through the first part in detail and sharpen on new mechanics for the next two function . If you ’re midway , cite the Table of Contents below to find the section you ’re count for .
Genshin Impact The Temple Where Sand Flows Like Tears puzzle walkthrough
Wehighly recommend turning on the pursuit mark / quest navigation(the blue diamond that shows you the way ) as it will make navigation in the hush-hush maze so much easier .
Open the gate (1/3)
For this section , flex on your seeking navigator , which willpoint to the Sand Pileyou call for to murder . Then attack the nearby Rune Mechanism until theblue balance beam is facing the Sand Pile , dispersing it and bring out a mechanism . Interactwith the mechanism to unfold the logic gate and enter to proceed .
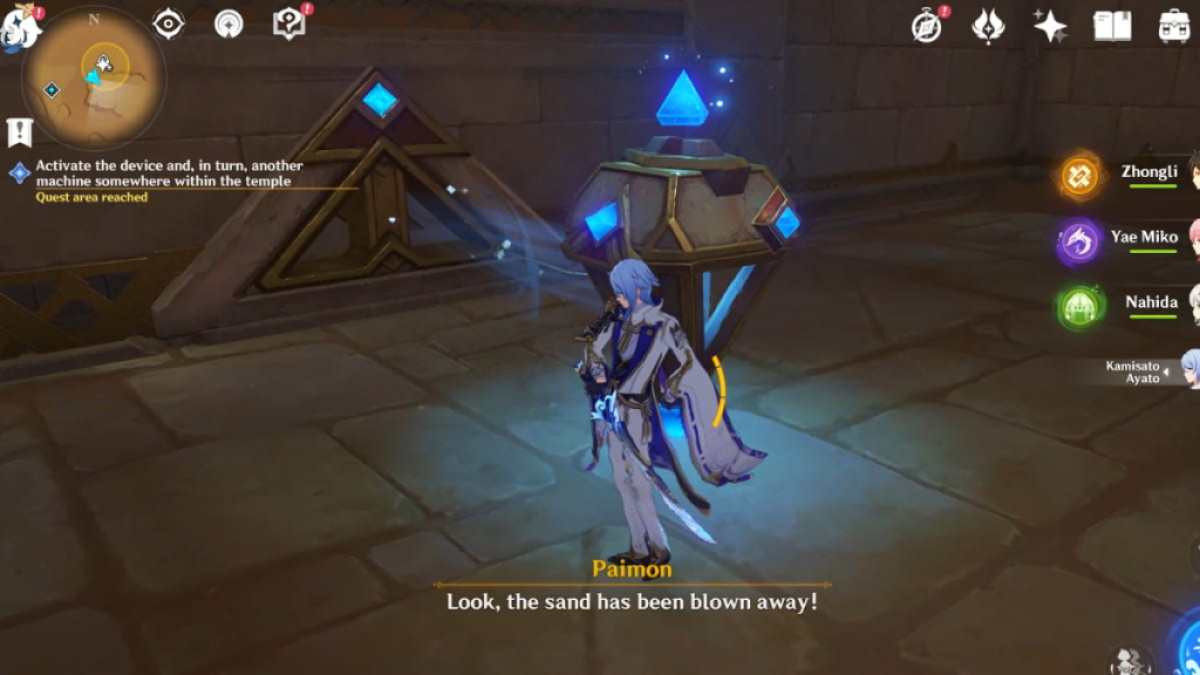
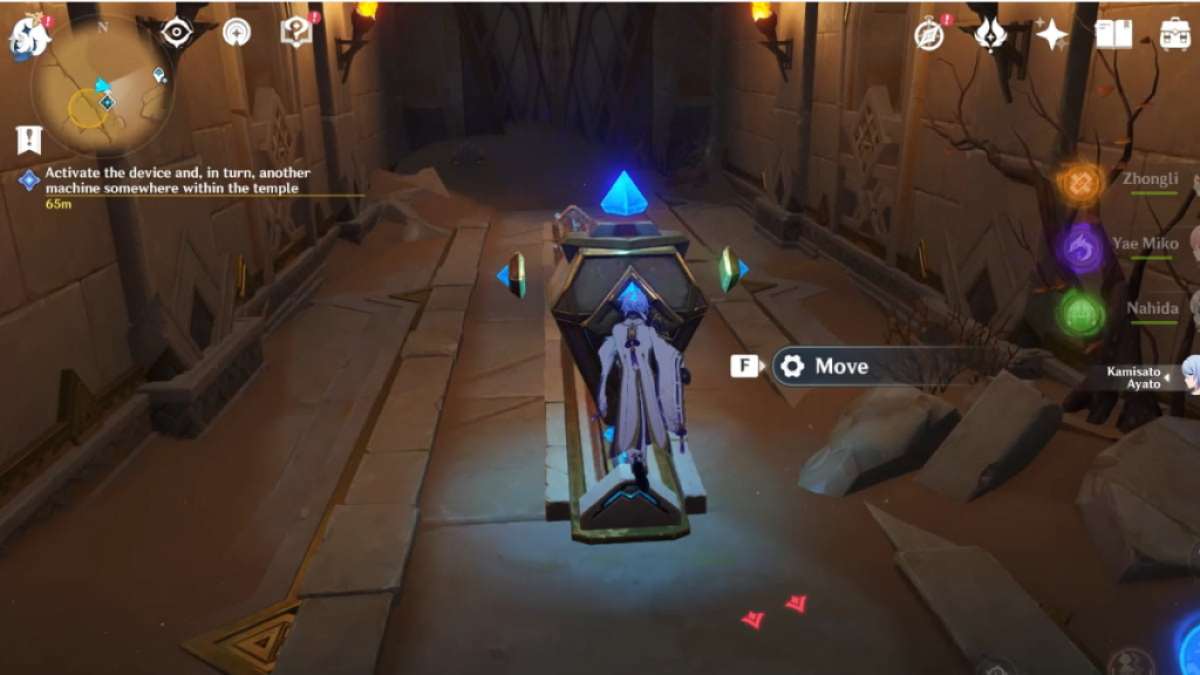
Activate the device and, in turn, another machine somewhere within the temple (1/3)
Upon entering the room , you ’ll find an optional Rune Mechanism and Sand Pile puzzle , which will honor you with a Common Chest . Since it ’s not necessary for this quest , you could ignore it if you prefer . go on with interacting with themechanism beside the doorto open it .
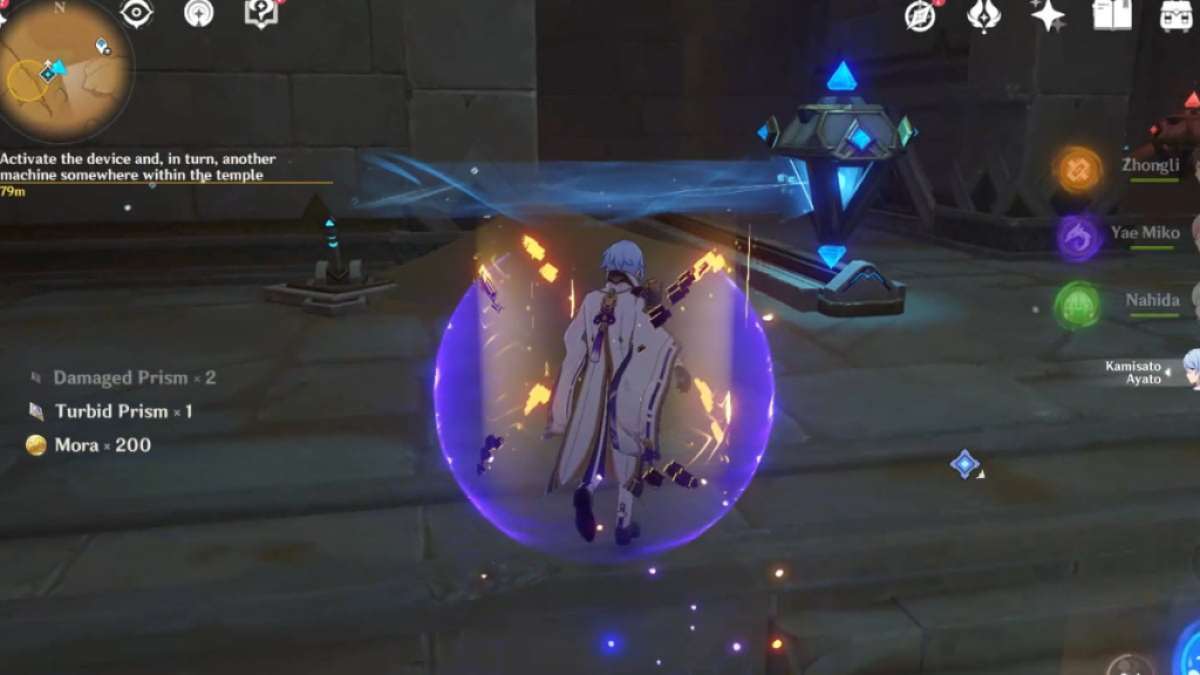
First , you need to discover a room to unblock the track for the dispirited beam to cross to the other room . lash out the Rune Mechanism until the low-spirited ray isfacing the Sand Pileon the right , dispersing it and revealing a lever . Interact with the lever tumbler toopenthe hatch on the pyramid - shaped window on the left field .
Attack the Rune chemical mechanism again until the spicy beam isfacing the pyramid - shaped windowon the left . Since it ’s now open , the beam will be capable to disperse backbone in the other room .

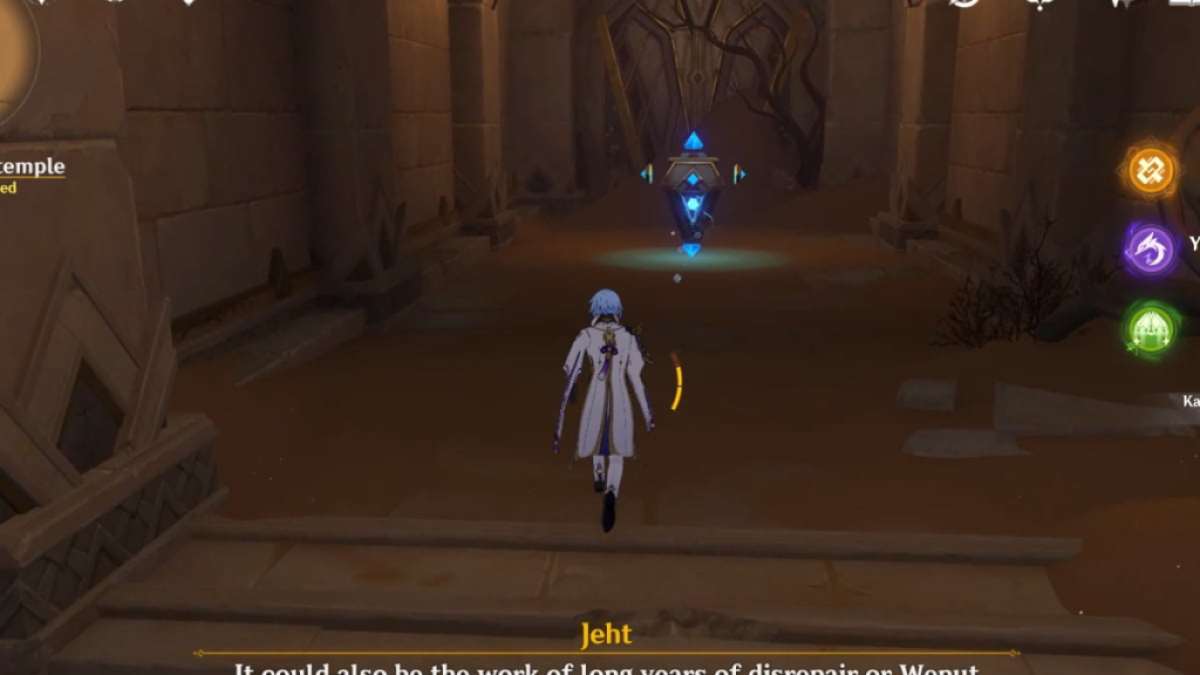
Go back to the entranceway of the way with the two statues . This meter , turn left-hand . you may ignore the other puzzles as they are n’t related to the pursuance . or else , you could directly interact with the mechanics in front of the door to open it .
Enter the way and disregard the locked mechanism . Turn decently , where you ’ll find the equipment in a brightly - illume space . Interact with thedeviceto cue a small cutscene and unlock the other mechanics outside .
Related : Where to farm Desiccated Shell , Sturdy Shell , & Marked Shell in Genshin Impact
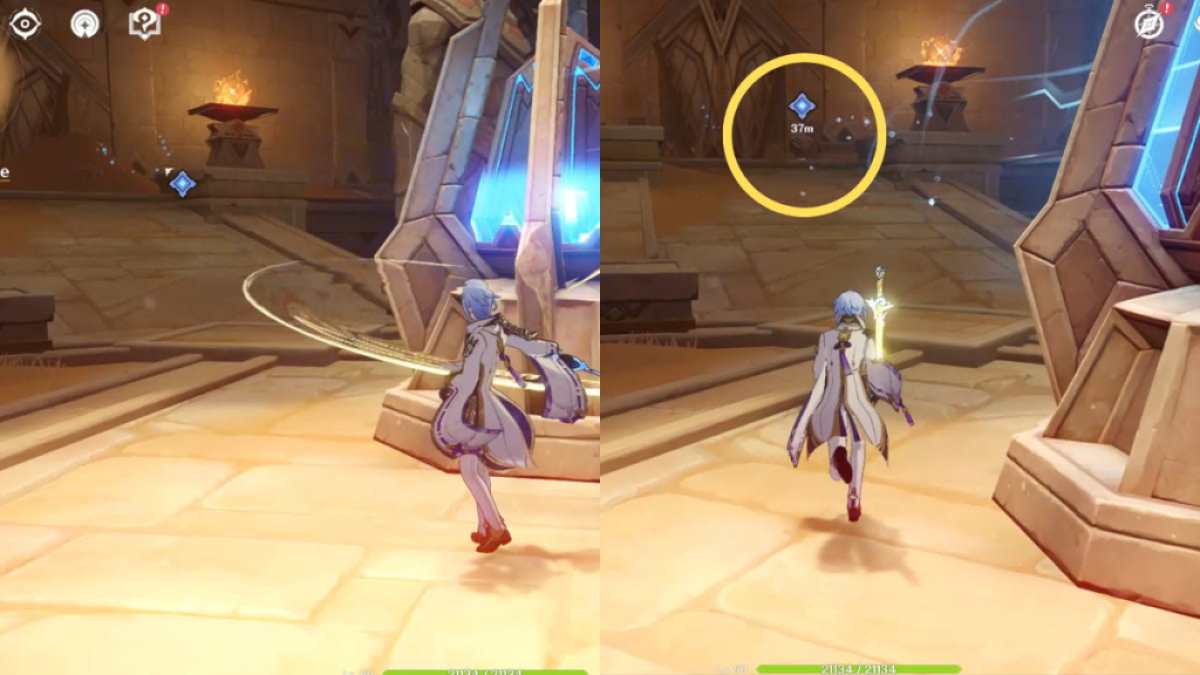
Image by Pro Game Guides
Look for another exit (1/3)
Simply go out of the elbow room and interact with the now - unlocked mechanism to open up the door . Upon go in , you ’ll happen another Rune Mechanism and Sand Pile puzzle . assail the Rune Mechanism until theblue beam is face the Sand Pile , revealing a mechanism beside the doorway . Interact with it to unlock the door and proceed forward .
Search the temple (1/3)
You ’ll find yourself in a room with a broken floor . flex on yourquest navigationto make this part so much easier ! A glowing smudge will come along so simply glide toward it at the bottom of the volcanic crater , where the piddle level is high .
From here , keep following the quest navigator . cite the image above to help you ride out on raceway . Your end is to reach the glowing spot beside the Primal Constructs . you’re able to also defeat them to unlock the Chest , but it ’s optional .
Keep following the itinerary until you hit the Rune Mechanism and Sand Pile puzzle in front of the room access . Attack the Rune Mechanism until theblue shaft is facing the Sand Pile , revealing a chemical mechanism . Interact with it to get to the door , completing this segment .
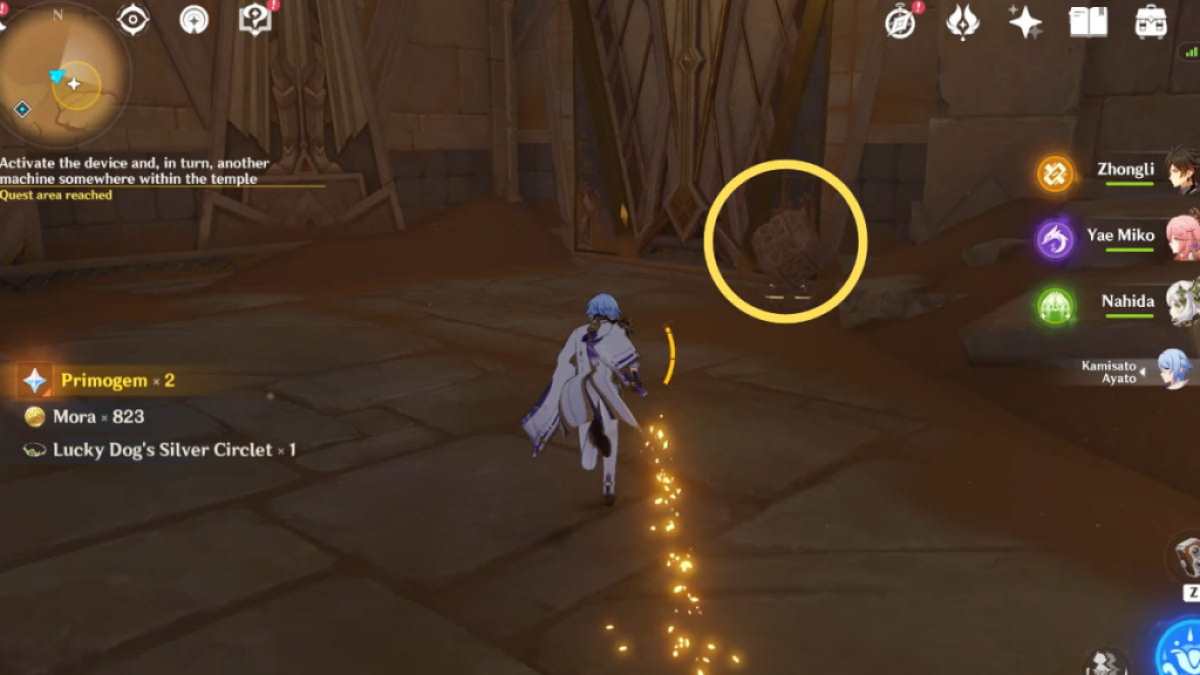
Image by Pro Game Guides
Find the activated machine (1/3)
A lot of the machines in the room look the same , so follow the quest navigator to find the right one . Approach it to prompt duologue with the political party .
Scatter dust around the sealing machine (1/3)
Attack the machine once or until theblue beam is facing the giant pyramidat the essence of the way , break up the sand and completing the section .
Open the gate (2/3)
Similar to the first instance , reverse on yourquest navigatorto figure out the next room you need to work on . Then attack the with child mechanism directly in front of the room until theblue beam is pointing to the Sand Pile , revealing a mechanics beside the door . Interact with it to open up the room access and proceed .
Activate the device and, in turn, another machine somewhere within the temple (2/3)
There ’s a new crotchet to Rune Mechanisms — they can now move at command . Movethe Rune Mechanism until it ’s closer to the wall , then attack it until theblue beam is present the Sand Pile . The Sand Pile will break up and reveal a chemical mechanism , which you must interact with to launch the room access .
You ’ll find another puzzle inside the new room , but it ’s optional . Interact with the mechanism beside the room access to give it and move frontwards with the quest . Do n’t draw a blank to unlock the hidden Teleport Waypoint .
This way is formatted similarly to the one before . You need to start from theright sidefirst as well .
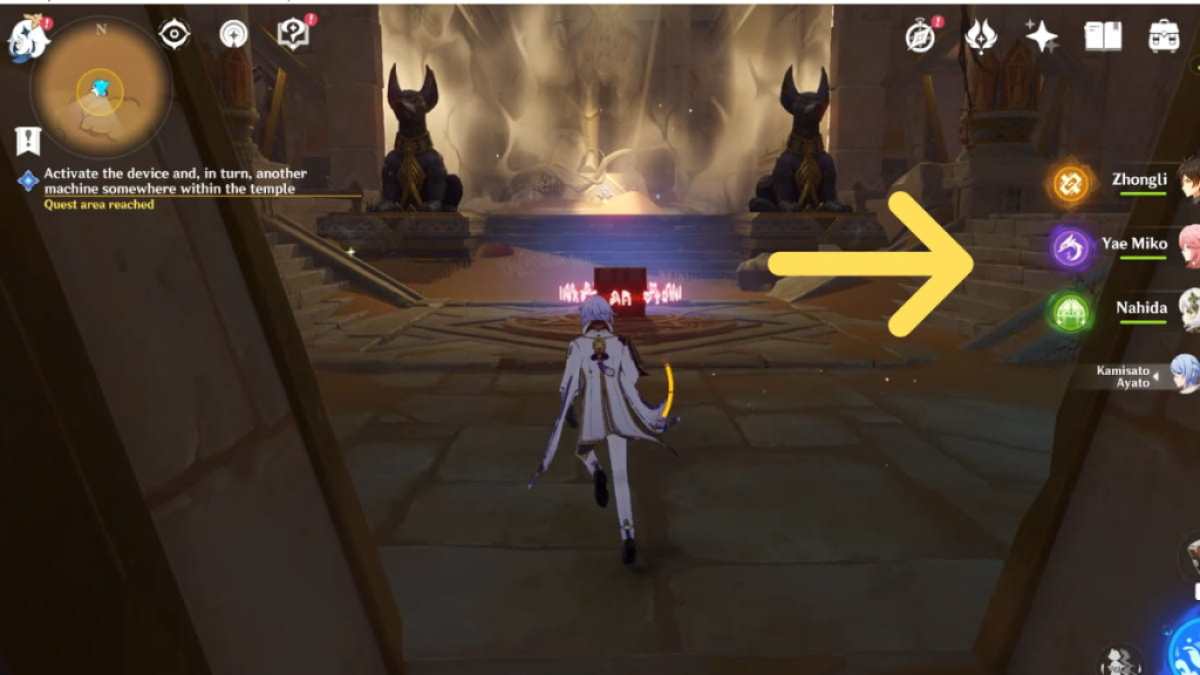
Image by Pro Game Guides
Return to the with child clearing , and this sentence , turn left . You mustmovethe Rune Mechanism so that it ’s closer to the doorway . Then round it until the down in the mouth beam is facing the Sand Pile , disclose a mechanism . Interact with it to launch the room access and enter . Once inside , turn right andinteract with the deviceto complete this section .
Related : Where to incur the Setekh Wenut & farm Pseudo - Stamens in Genshin Impact
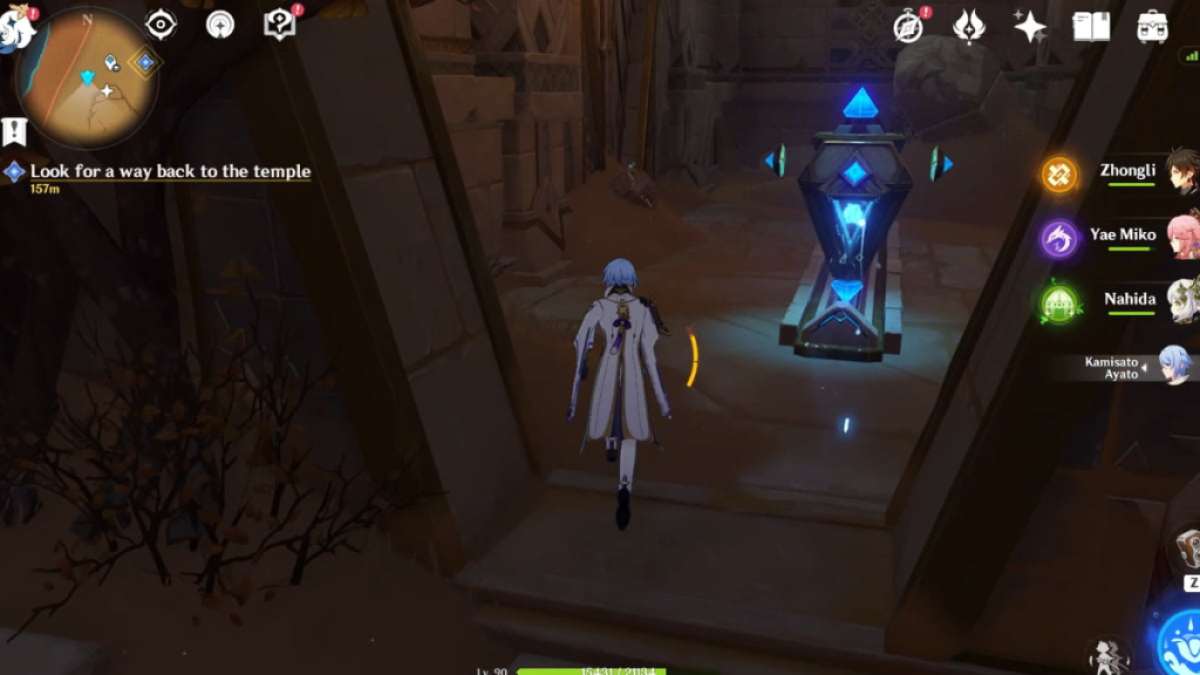
Look for a way back to the temple (2/3)
Go back and interact with the now - unsecured mechanics to spread the door , then follow the route until you encounter the next puzzle . To resolve it , start bymovingthe Rune Mechanism so that it ’s closer to the wall . Then set on it until the blue electron beam is facing the Sand Pile , revealing amechanism . Interact with it to launch the door and enter .
Once you strive the building with the two giant hourglass , rise the stairs and interact with themechanismto candid the room access . move into and survey the path toward the radiate spot to complete this section .
Scatter the dust around the sealing machine (2/3)
Open the gate (3/3)
Turn on yourquest navigatorto soma out the next room you need to work on . Then attack the big mechanism directly in front of the room until theblue beam is point to the Sand Pile , revealing a mechanics beside the door . Interact with it to enter the door and proceed .
Activate the device and, in turn, another machine somewhere within the temple (3/3)
Upon entering the room , wrench leftto go into a pocket-sized blank space , where you must solve a puzzle . Move the Rune Mechanism so that it ’s closer to the doorway . assault it until the drab beam is face the Sand Pile , revealing a mechanism . Interact with the mechanism to open up the door and enroll .
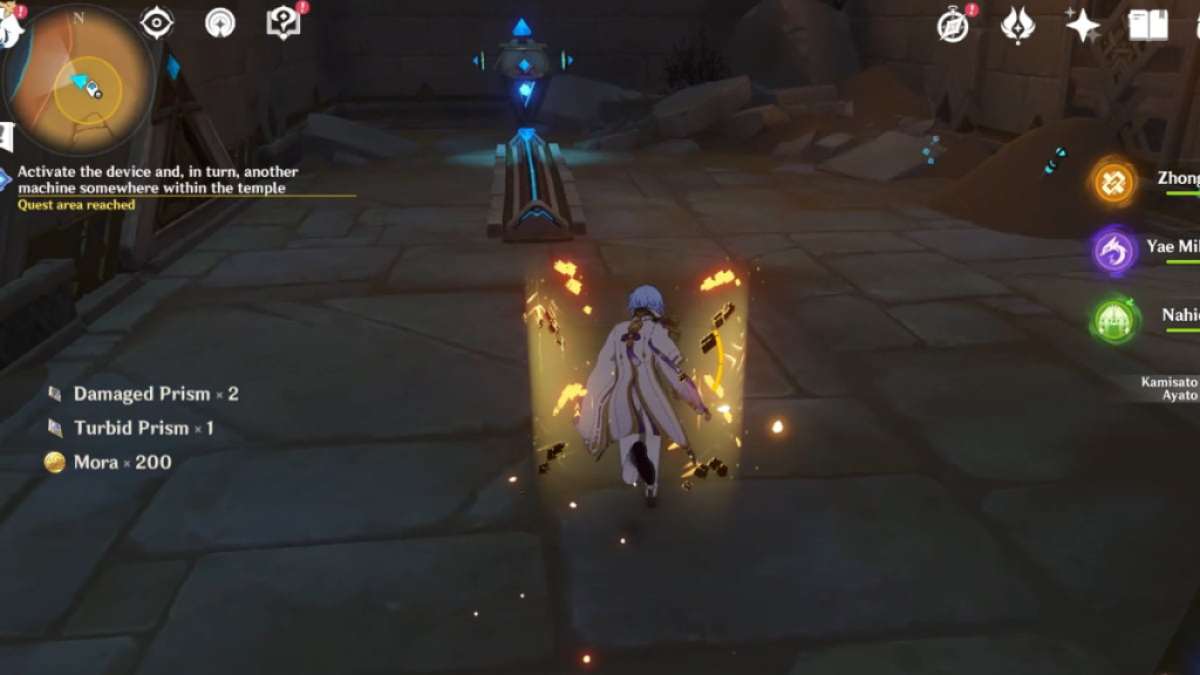
There are a few puzzle in this way , but they ’re optional . Focus on goingup the stairs , where you ’ll find a Rune chemical mechanism . Attack the Rune Mechanism until the dismal beam is facing the Sand Pile by the rampart . Once the sand disperses , a mechanism will appear .
Interact with the mechanics to make theplatform disappear . Then plunge down and interact with thedeviceto complete this segment .
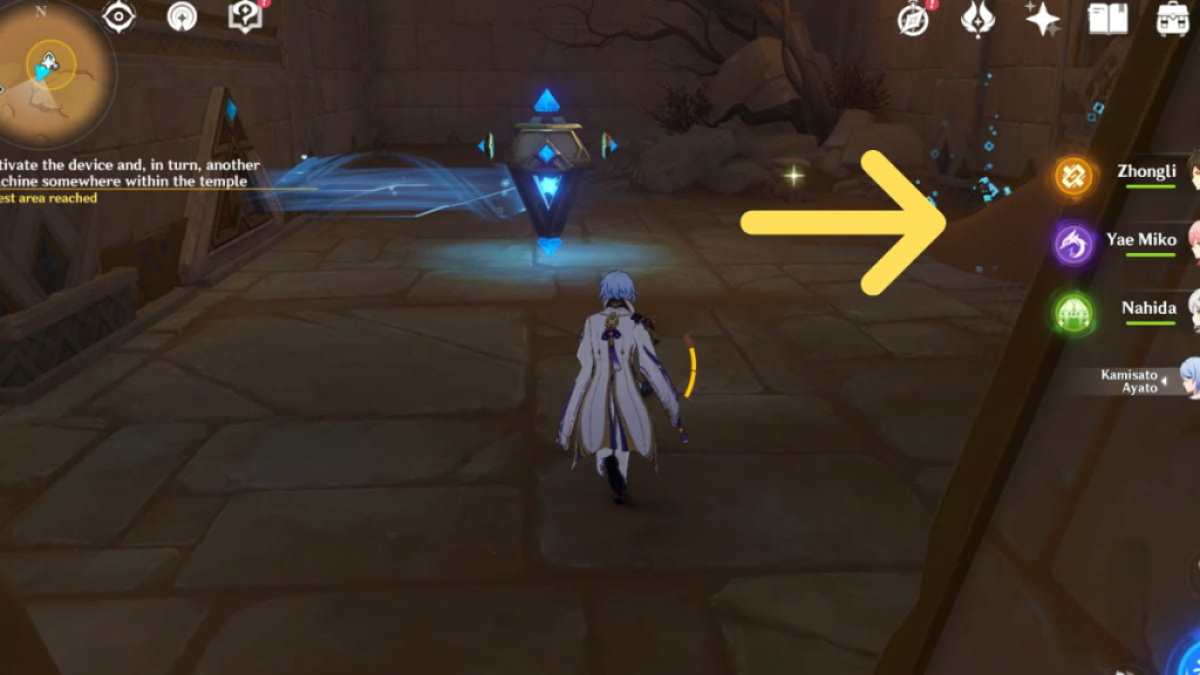
Image by Pro Game Guides
Look for a way back to the temple (3/3)
After touch off the twist , go forrard and wax up to return to the previous area . You must now solve the puzzle beside the Teleport Waypoint . Attack the Rune Mechanism until the dark beam is present the Sand Pile . Once the sand disperses , interact with the chemical mechanism to open up the threshold .
Scatter the dust around the sealing machine (3/3)
For more puzzle guides , jibe outHow to solve the Weathered Obelisk puzzler at Liloupar ’s Cell in Genshin Impacthere on Pro Game Guides .
Screenshot by Pro Game Guides

Image by Pro Game Guides

Image by Pro Game Guides
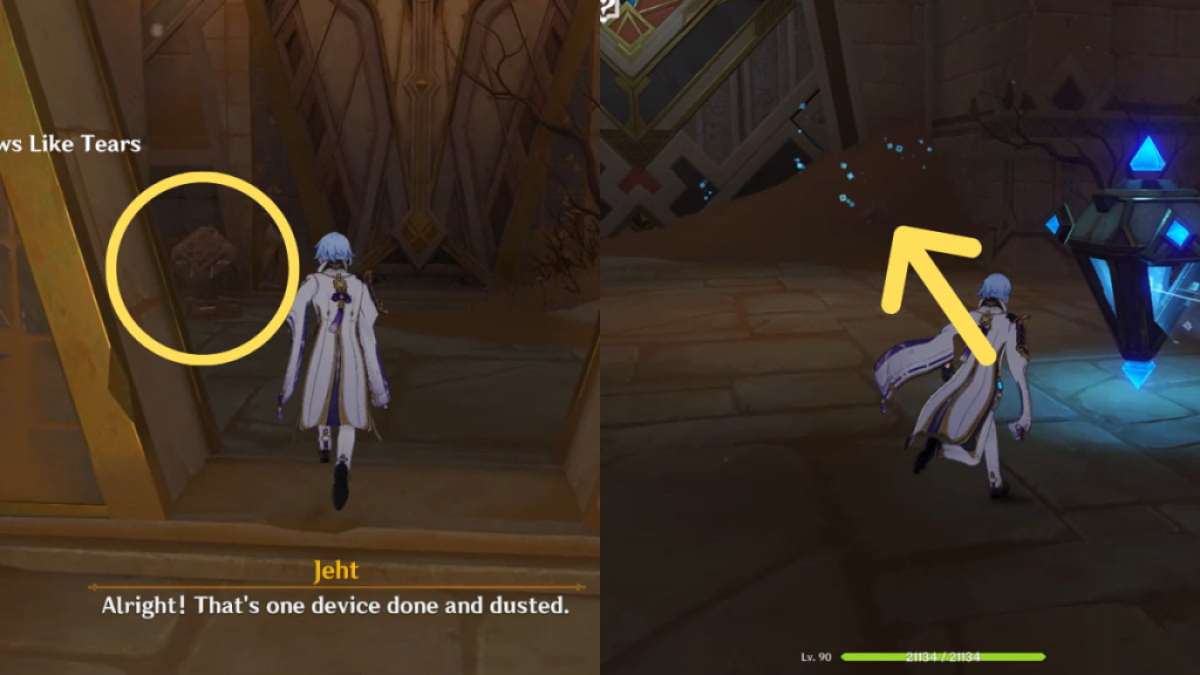
Image by Pro Game Guides
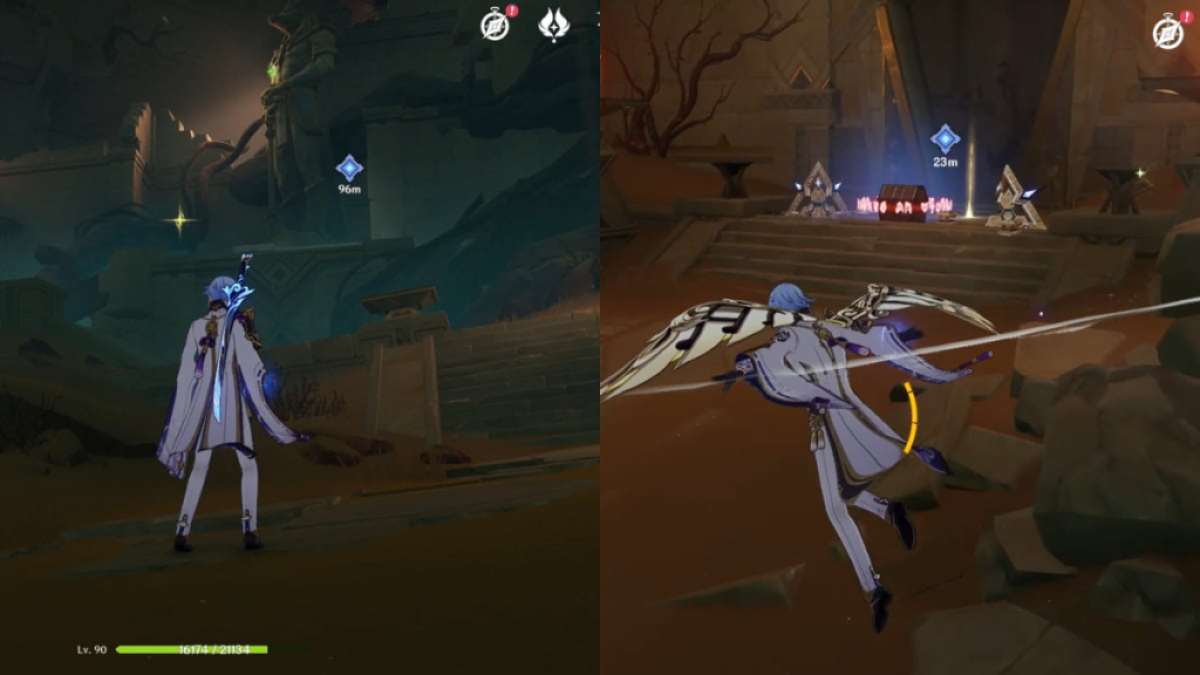
Image by Pro Game Guides
Screenshot by Pro Game Guides
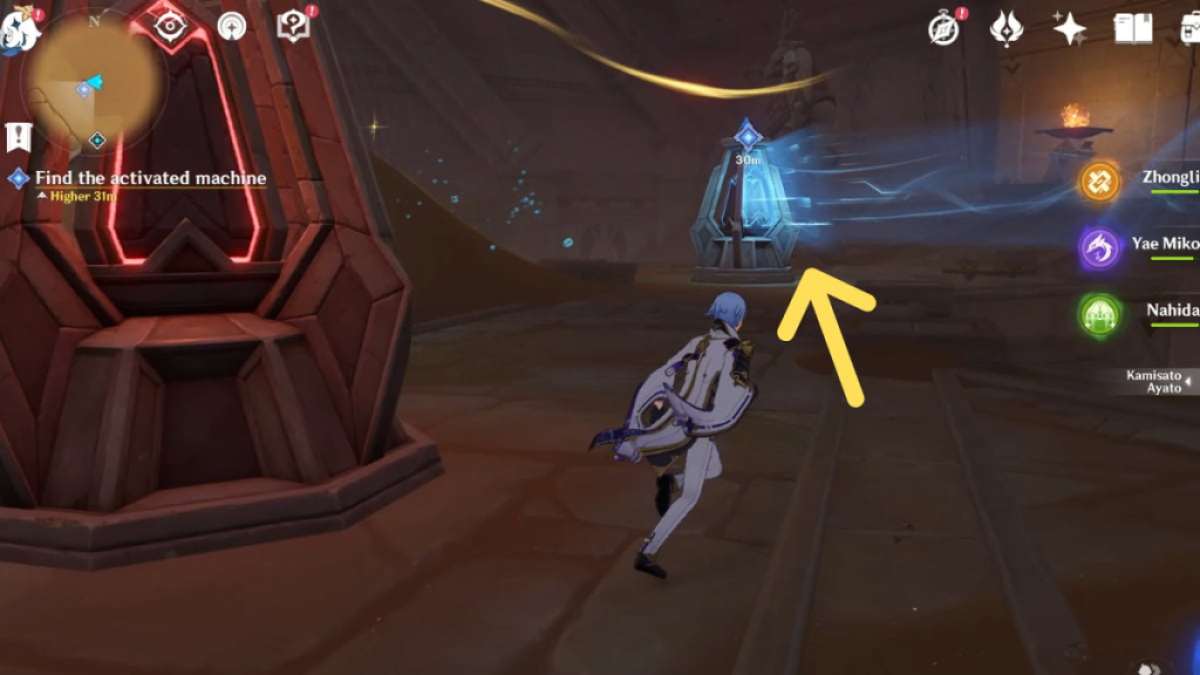
Image by Pro Game Guides
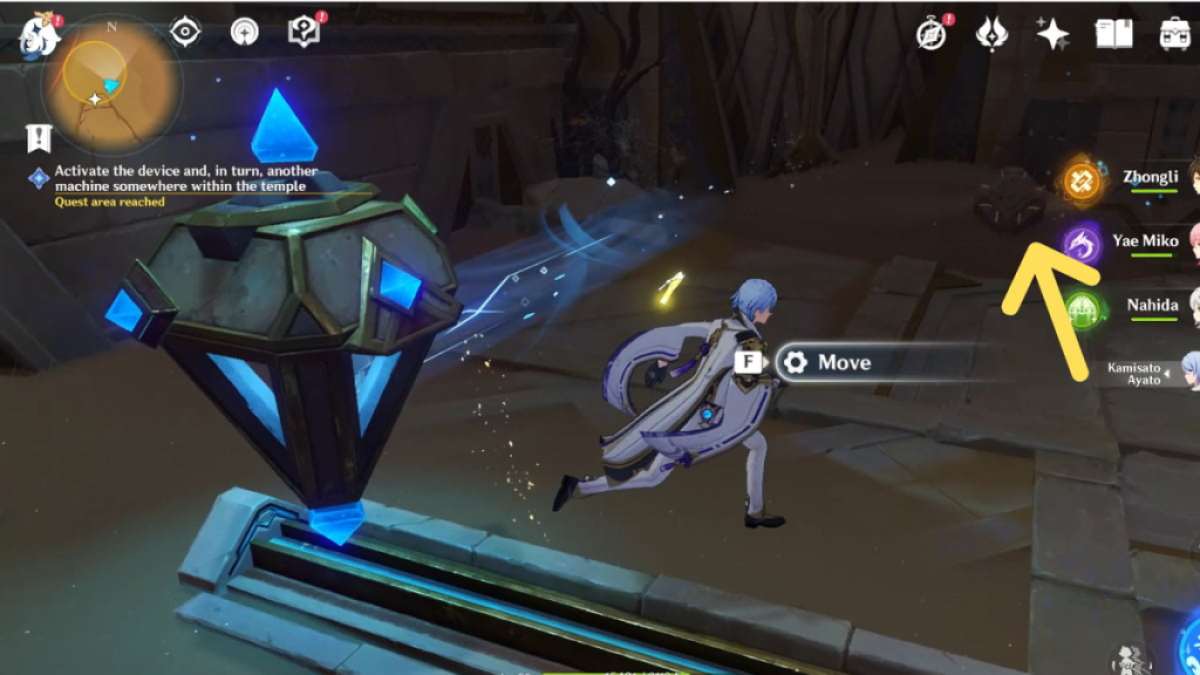
Image by Pro Game Guides
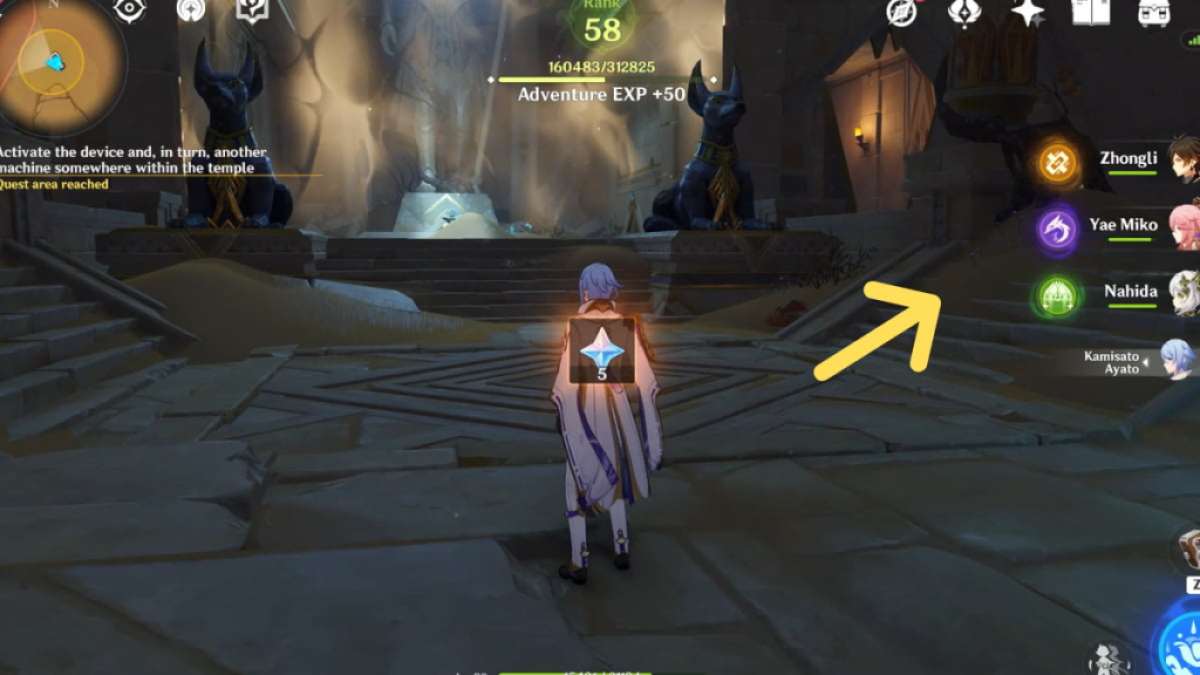
Image by Pro Game Guides
Screenshot by Pro Game Guides
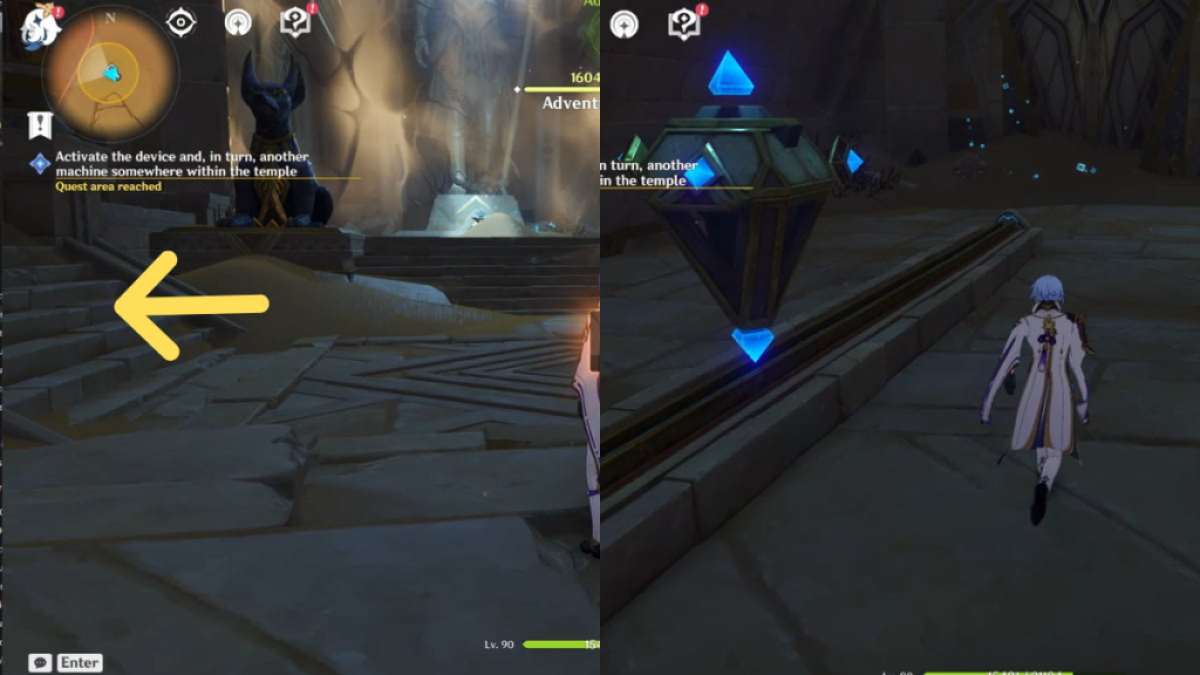
Image by Pro Game Guides
Screenshot by Pro Game Guides
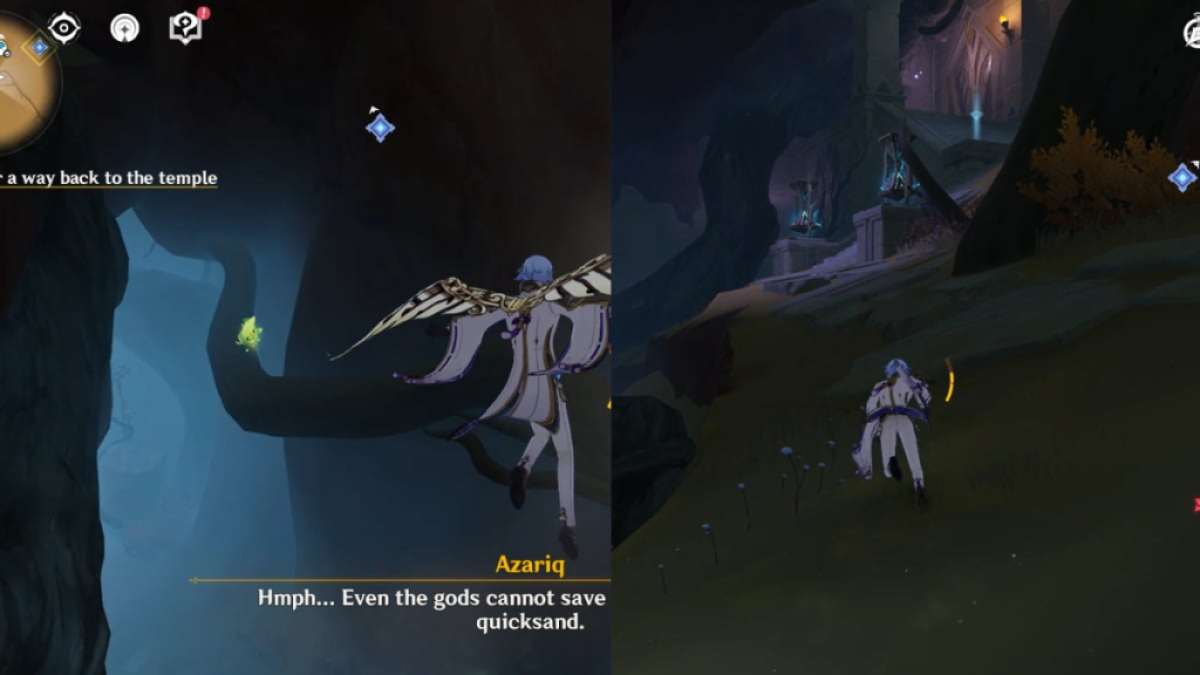
Image by Pro Game Guides
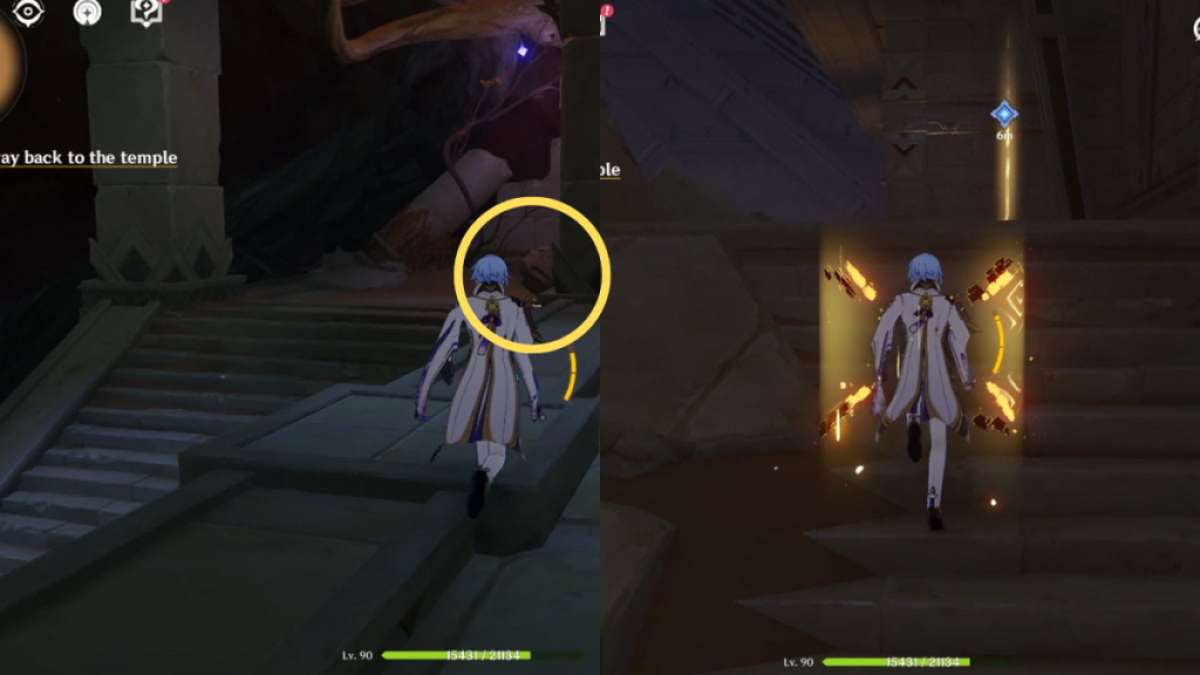
Image by Pro Game Guides
Screenshot by Pro Game Guides
Screenshot by Pro Game Guides
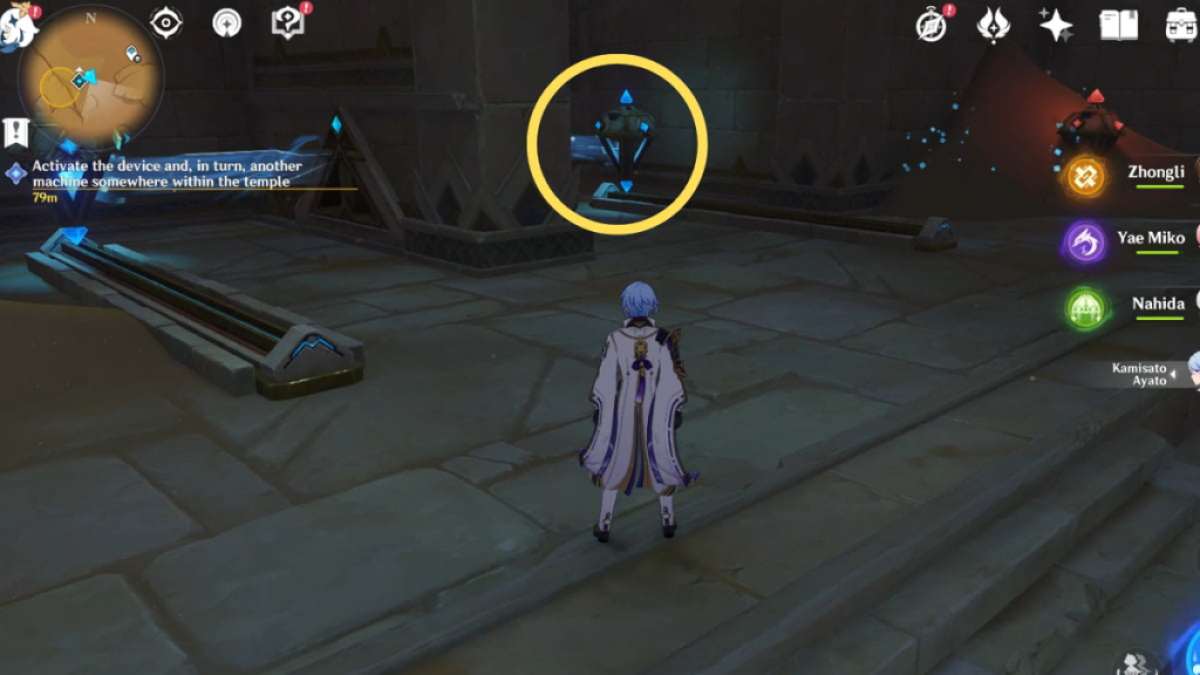
Image by Pro Game Guides
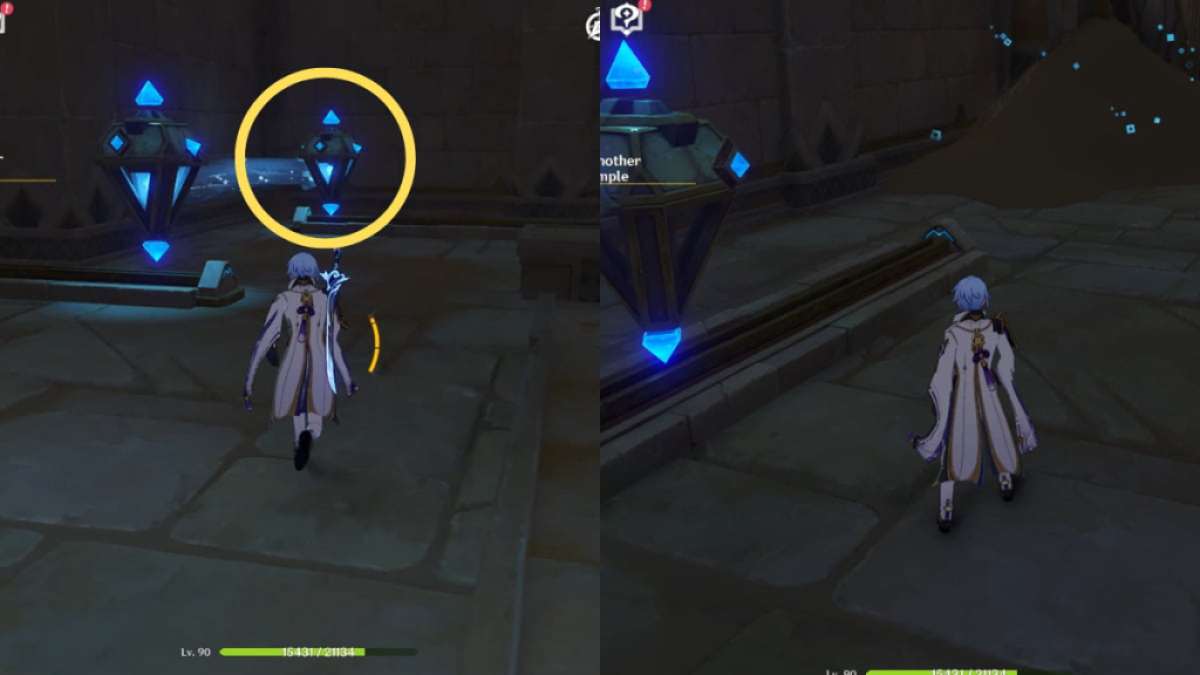
Image by Pro Game Guides
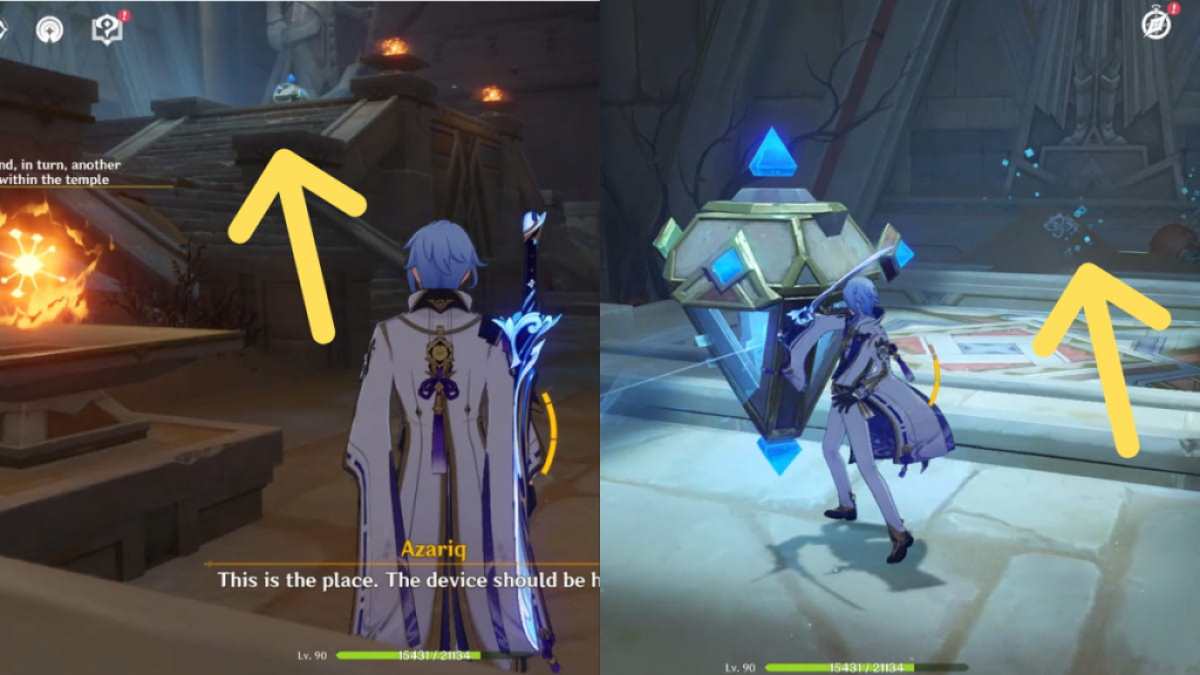
Image by Pro Game Guides
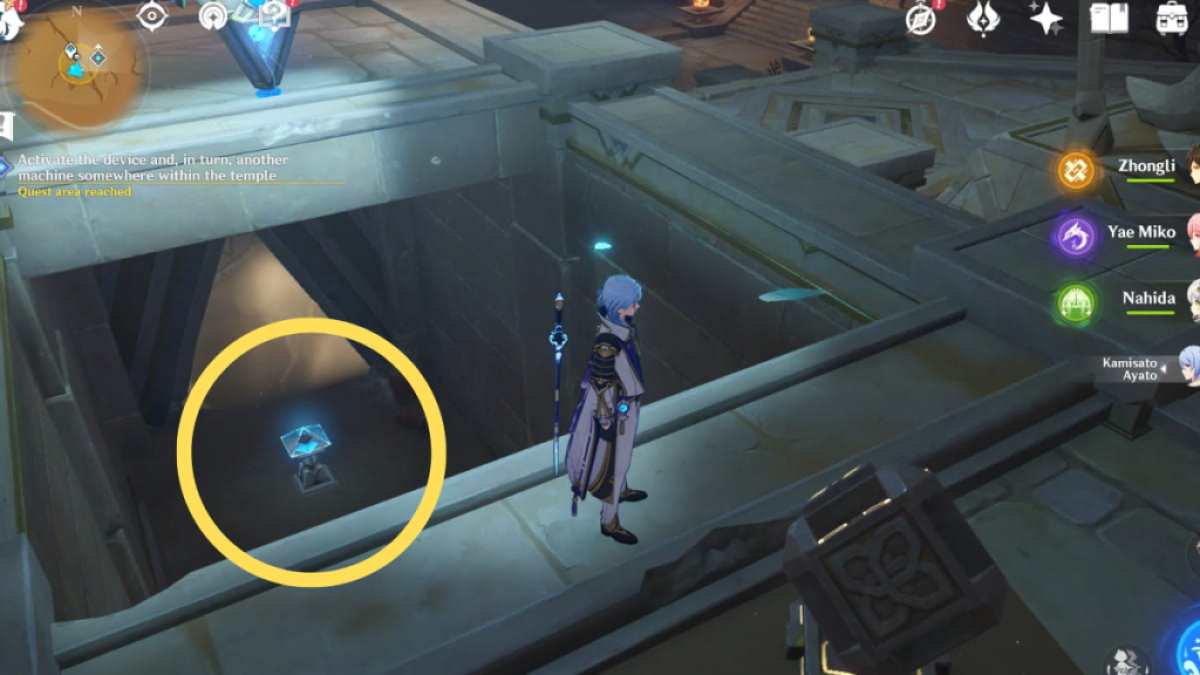
Image by Pro Game Guides
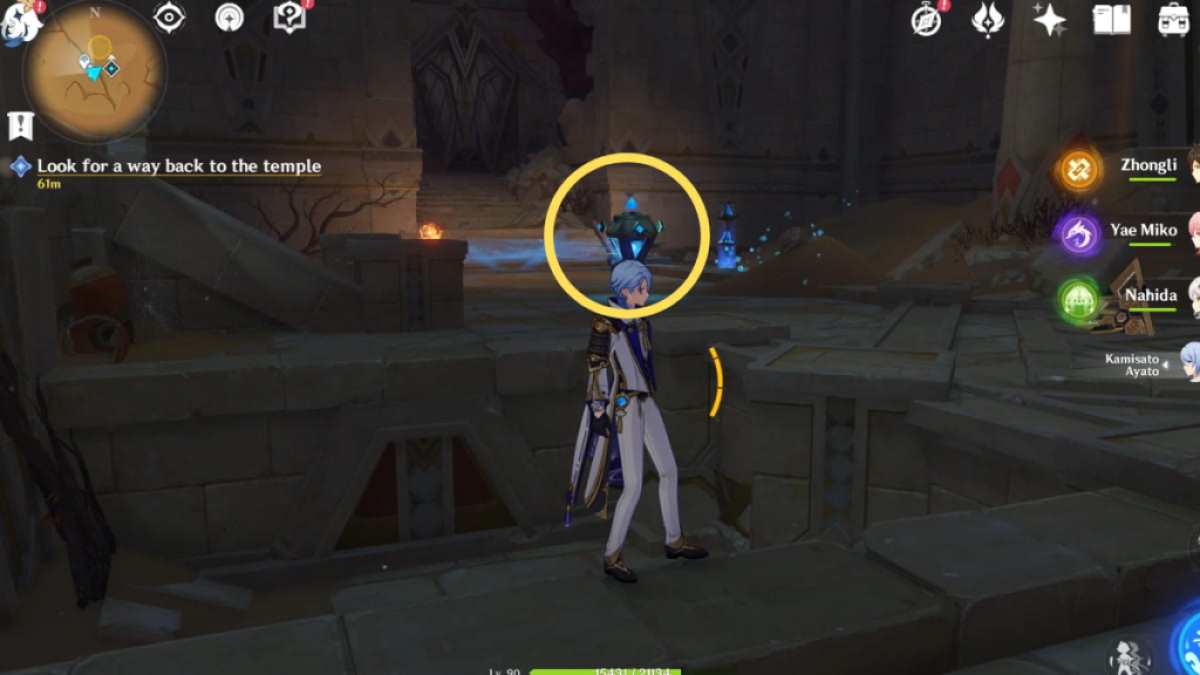
Image by Pro Game Guides
