Lace up your running shoes !
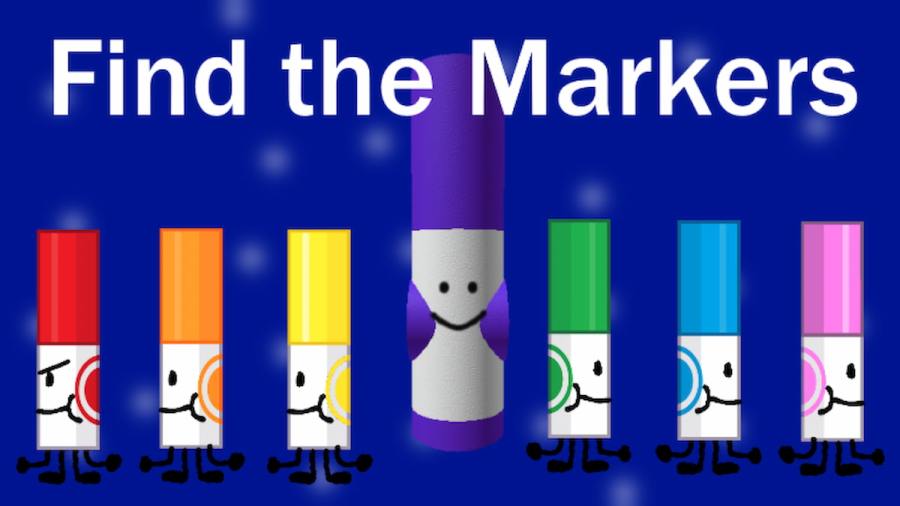
WhileFind the Markersmay seem like just another pack rat - hunting - style experience , it really tender quite an intricate single-valued function , with more than a handful of take exception secret to regain . Inside the Difficulty Dimension , there are five marker for players to discover , including the one we ’ll cover in this brief guide , Runner Marker .
Finding the Runner Marker in Find the Markers
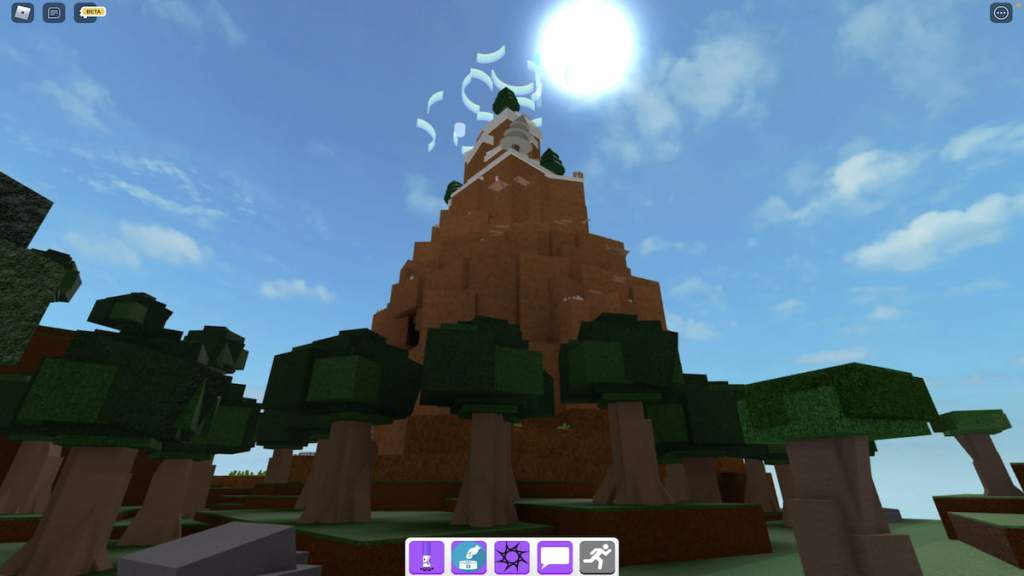
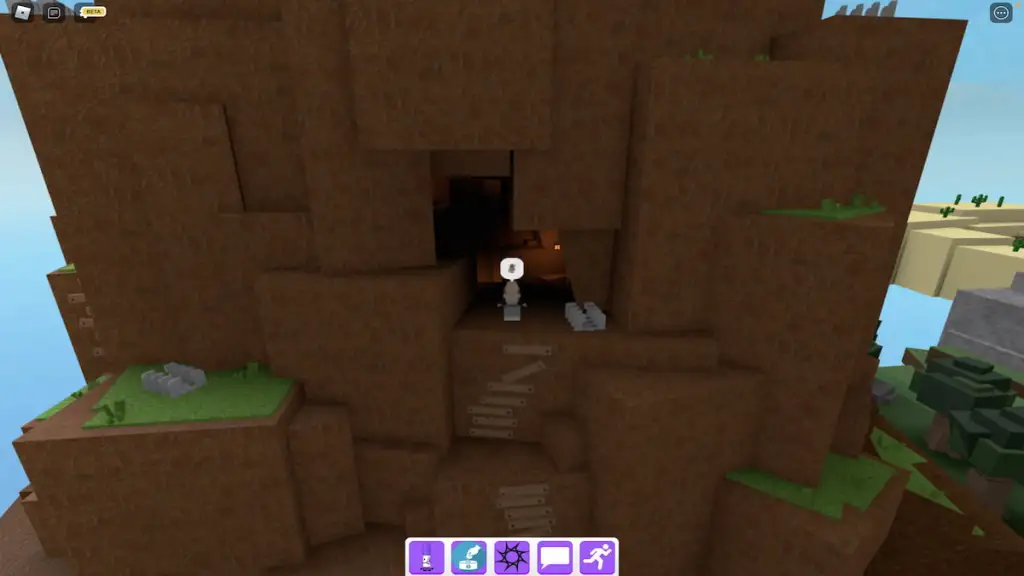
Once you ’ve spawned into Find the Markers , top dog toward the forest surface area of the mathematical function and approach its big mountain .
At the bottom of this mountain is a improvised wooden ravel — wax it and enter the cave it run to .
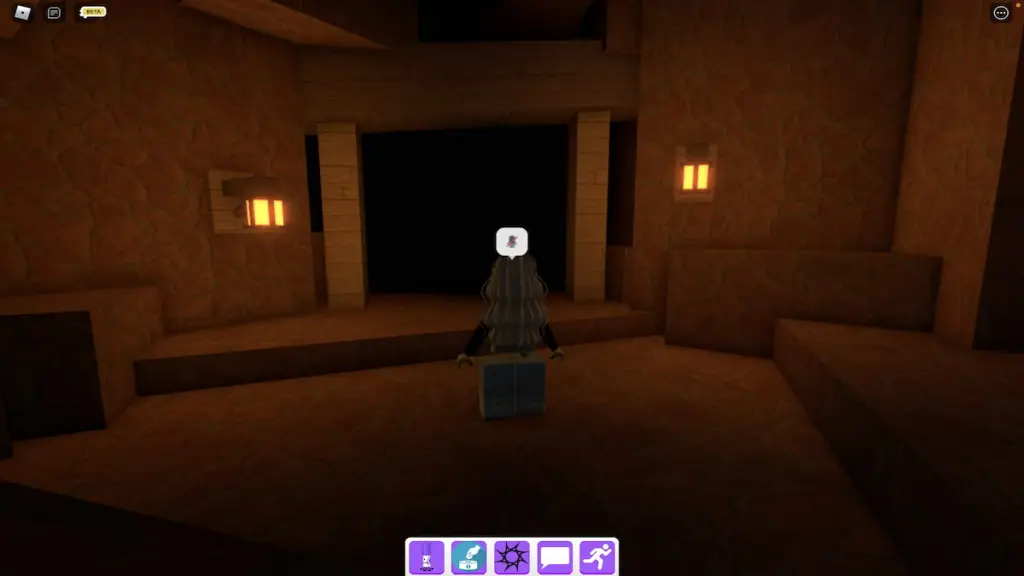
As you take the air into this cave , you should comment a dark tunnel with two lanterns at the start of it .
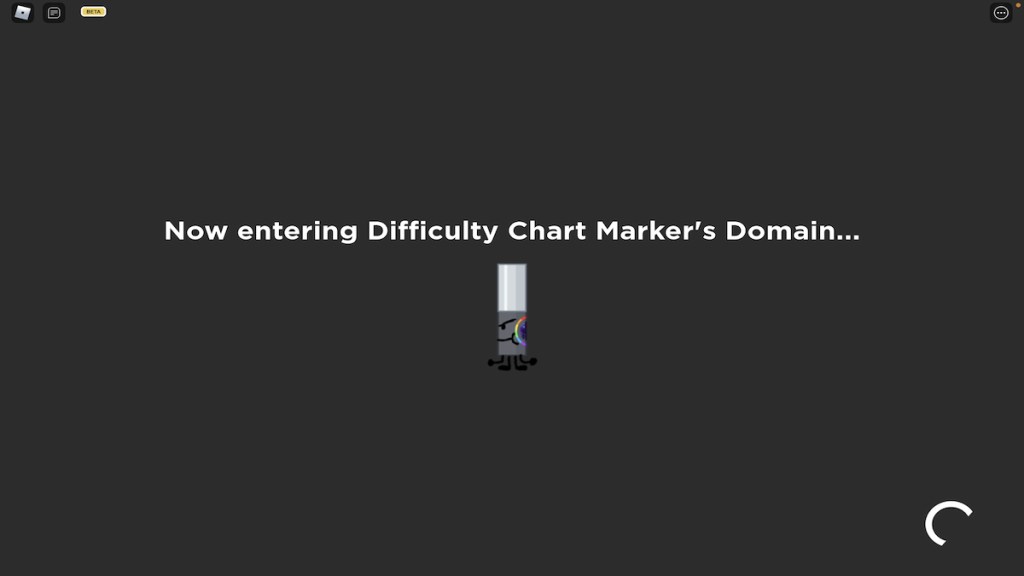
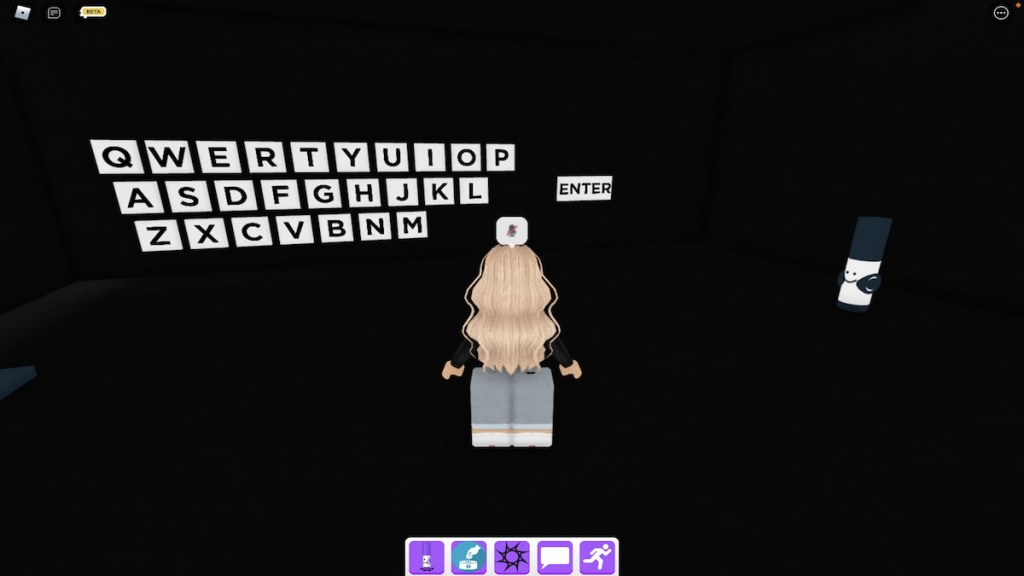
Upon walking into this tunnel , you will move into a undercover room that features a wall of alphabetic character . To keep toward the Killbrick Marker , press the letter D , I , F , F , I , C , U , L , T , and Y , in that order , to spell the worldDIFFICULTY , and then press theEnterbutton . If you go in the codification correctly , you will mechanically be teleported to theDifficulty Dimension .
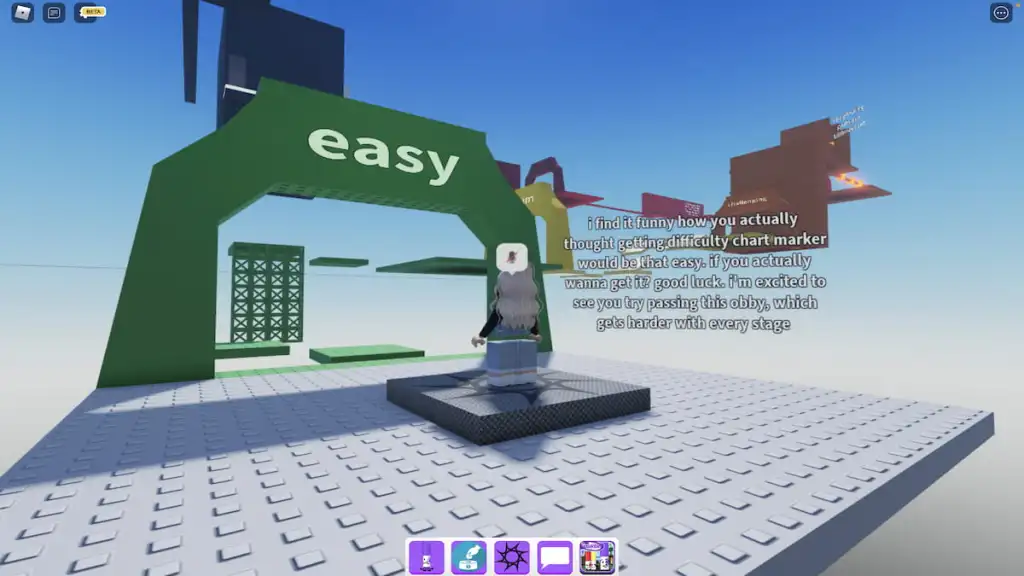
To obtain the Runner Marker , players must gain the difficultness tier of the Difficulty Dimension ’s obby . To get started , take the air and jump your way through theeasylevel to reachmedium .
Related : How to get the Serenity Marker in Roblox obtain the marker
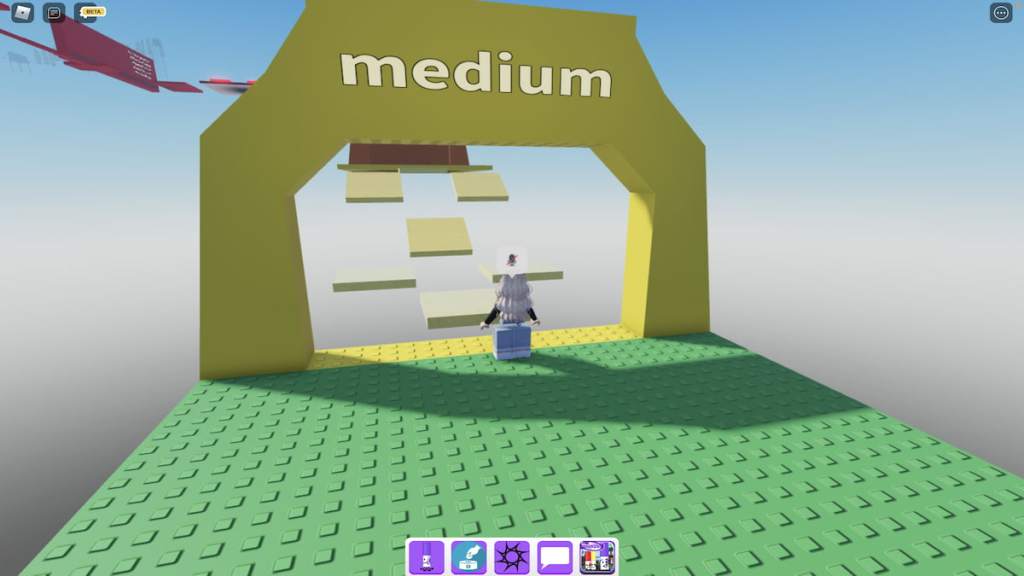
To survivemedium , you ’ll need to jump across a stage set of slippy tile and achieve the program above . If you slue off and fall to your death , you will be restart at the beginning of theeasylevel , so be careful ! Once you ’ve made it to the starting signal of thechallenginglevel , hop across the small gap and onto the first shelf in front of you .
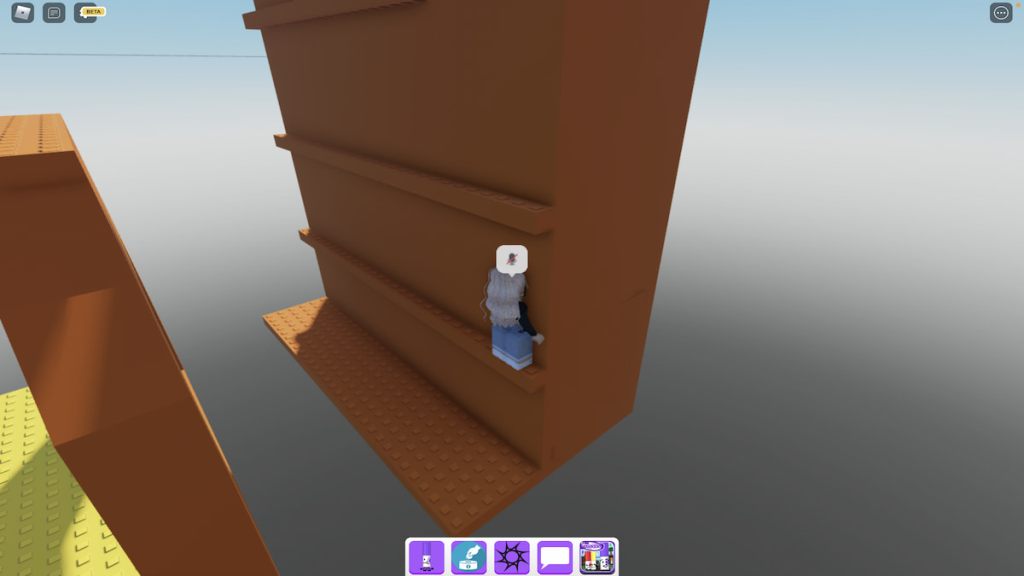
Now , jump out and up from this shelf to reach the next one and repeat this strategy until you ’re at the top of the wall .
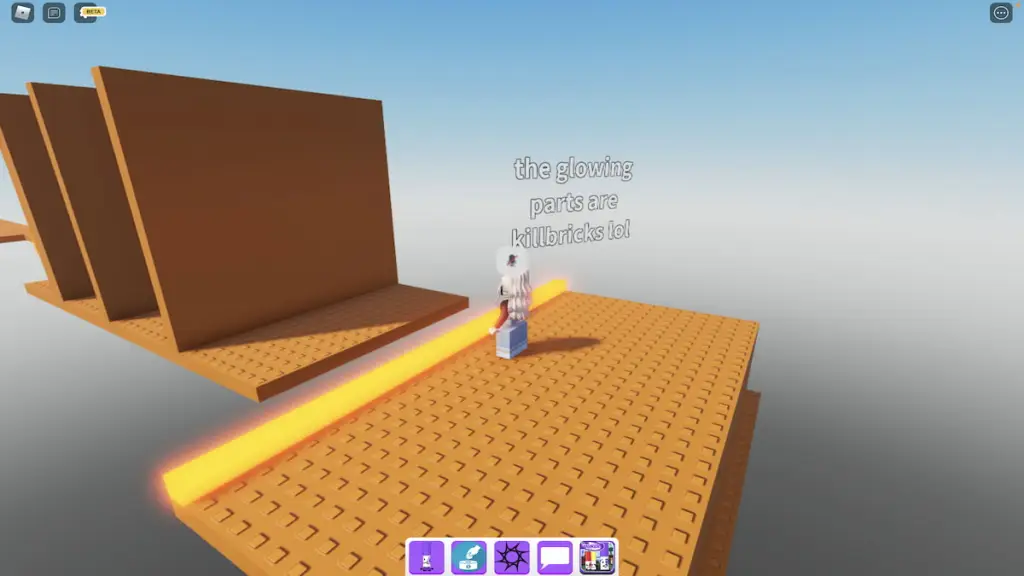
From here , jump over the glowing killbrick , out and around the little walls , and to the scratch line of thehardlevel .
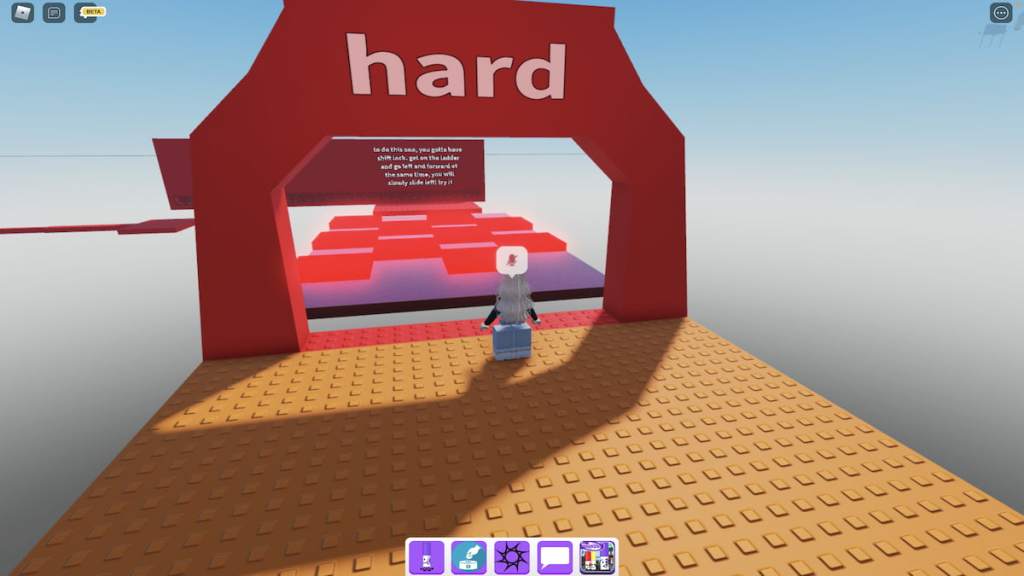
Similar to themediumlevel , thehardlevel uses a slick base for its first obstacle , making it hard to avoid the burn killbrick squares as you attempt to jump between them . To nail this obstacle easily , we ’d recommend run and jumping through it in one quick motion rather than trying to jump and stop repeatedly . If you may clean up a solid momentum , you should be able to run for and jump between the squares without hitting any of them .
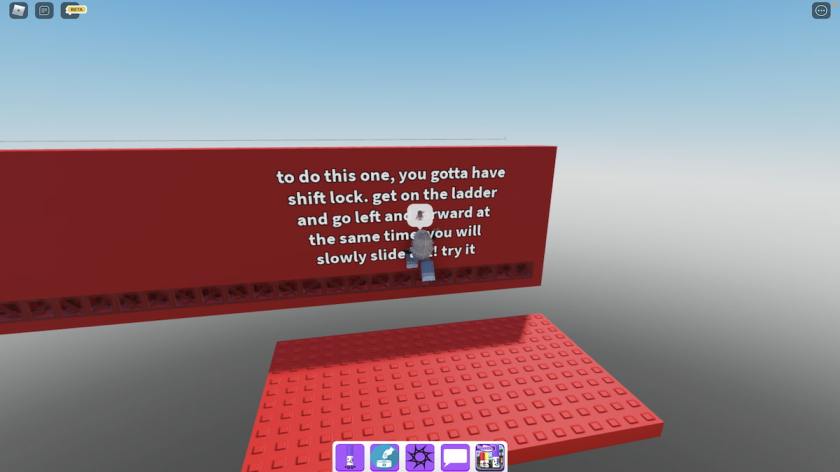
Once you make the end of the first obstacle , you ’ll immediately be face with the second , which demand you to jump and latch onto a horizontal run and slide your way to a small platform on your left hand . Though the experience says otherwise , using shift whorl is n’t required — if you regain that just ferment your camera and impress to the left is prosperous than using shift lock , that can totally work too .
Related : How to get the Sandstorm Marker in Roblox notice the Markers
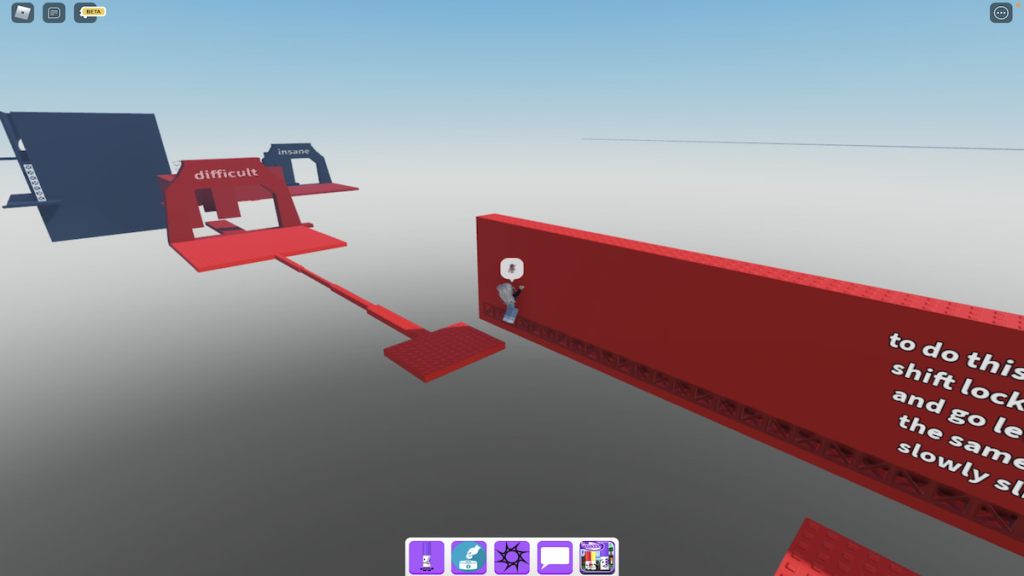
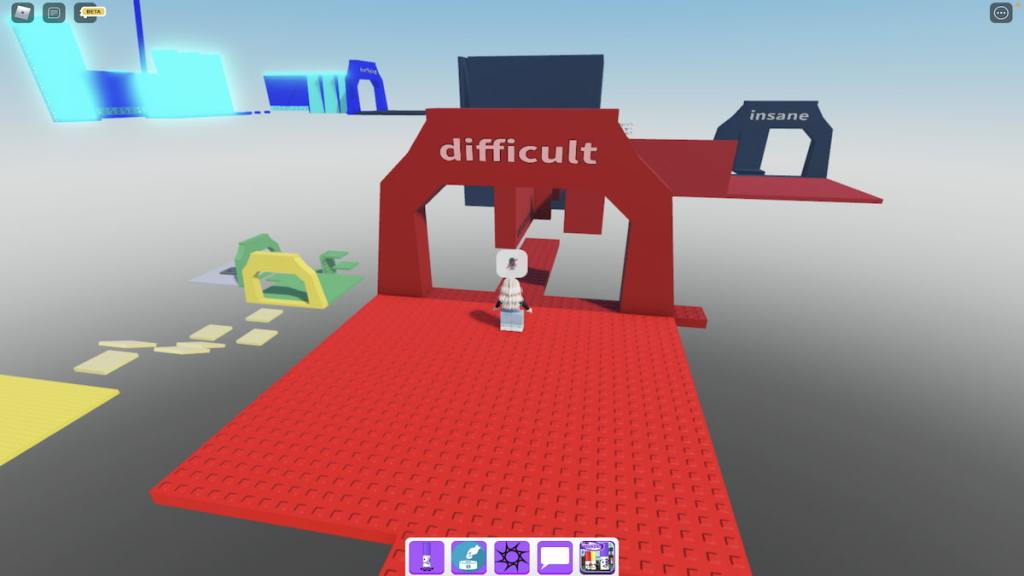
To reach this pocket-size platform , either wax down the run using the downward bowel movement samara or press theSpacebarto jump off . Then , only walk across the thin bridge to reach the entering of thedifficultlevel .
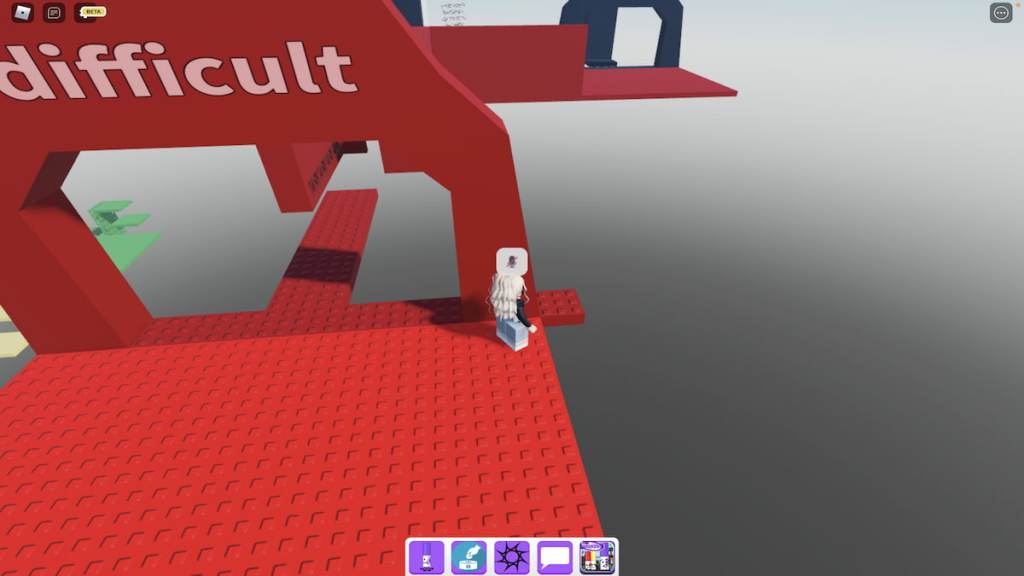
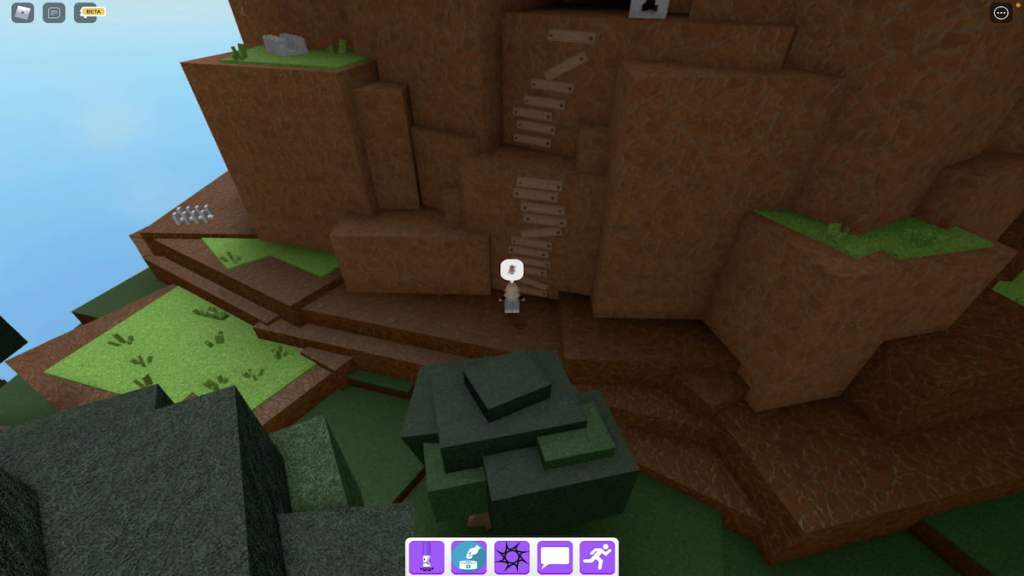
Unlike the other level entrances , notice that thedifficultylevel ’s arch features an extra square of stud to the right wing of it .
Hop onto this second power to be teleported to Runner Marker ’s location .
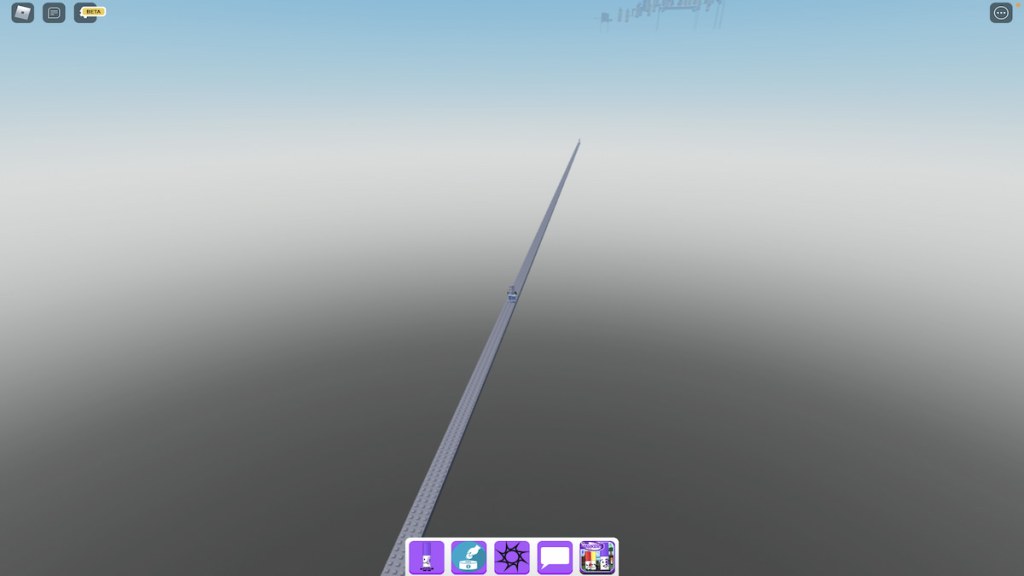
Before you’re able to claim Runner Marker , you ’ll need to take the air down the long path in front of you .
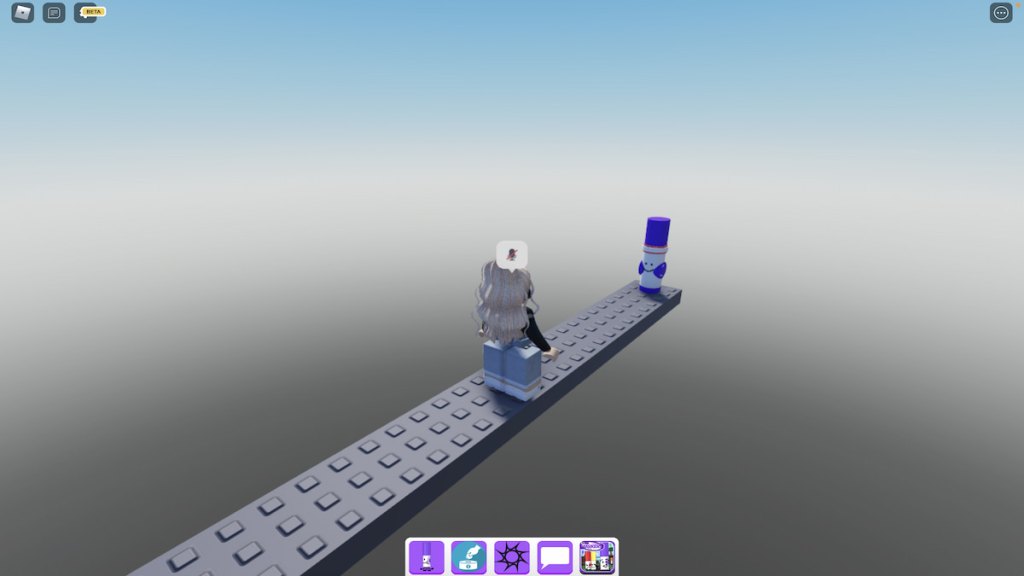
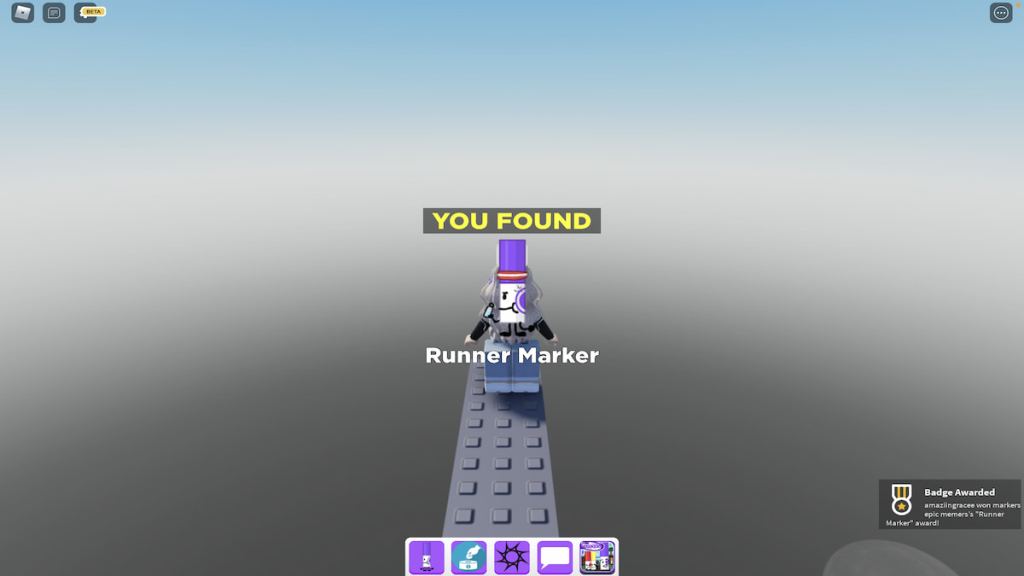
Waiting for you at the remainder of this path is the Runner Marker .
To add this mark to your Markerdex , but walk up and touch it . Upon doing so , you should invite the popping up and badge pictured below !
Looking for more rule the Markers content ? ensure out our recent guides onHow to get the Tree Sap Marker in Roblox Find the MarkersorHow to get the Peppermint Marker in Roblox Find the Markershere on Pro Game Guides !