The marker of all markers !
WhileFind the Markersmay seem like just another scavenger - hunt - flair experience , it actually offers quite an intricate mathematical function , with more than a fistful of challenging secret to bump . Inside the Difficulty Dimension are five marker for players to discover , include the one we ’ll cover in this abbreviated templet , Difficulty Chart Marker .
Finding the Difficulty Chart Marker in Find the Markers
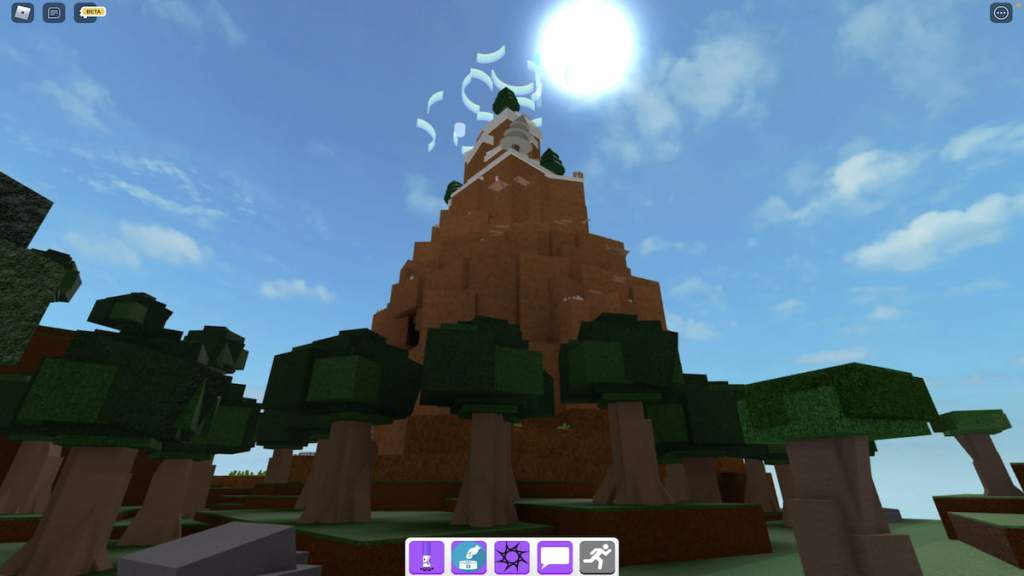
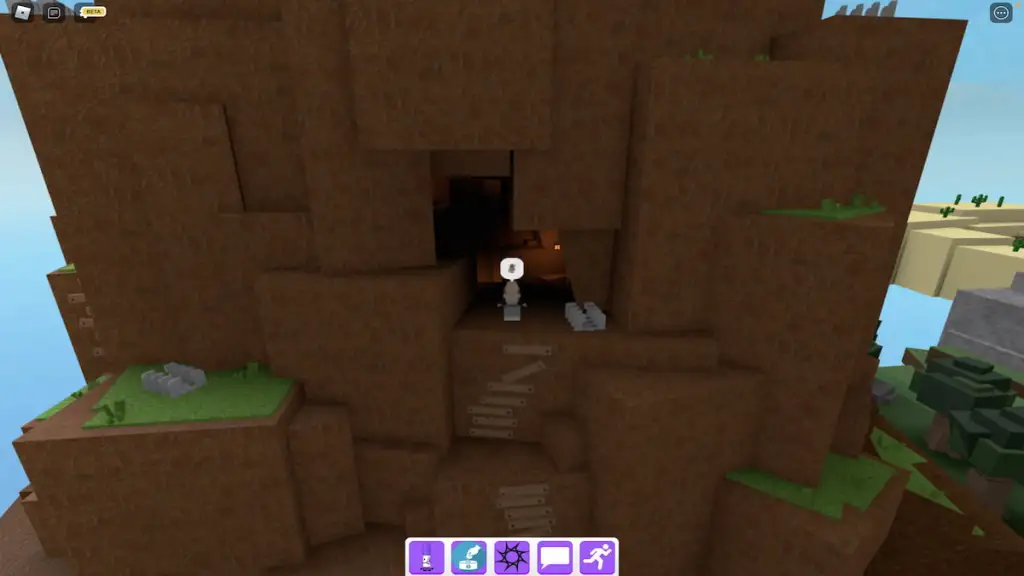
Once you ’ve spawned into find oneself the Markers , head toward the wood field of the map and approach its large passel .
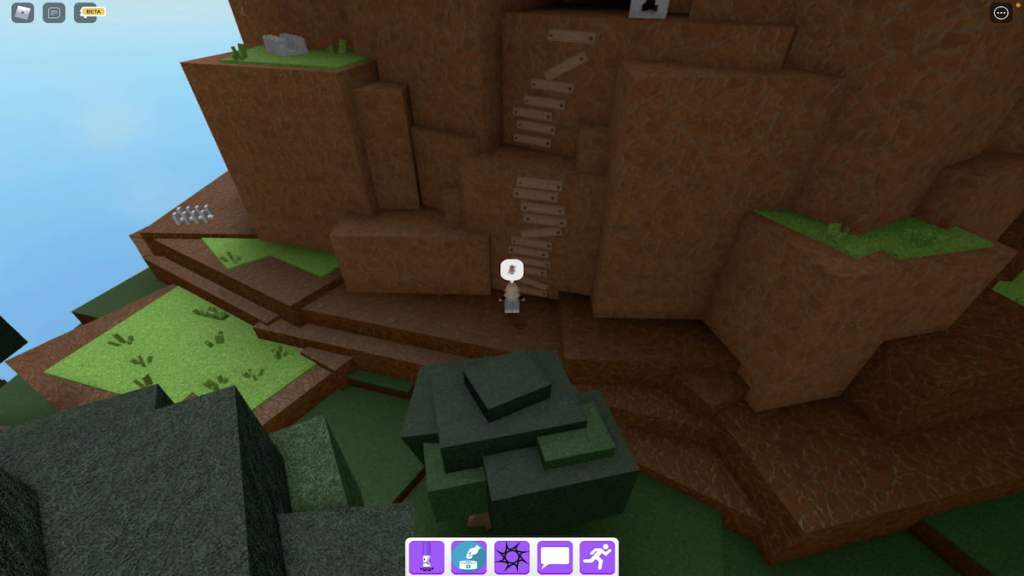
At the bottom of this mountain is a improvised wooden run — climb it and enter the cave it leads to .
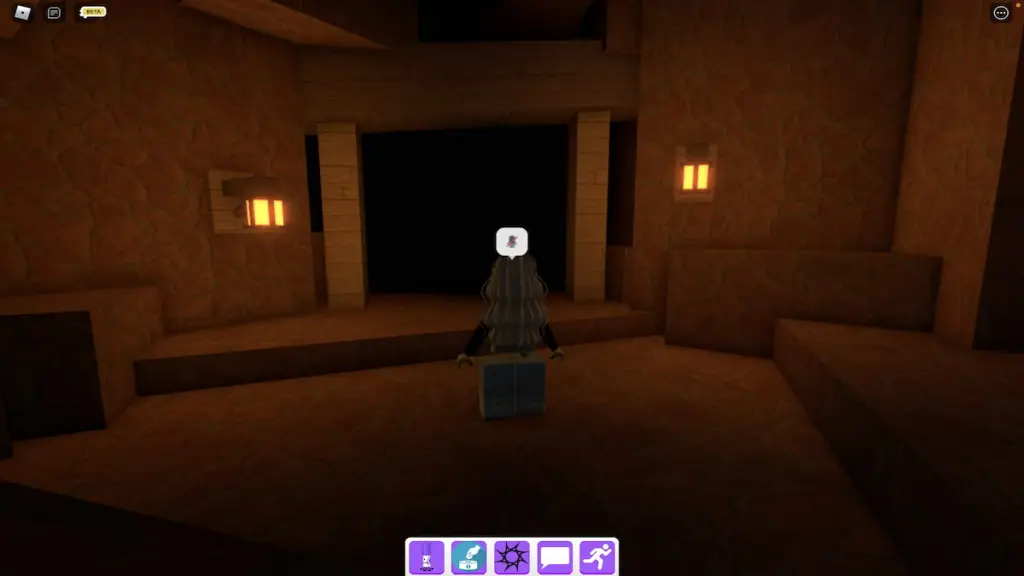
As you take the air into this cave , you should notice a dreary burrow with two lanterns at the start of it .
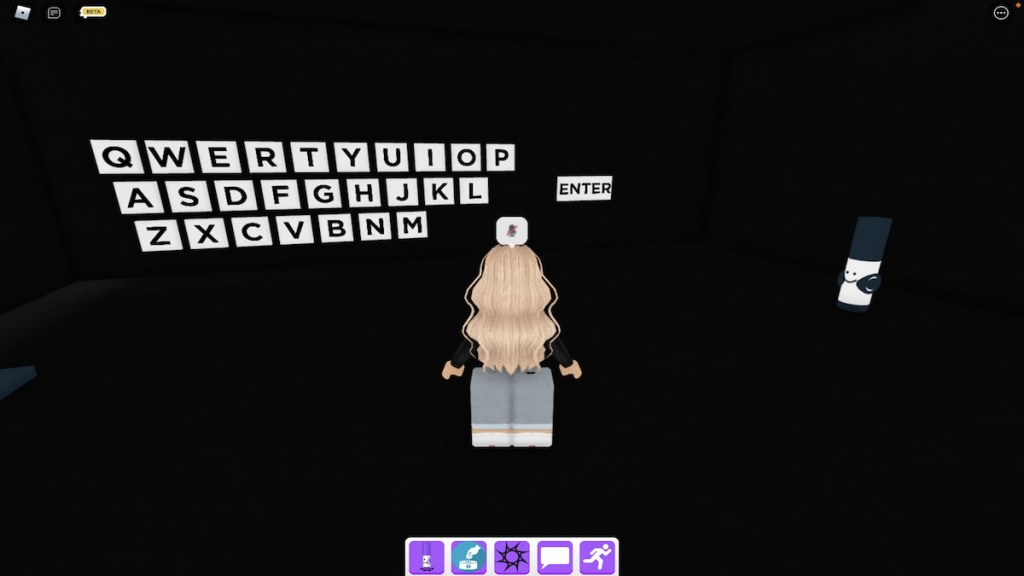
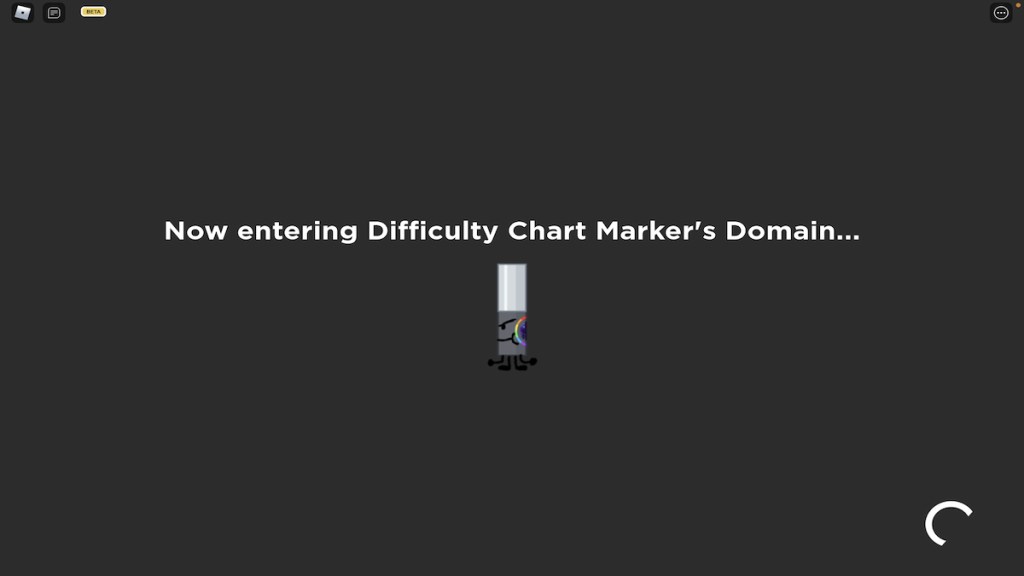
Upon walking into this tunnel , you will enter a privy room that features a bulwark of letters . To retain toward the Killbrick Marker , tap the letters D , I , F , F , I , C , U , L , T , and Y , in that order , to write the worldDIFFICULTY , and then fall into place on theEnterbutton . If you go into the code correctly , you will automatically be teleported to theDifficulty Dimension .
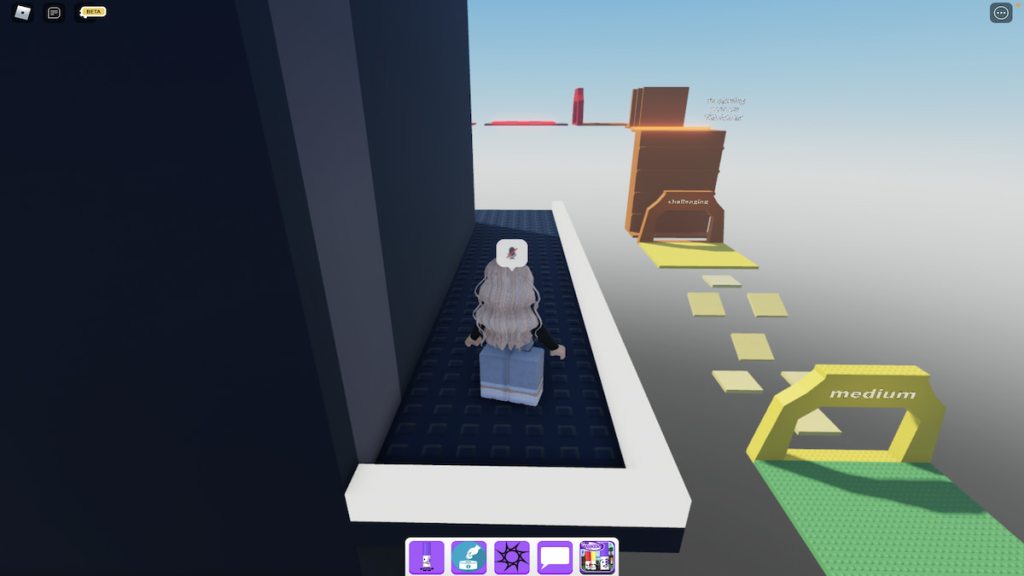
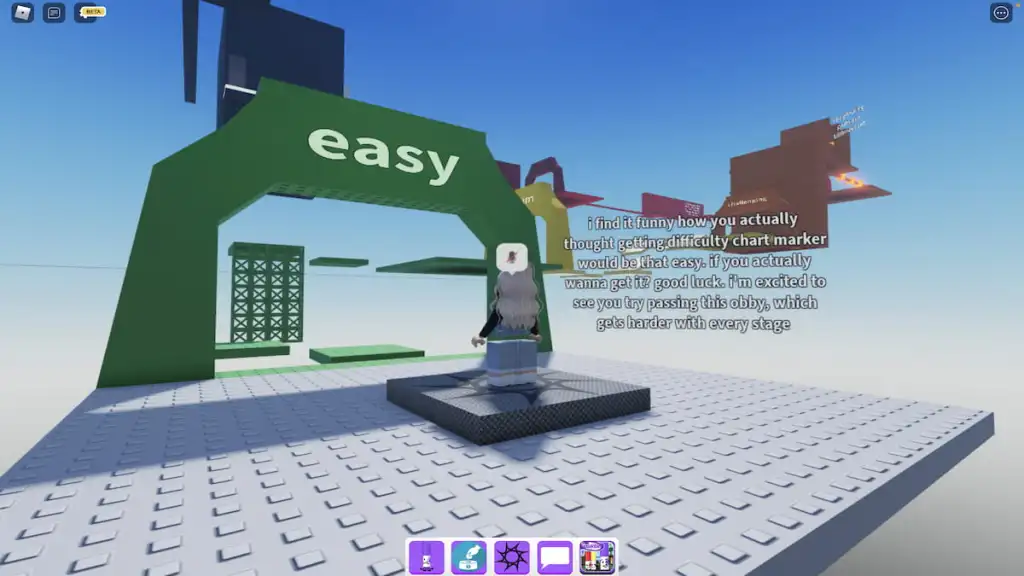
To obtain the Difficulty Chart Marker , players will need to nail the entireness of the Difficulty Dimension ’s obby . There are eight levels in this obby , easygoing , average , thought-provoking , hard , difficult , mad , terrifying , andMARKEROUS , and each diverge in length and difficulty . The first few levels are pretty simple , withterrifyingandMARKEROUSbeing the gruelling of them all . To get initiate on your journey of completing this obby , walk and jump out your way through theeasylevel to reachmedium .
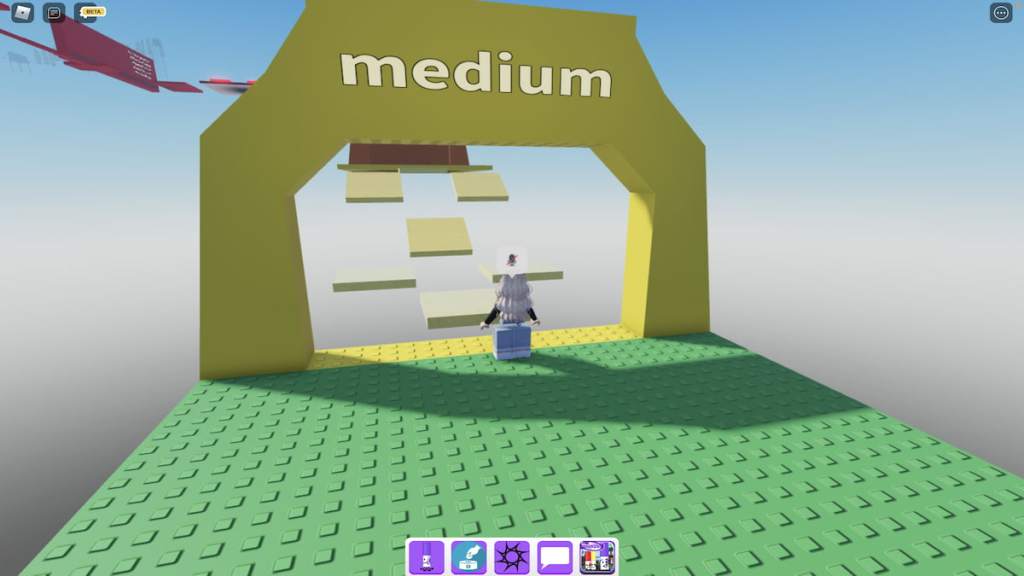
To survivemedium , you ’ll take to jump across a set of slippery tiles and make the weapons platform above . If you skid off and strike to your demise , you will be restart at the start of theeasylevel , so be thrifty ! Once you ’ve made it to the starting signal of thechallenginglevel , hop across the small gap and onto the first ledge in front of you .
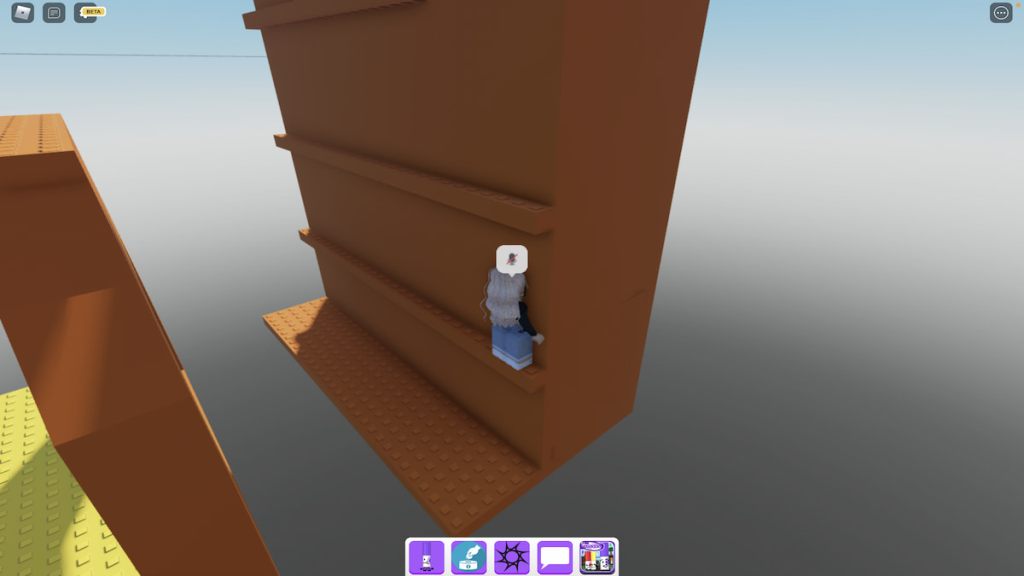
Now , jump out and up from this shelf to reach the next one and ingeminate this scheme until you ’re at the top of the wall .
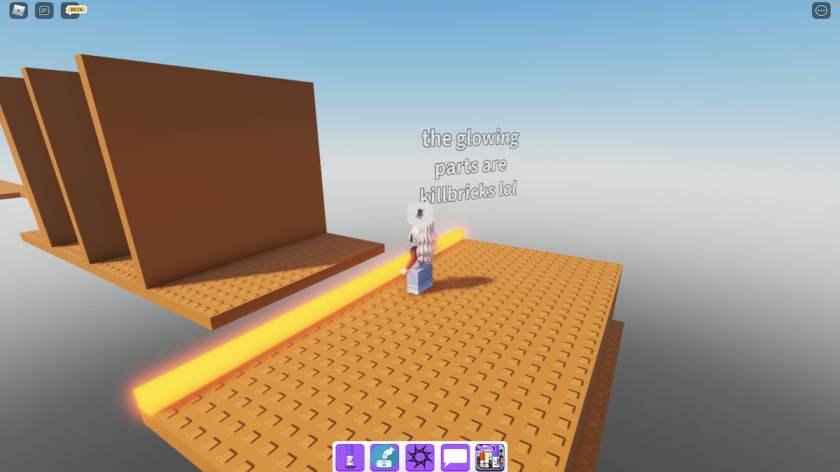
From here , alternate over the glowing killbrick , out and around the small-scale wall , and to the start of thehardlevel .
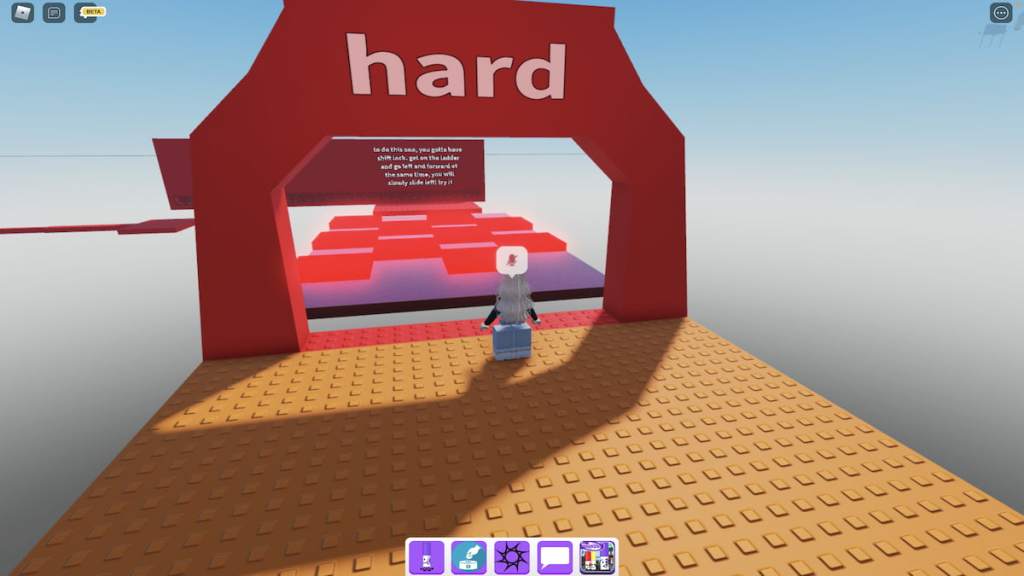
alike to themediumlevel , thehardlevel use a slick base for its first obstacle , making it heavy to avoid the glowing killbrick squares as you endeavor to jump between them . To complete this obstruction easily , we ’d advocate running and jumping through it in one quick motion rather than test to pass over and stop repeatedly . If you’re able to pick up a solid impulse , you should be able to run and jump between the square without hitting any of them .
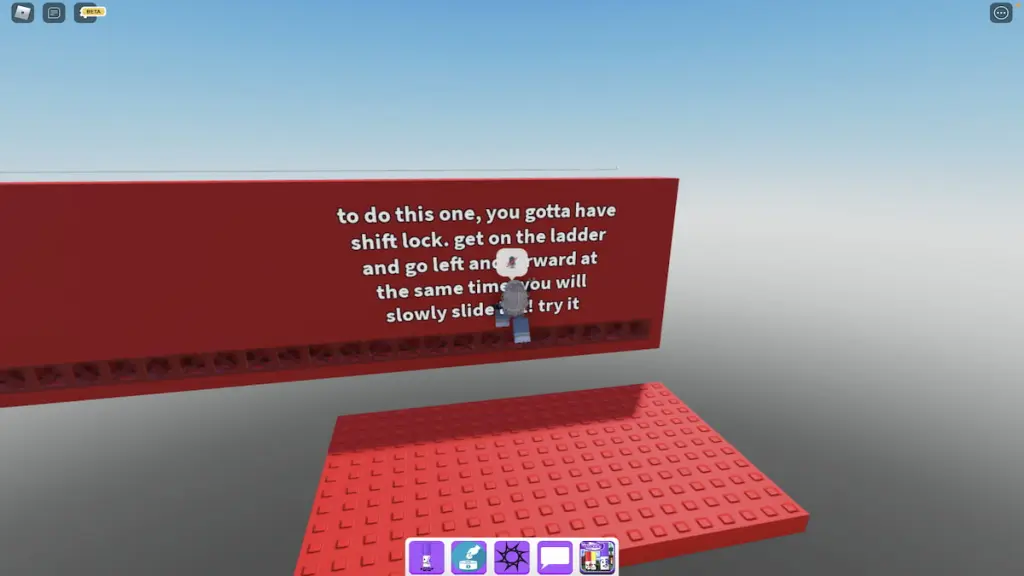
Once you reach the end of the first obstacle , you ’ll now be face with the second , which requires you to jump and latch onto a horizontal run and slide your room to a small platform on your left . Though the experience says otherwise , using shift lock is n’t required — if you find that just work your camera and incite to the leftfield is easier than using switch lock , that can totally work too .
To accomplish this lowly platform , either climb down the run using the down movement key or public press theSpacebarto jump off . Then , merely take the air across the slight bridge deck to gain the entrance to thedifficultlevel .
This level uses the same type of obstacle ashard , the horizontal run , but takes it up a snick by making histrion jump across a big gap from one run to another . Again , if shift lock is easier for you , turn it on , but if not , find free to leave it off . Just be sure to move at your own gait !
Related : How to get Dark Markery in Roblox determine the Markers
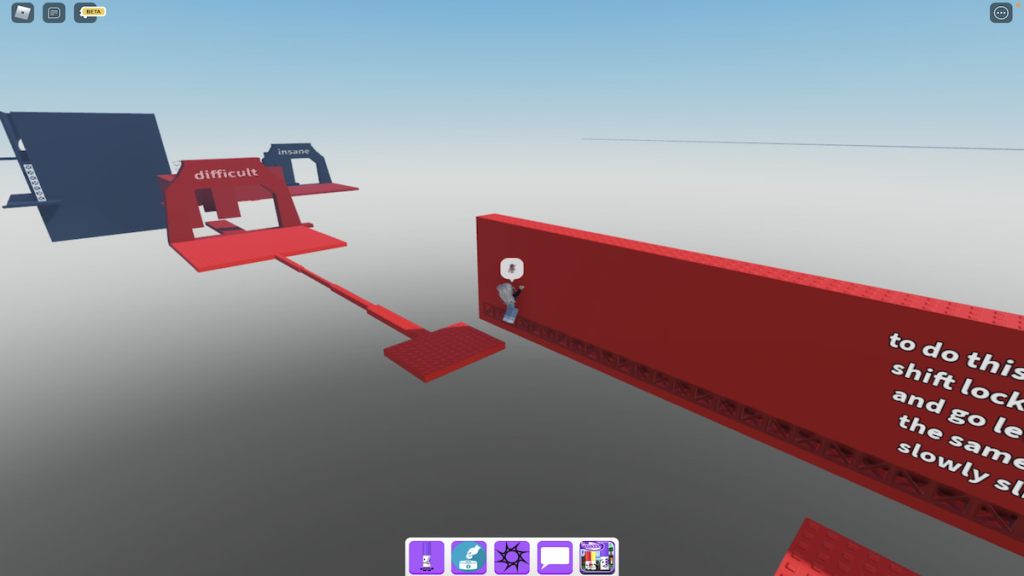
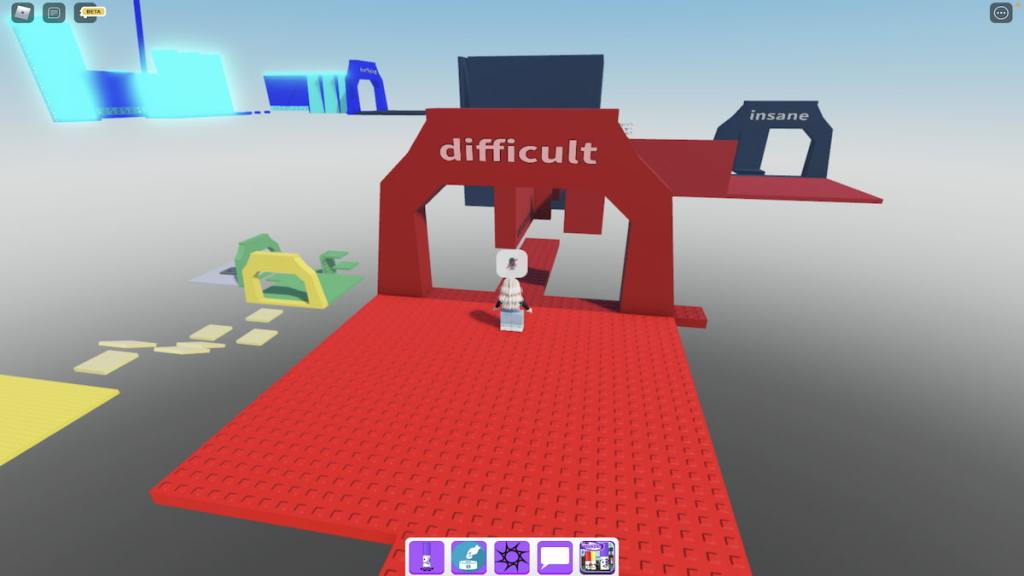
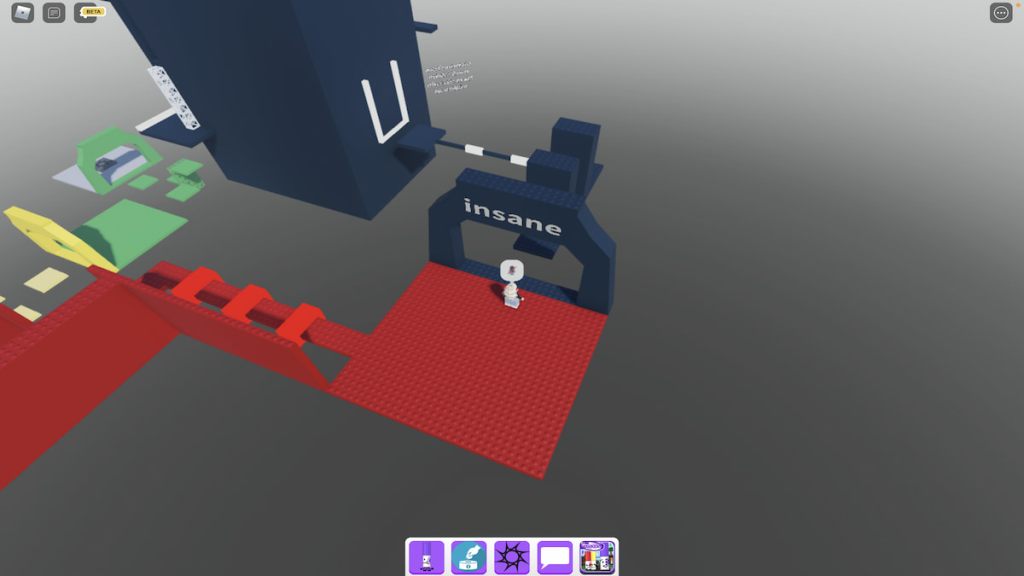
Once you ’ve cleared the ladder obstruction , you ’re fundamentally at the end of thedifficultlevel — all that ’s left to do is jump over a few killbricks . After jump over the third killbrick , you should be in front of theinsanelevel entrance .
As project from the image above , theinsanelevel is mostly contained inside of a building rather than unfold out across various platform . To get through this building , you ’ll need to stick out around two obstacle wall , over two thin killbricks , and then through the building ’s diaphanous entrance .
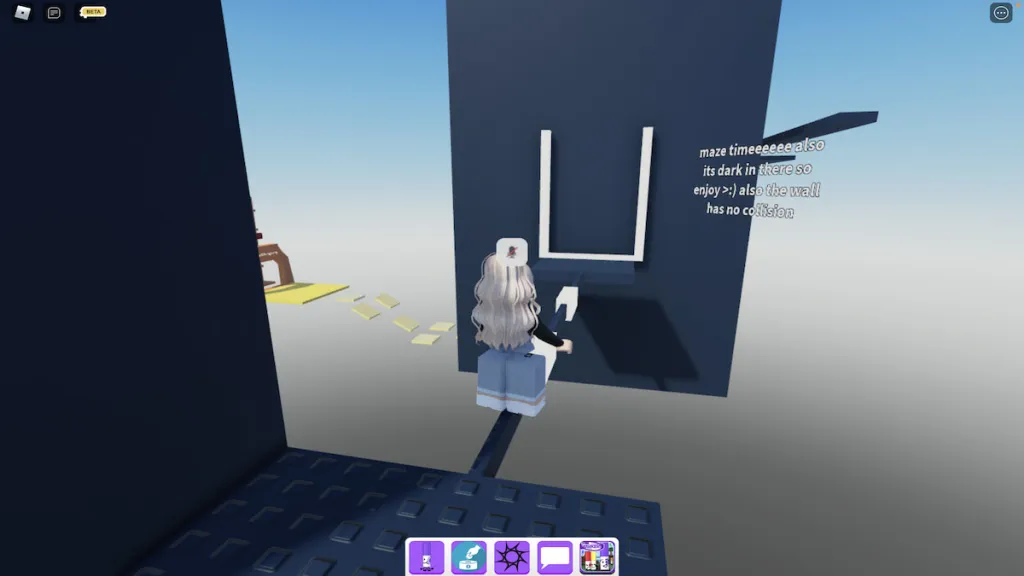
Inside of this building is an exceptionally sinister maze that can lead you totwo different exits , one that leads you to the rest of the standard obstruction course and another that teleports you to the Danger Marker ’s obstruction trend . In the image below , we ’ll show you the path you postulate to take to continue along the standard course and achieve Difficulty Chart Marker . To help you see the path better , we ’ve increase the brightness on these double — it ’s nowhere near this bright inside of the maze !
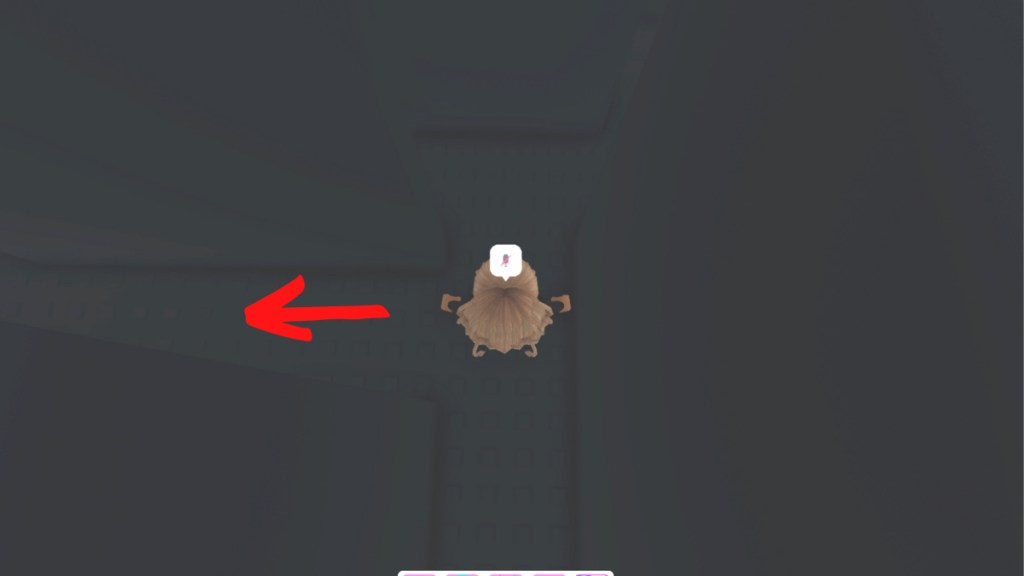
As shortly as you skip through the transparent entrance , turn left and walk straight until you run into a bulwark . At this paries , grow right .
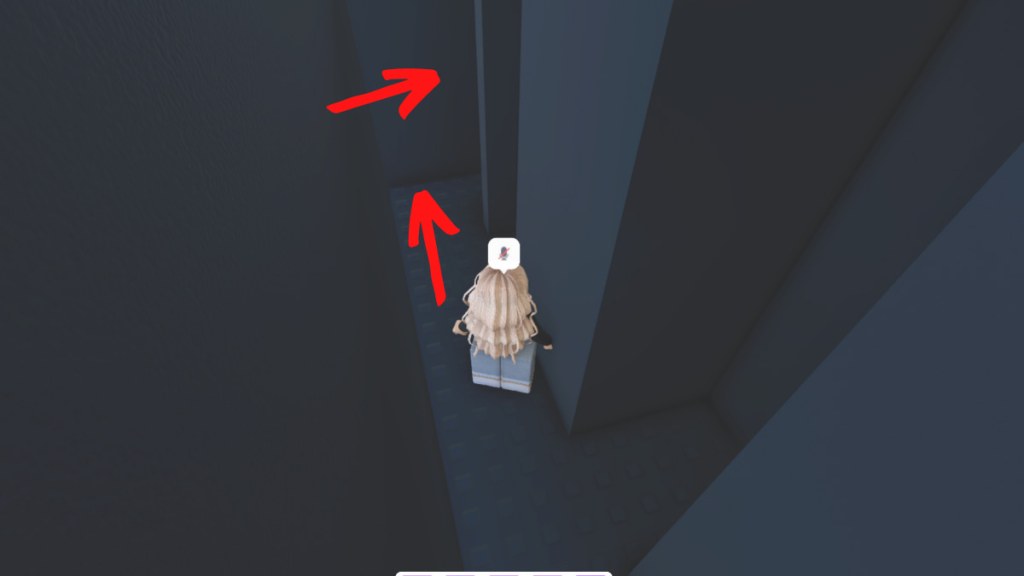
Continue straight and then rick decently before pass into the next wall .
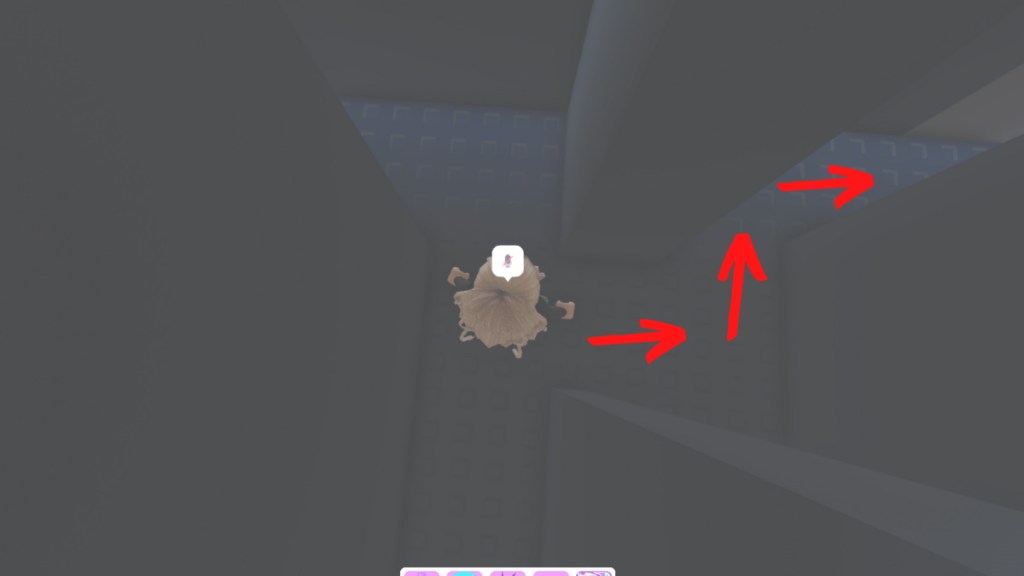
Now , walk straight again until you hand the first go on your left . Take this turn and retain forward .
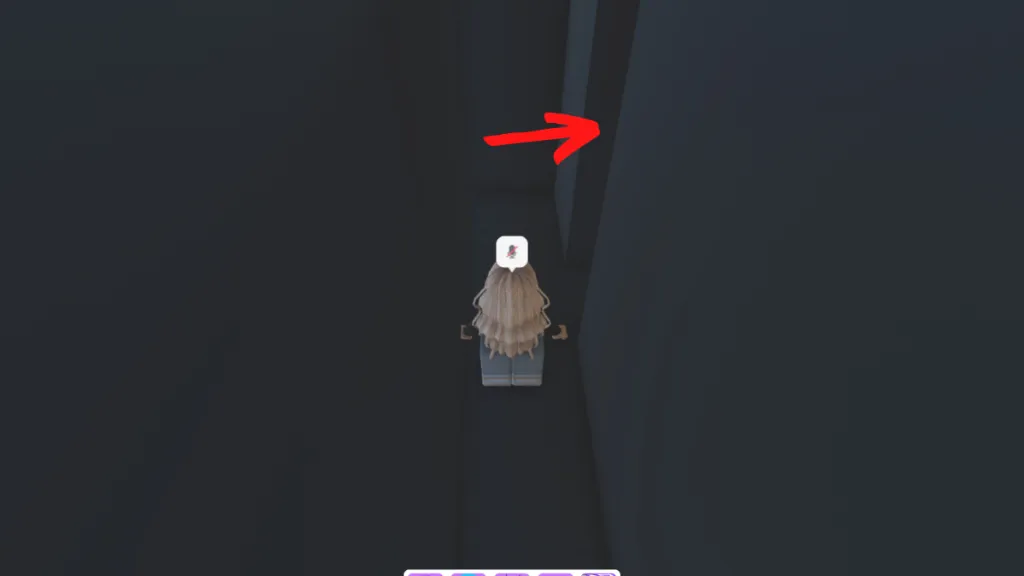
After a few steps , you should see a turn on your rightfield — take this turning , then directly twist remaining , and follow the path to the rightfulness .
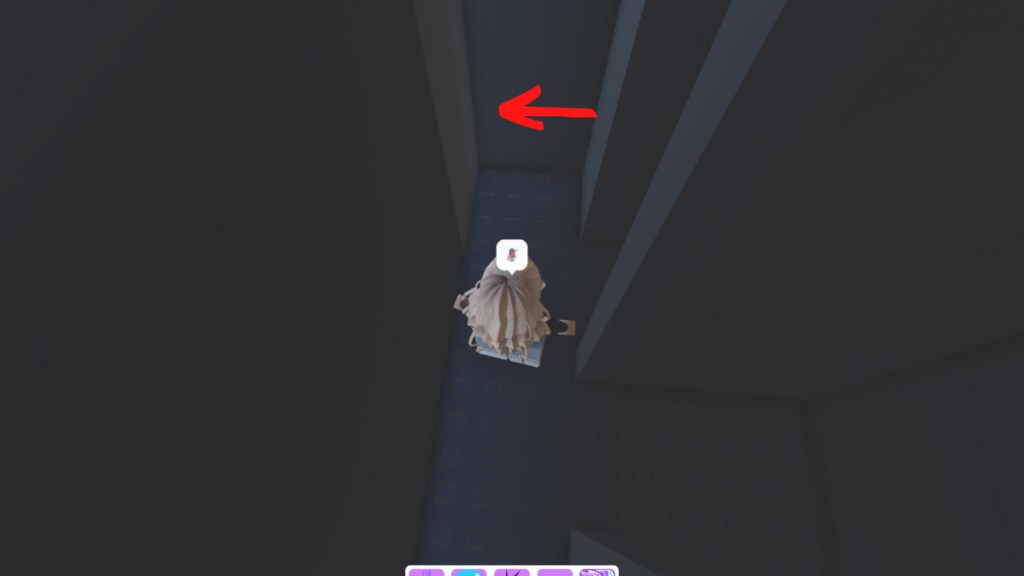
At the remainder of this path should be a cobwebby part of the rampart that you may walk through — this section will be lighter in colour when compared to the residuum of the paries and will lead you outside of the maze .
Now that you ’re outside the maze , walk to the end of the platform and turn left — around the corner will be a white ladder . go up this run and hug through the small orifice to reach the next obstruction at theinsanelevel .
This next discussion section of theinsanelevel is exceedingly easy to flap , simply follow the path we ’ve draft below to head off the killbrick balls and leave the obstacle . Then , walk forrard along the thin platform to get through theterrifyinglevel ’s entryway .
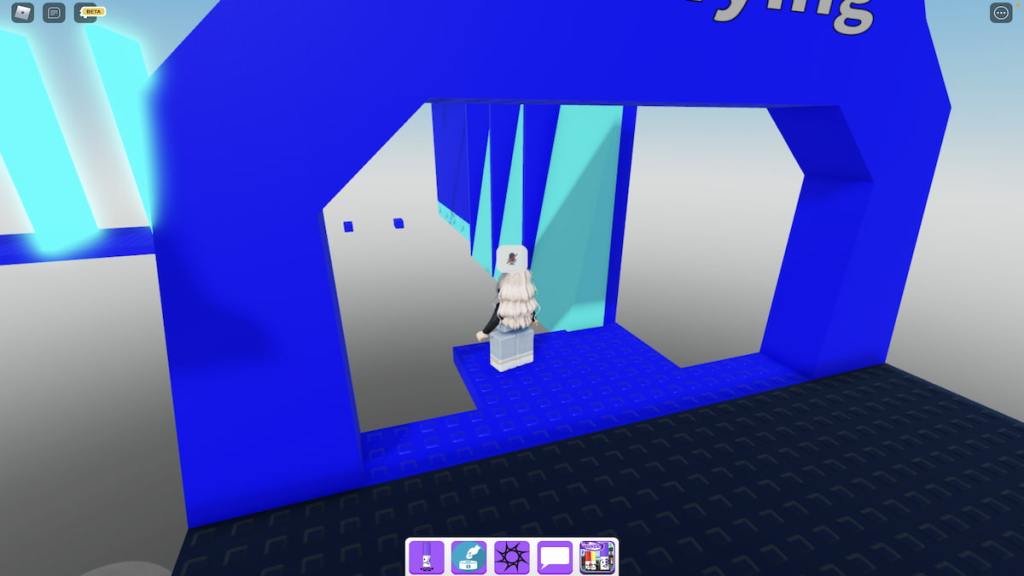
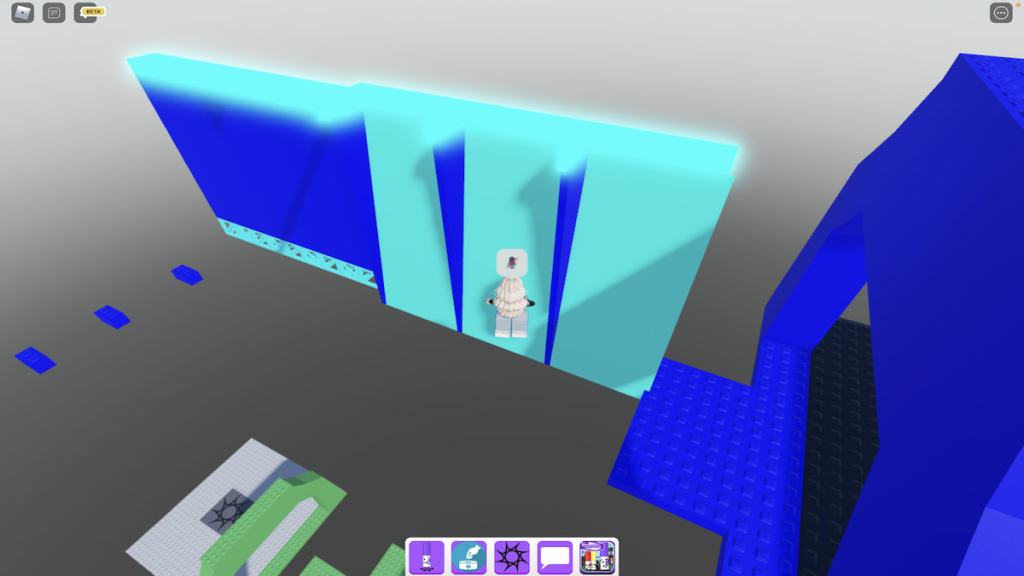
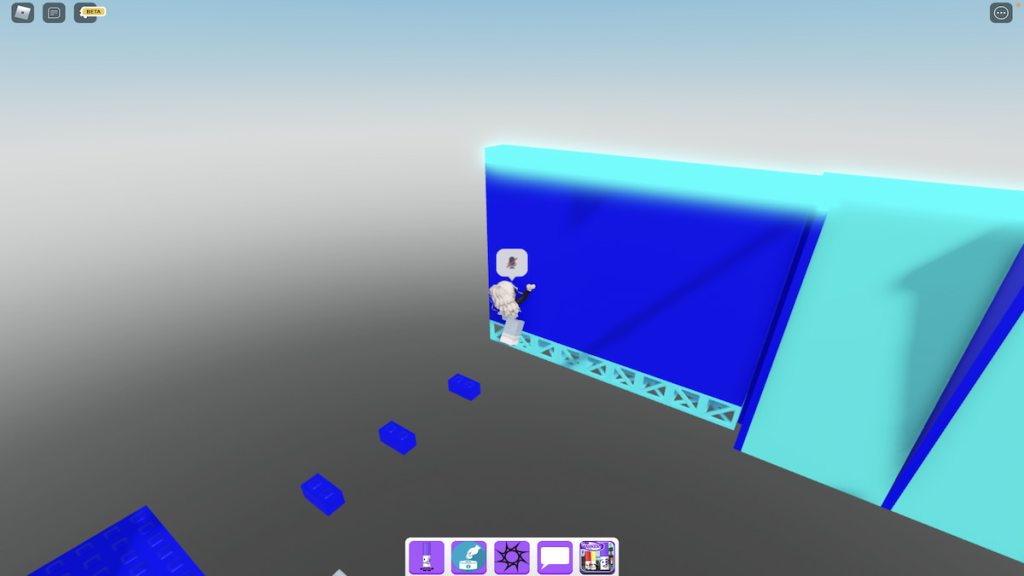
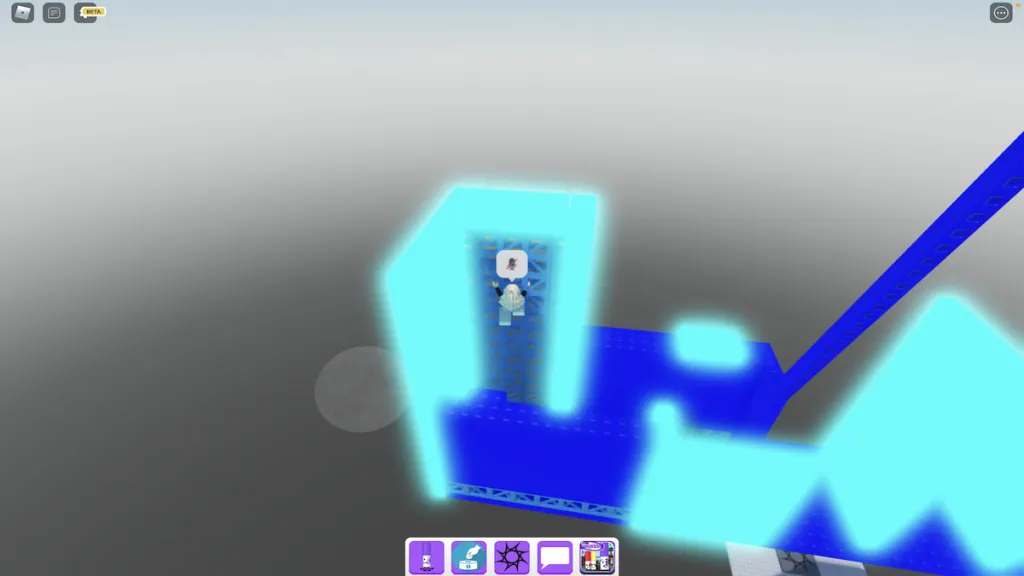
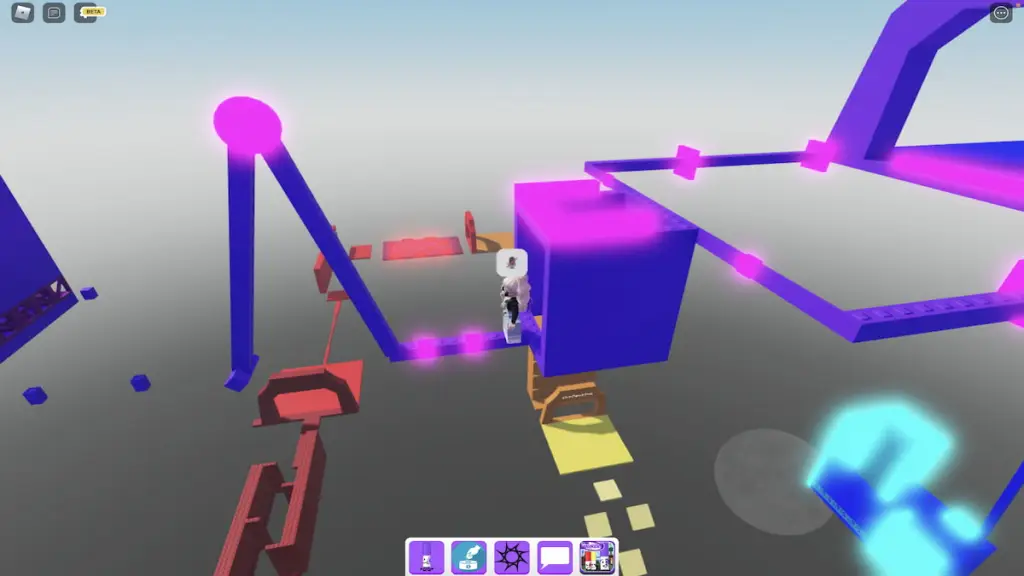
To make it throughterrifying , role player must avoid a powerful amount of killbricks while parachute , climbing , and stepping in all the right place . To remove the first obstacle , jump off around the dark blue blockades and onto the cyan part of the wall in front of you . Be careful as you jump — if you get too close to the top of the cyan wall , your Robloxian will hit a killbrick and get reset .
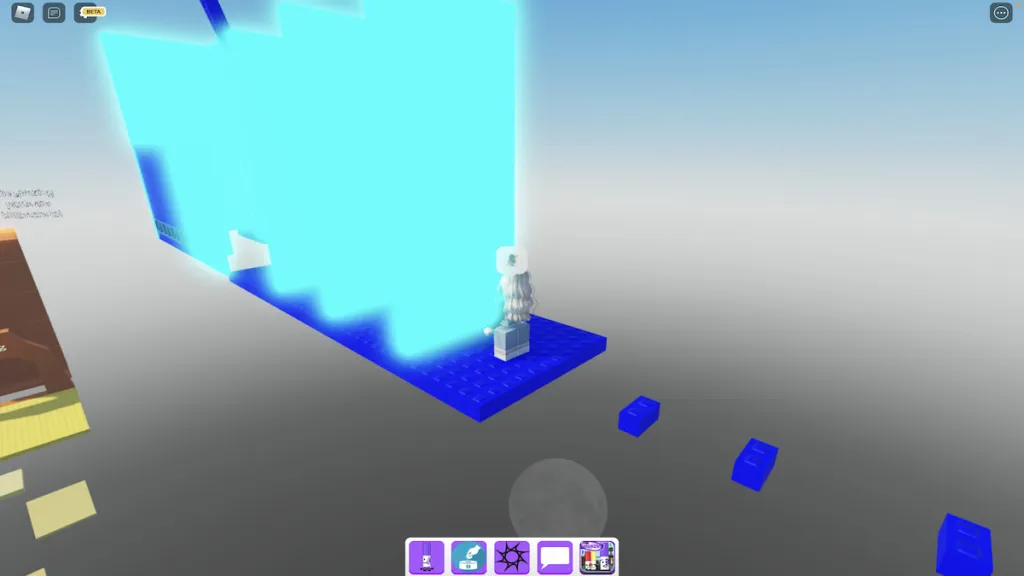
Once you ’ve made it to the last cyan wall , cautiously jump onto the horizontal run to your left wing and climb to the very end of it . From here , spring backward onto the little platform behind you and cover jumping frontwards onto the next ones until you reach the large platform .
Related : How to get the Zen Marker in Roblox regain the Markers
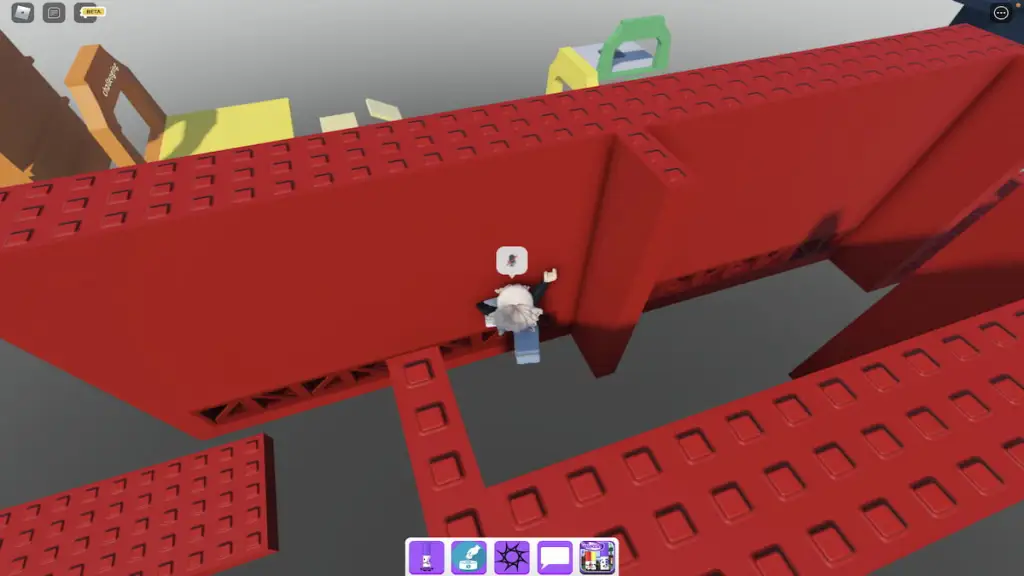
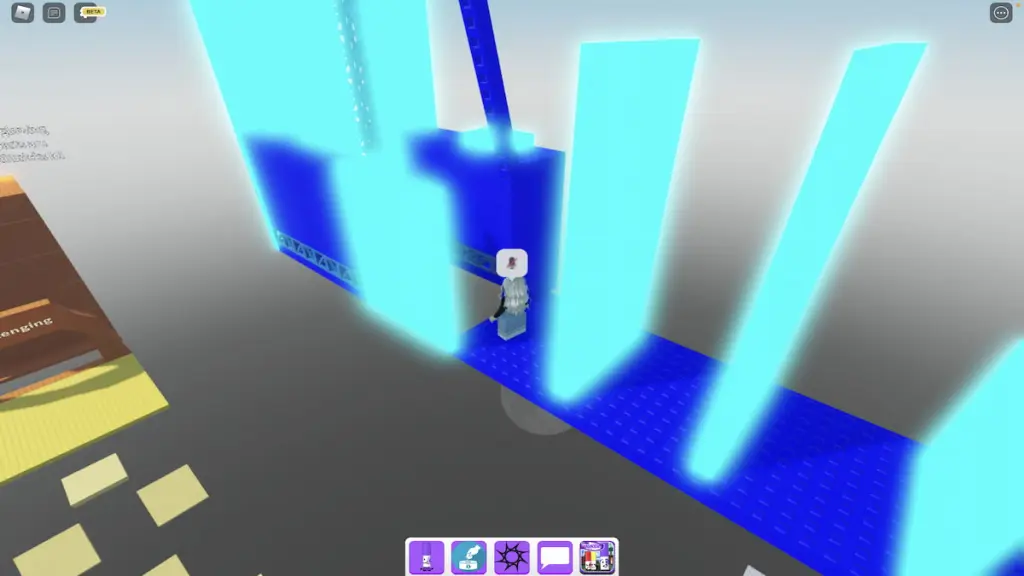
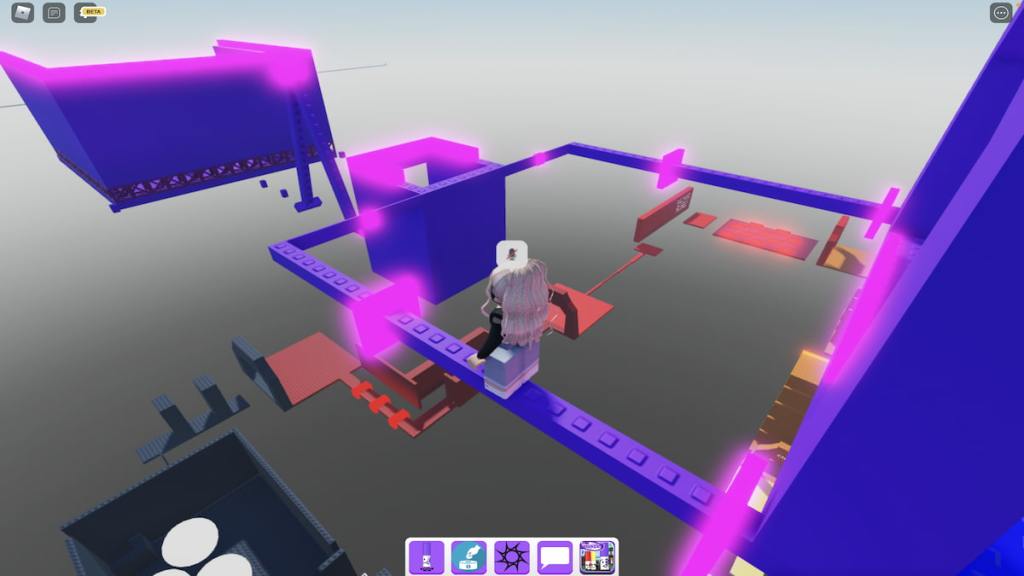
This next obstruction is one that we ’ve seen multiple times throughout this obby — jumping out and around blockade walls . The only difference with this obstacle is that the blockades also serve as killbricks , meaning that you will insta die upon touching them . Once you ’ve passed these blockades , your next challenge is to repeat the ladder obstacle from thedifficultlevel while avoid an added twirl : more killbricks .
To complete this obstacle successfully , scoot your Robloxian as nigh to the killbricks as you’re able to without really touch them — that way , you have more way to turn around and jump from one run to the other across the large interruption .
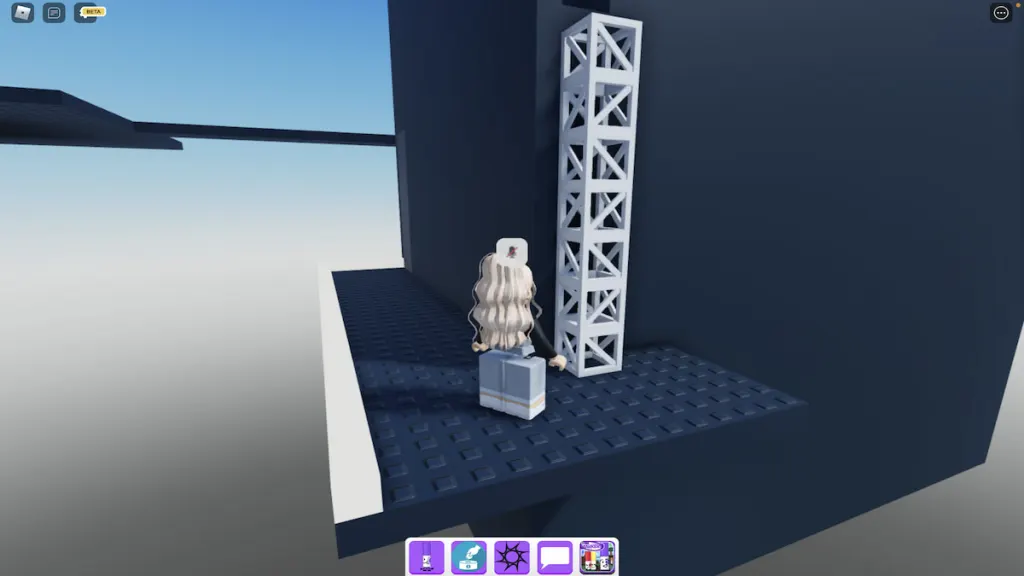
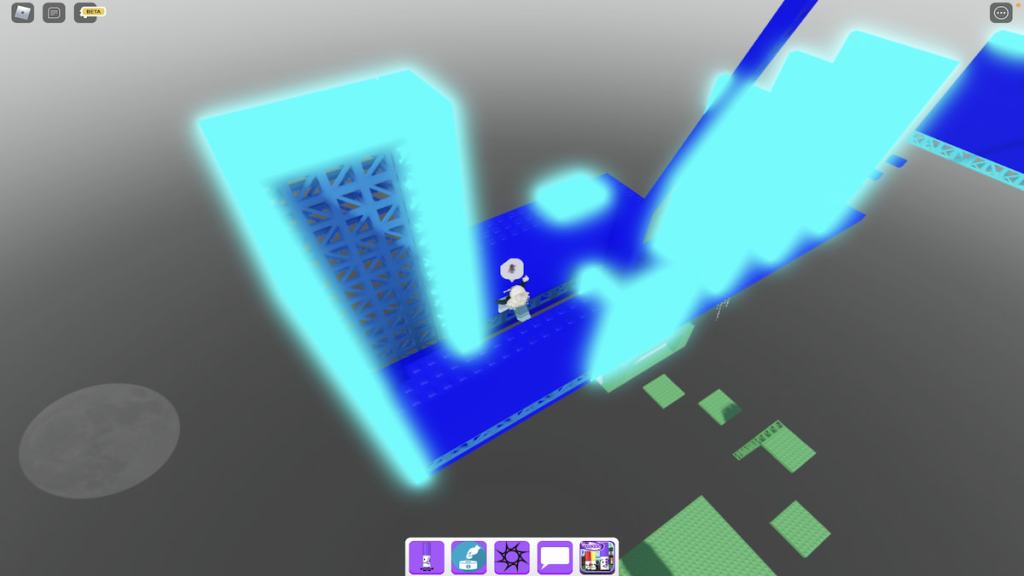
After successfully avoiding these killbricks and go up across all the horizontal ladders , your Robloxian will demand to take hold of onto and climb a erect ladder with killbricks surrounding it . To make it off this ladder , rise backwards and onto the dark blue weapons platform behind you .
Then , make your way toward the thin , angled platform and rise it cautiously .

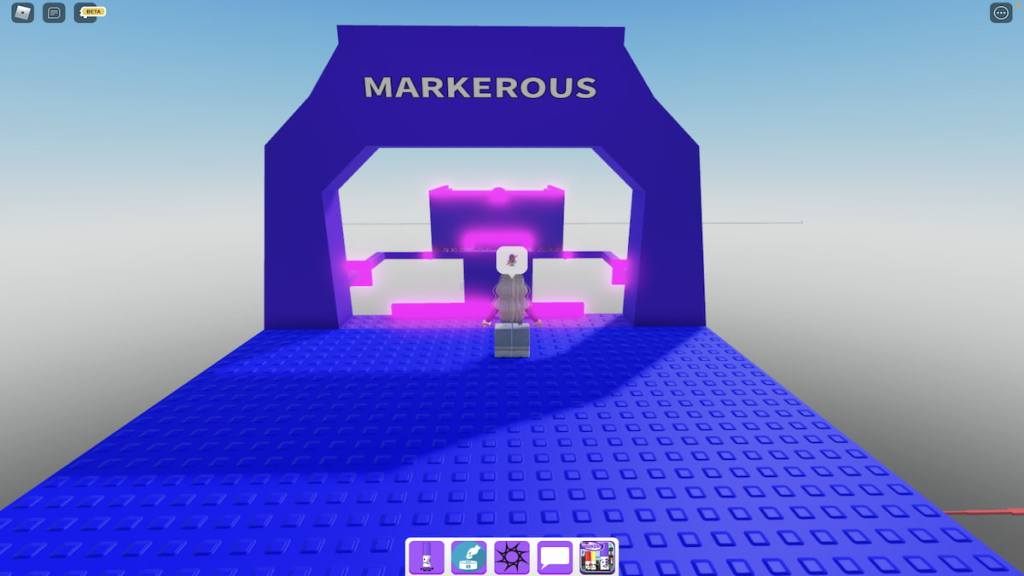
At the top of this political program is the entrance to the last level , MARKEROUS .
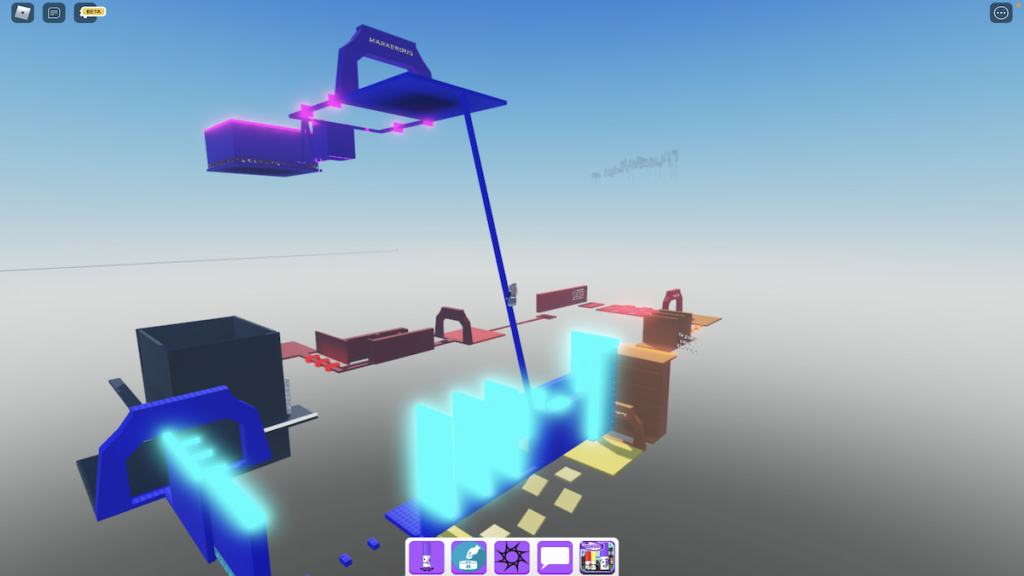
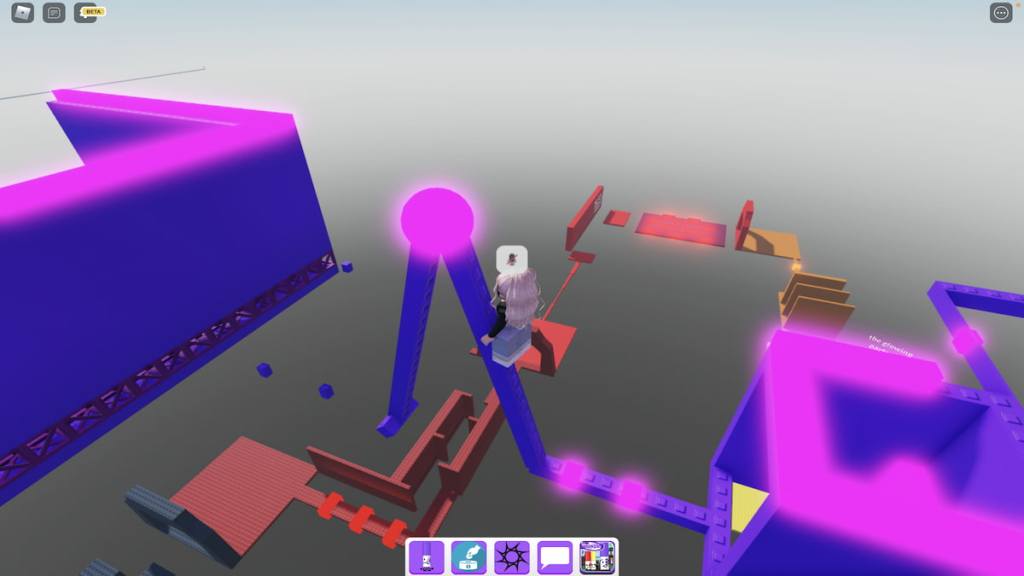
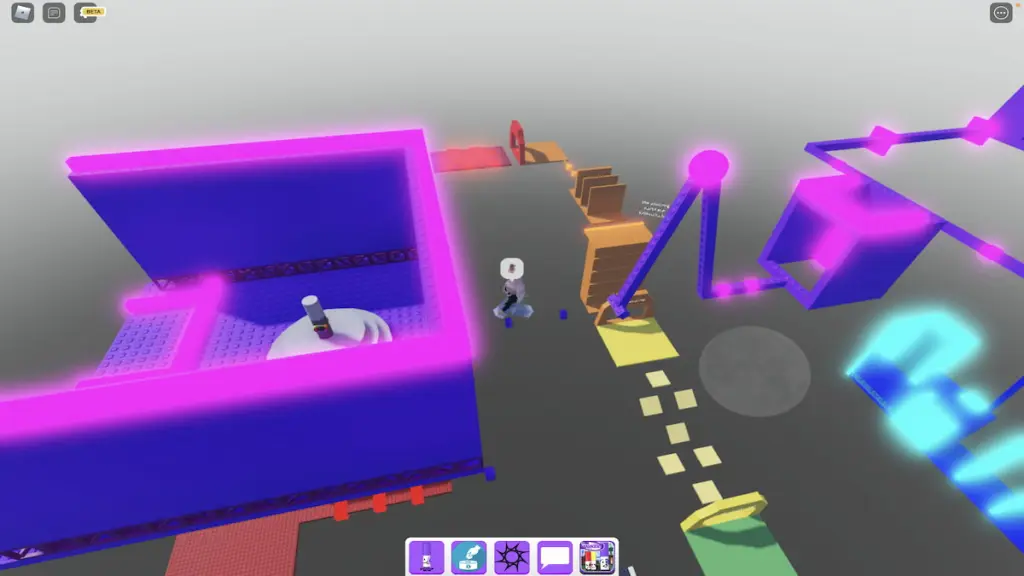
Though this is the Difficulty Dimension ’s close , this level is n’t passing difficult in and of itself . While some of the other level take us over ten tries , MARKEROUSwas completed in only two or three . To set forth , walk to either side of the incoming ’s arch , carefully maneuver around the killbrick in front of it , jump to the platform to the side of it , and then take the air along the remainder of the path to the point below .
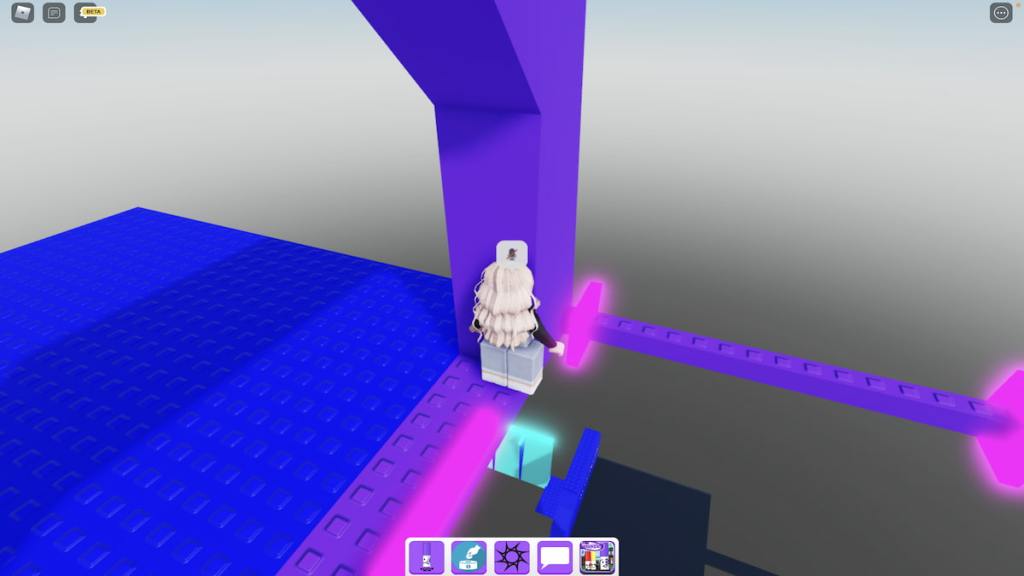
From here , your first instinct is likely to try and jump down onto the platform below — donotdo this ! Instead , only walk off the ledge you ’re currently standing on . Upon doing so , your avatar will mechanically grab onto the platform ’s ledge below you , making it easy to walk fore and climb onto it .
Now , you ’ll involve to carefully stand out between the glowing killbricks and onto the slanted platform .
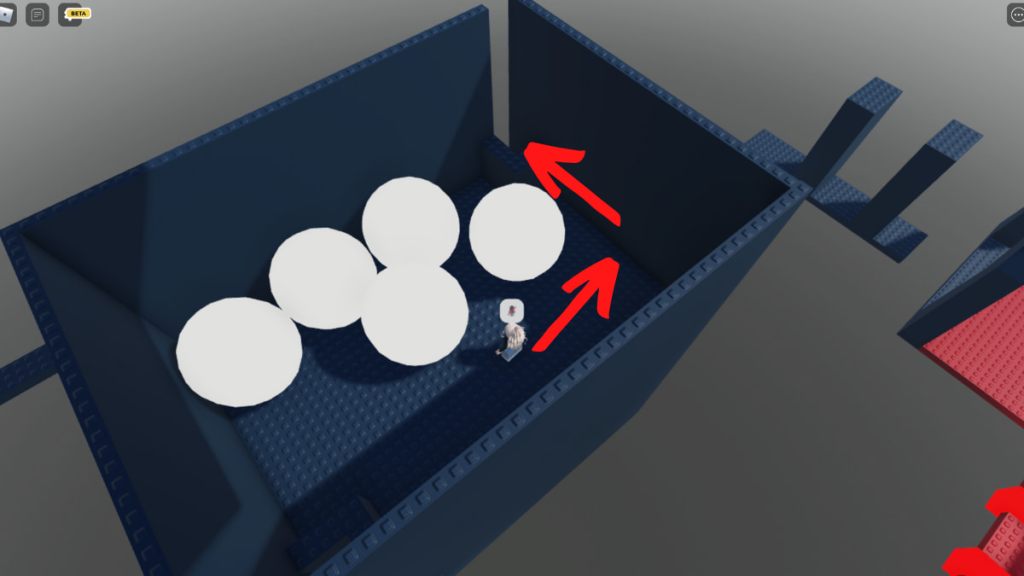
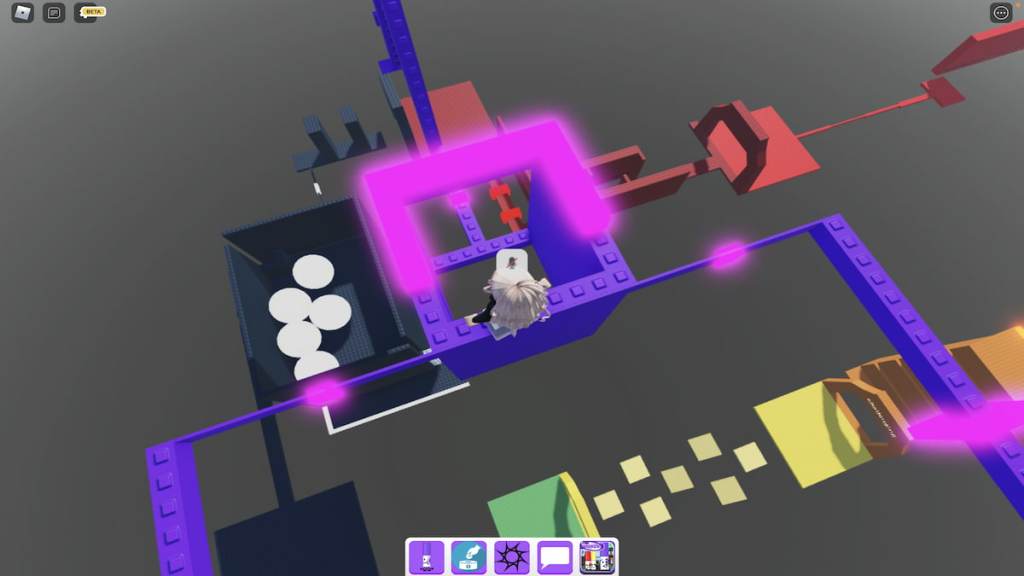
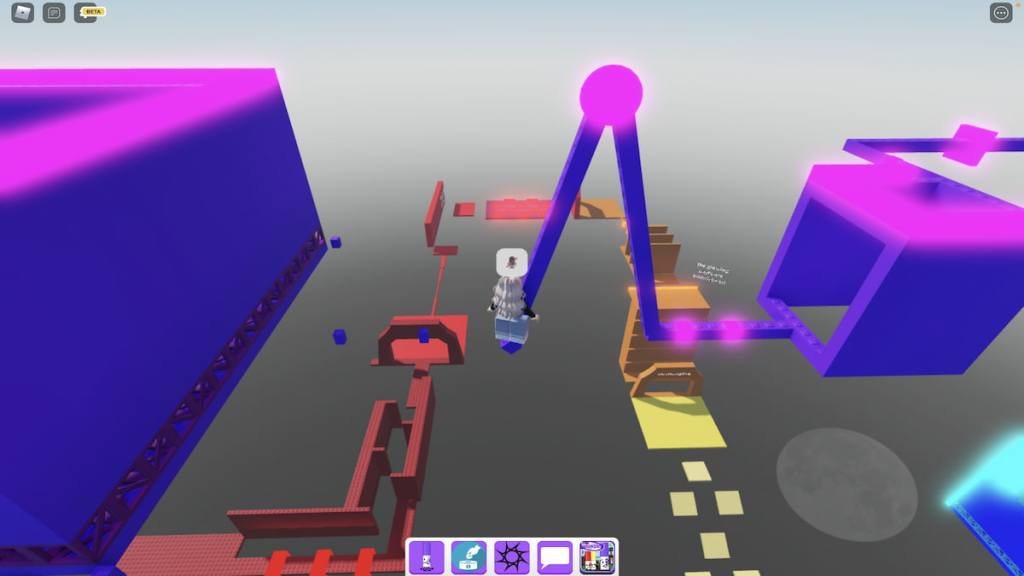
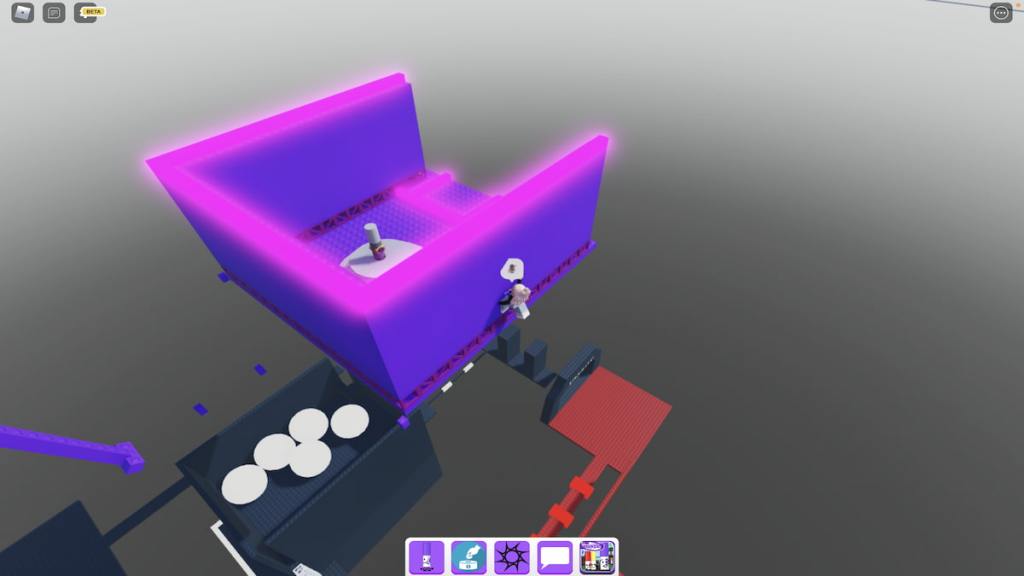
On top of this weapons platform is a globular killbrick that will insta kill you if you get too close to it . So how do you continue through theMARKEROUSlevel ? You ’ll postulate to jump off this weapons platform , around one of its English , and onto the small program at the home .
Take a deep breathing time , you did it ! Now , jump onto the minuscular platform piece in front of you and use them to reach the horizontal ladder . This may seem simple enough , but it can easily become frustrating , so take your time and jump carefully !
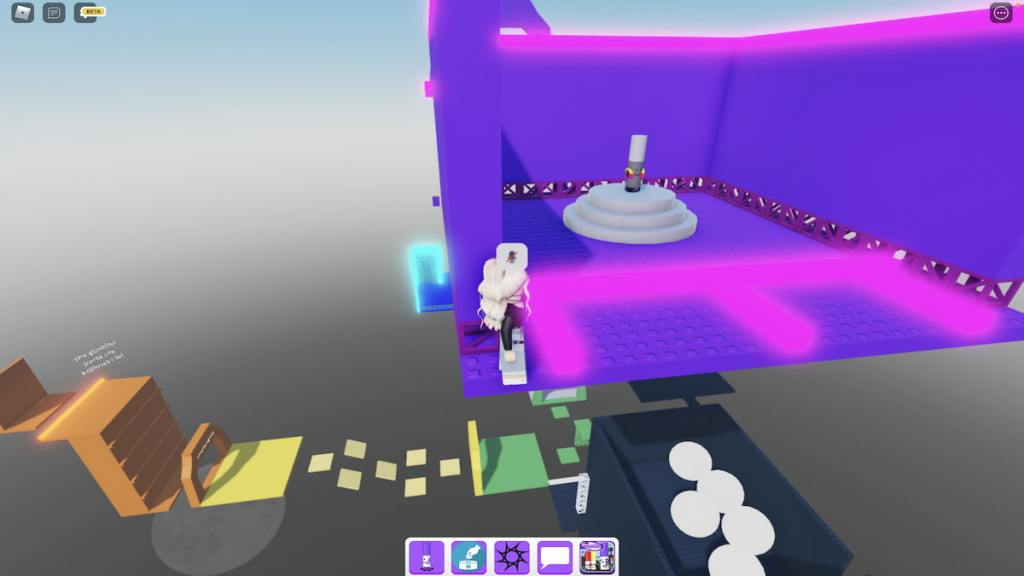
Climb this run to the right and carefully step onto the edge of the final chopine .
Now , cautiously chute toward the Difficulty Chart Marker while avoid the glowing killbricks . Do n’t interest , there ’s no last - second legerdemain or obliterate obstruction in your direction !
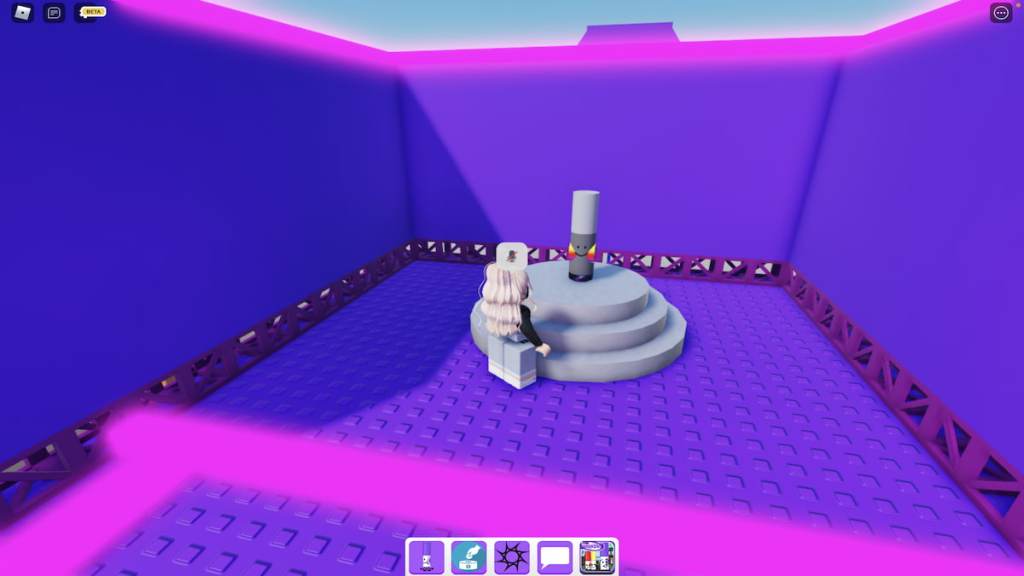
You made it ! To add this mark to your Markerdex , but walk up and touch it . Upon doing so , you should receive the pop up below . Pat yourself on the back — you now own the mark with the heavy difficulty in all of Find the Markers !
Looking for more Find the Markers content ? Check out our late guides onHow to get the Atmosphere Marker in Roblox Find the MarkersorHow to get the Ceramic Marker in Roblox Find the Markershere on Pro Game Guides !