Danger incoming !
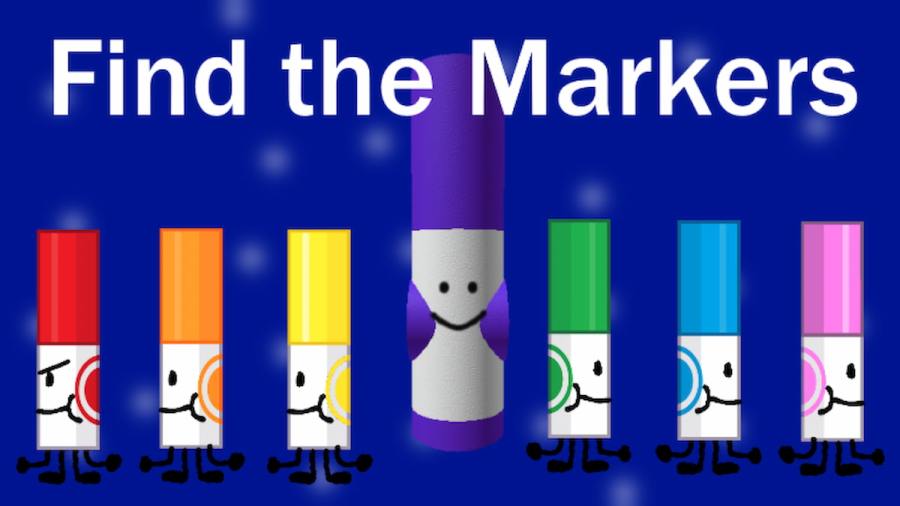
WhileFind the Markersmay seem like just another scavenger - hunting - style experience , it really offers quite an intricate map , with more than a smattering of challenge secrets to regain . Inside the Difficulty Dimension , there are five markers for thespian to break , include the one we ’ll get across in this brief guide , Danger Marker .
Finding the Difficulty Chart Marker in Find the Markers
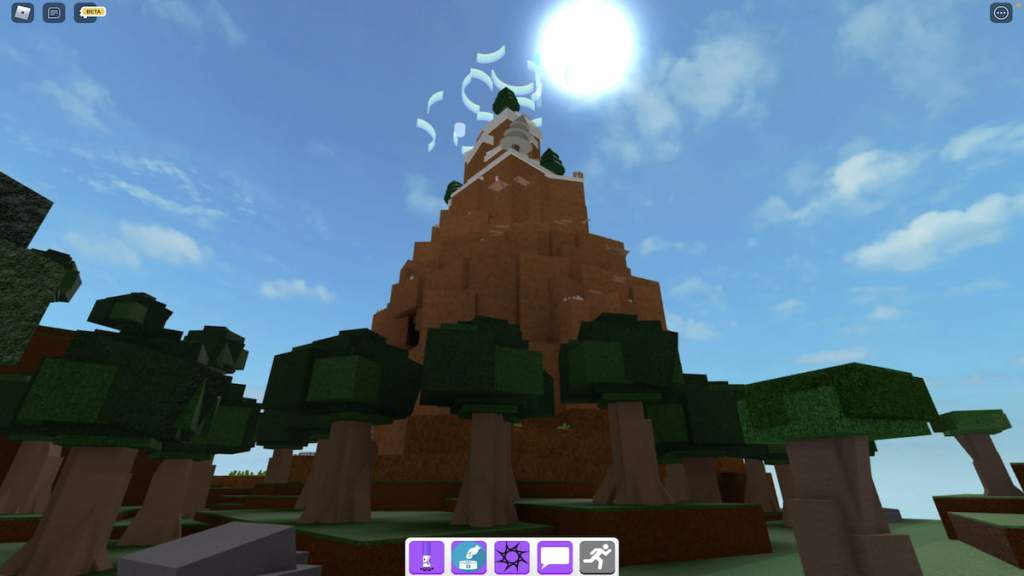
Once you ’ve spawned into Find the Markers , drumhead toward the forest area of the function and border on its large mountain .
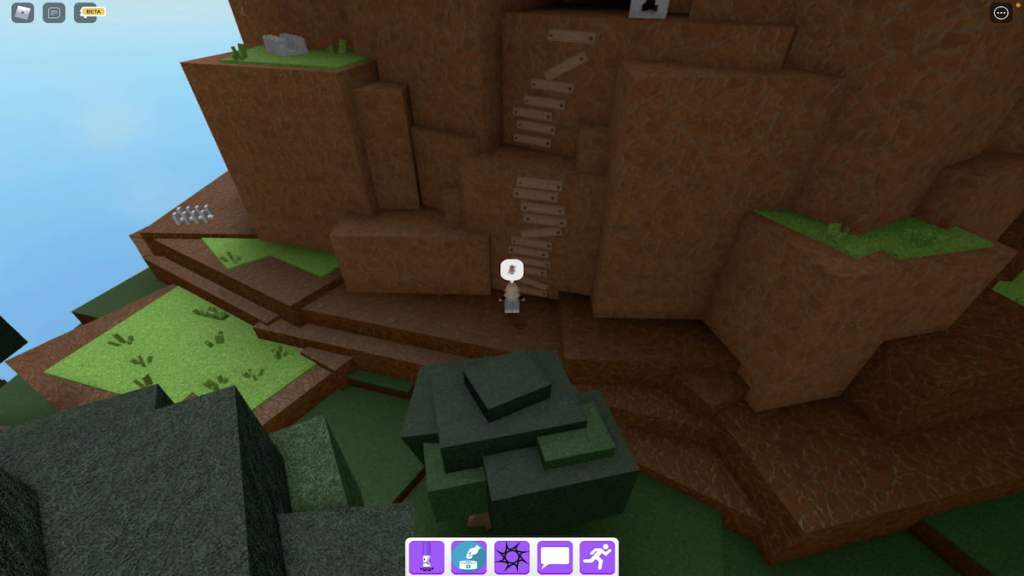
At the bottom of this mountain is a jury-rigged wooden ladder — climb it and enter the cave it leads to .
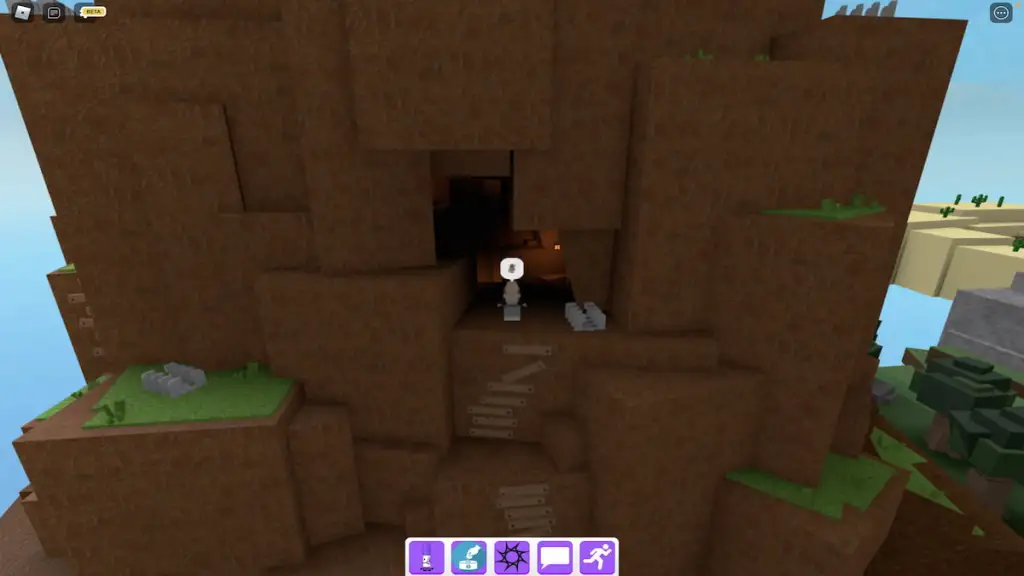
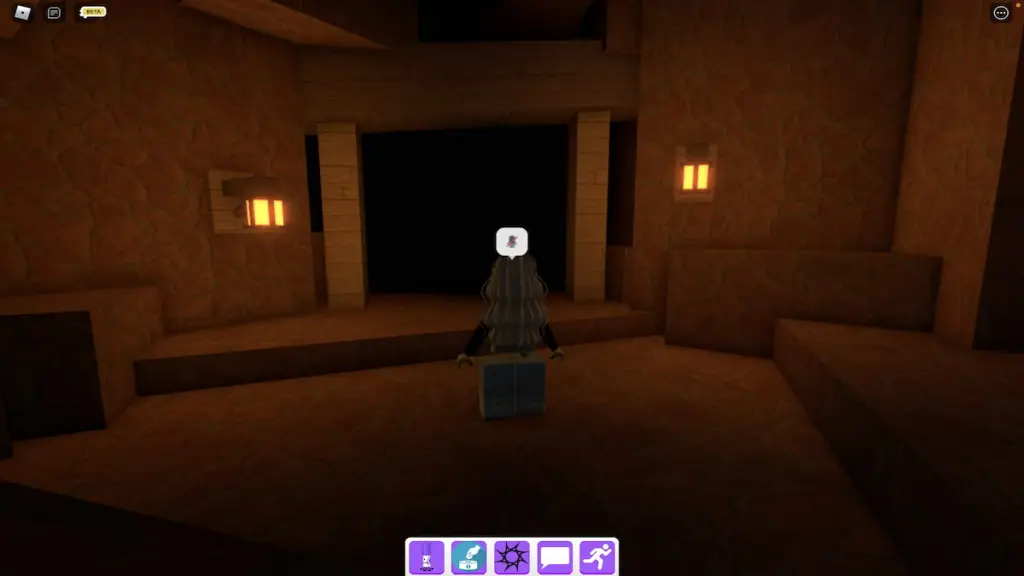
As you take the air into this cave , you should notice a dingy tunnel with two lanterns at the showtime of it .
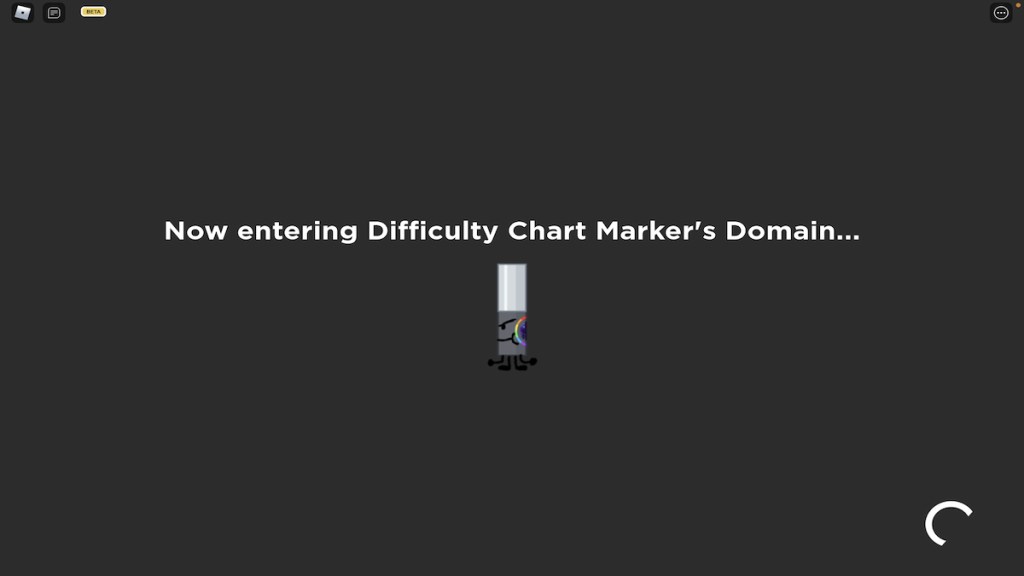
Upon walking into this burrow , you will enter a secret room that boast a paries of letters . To continue toward the Killbrick Marker , select the letters D , I , F , F , I , C , U , L , T , and Y , in that order , to spell out the worldDIFFICULTY , and then fall into place on theEnterbutton . If you put down the code correctly , you will automatically be teleported to theDifficulty Dimension .
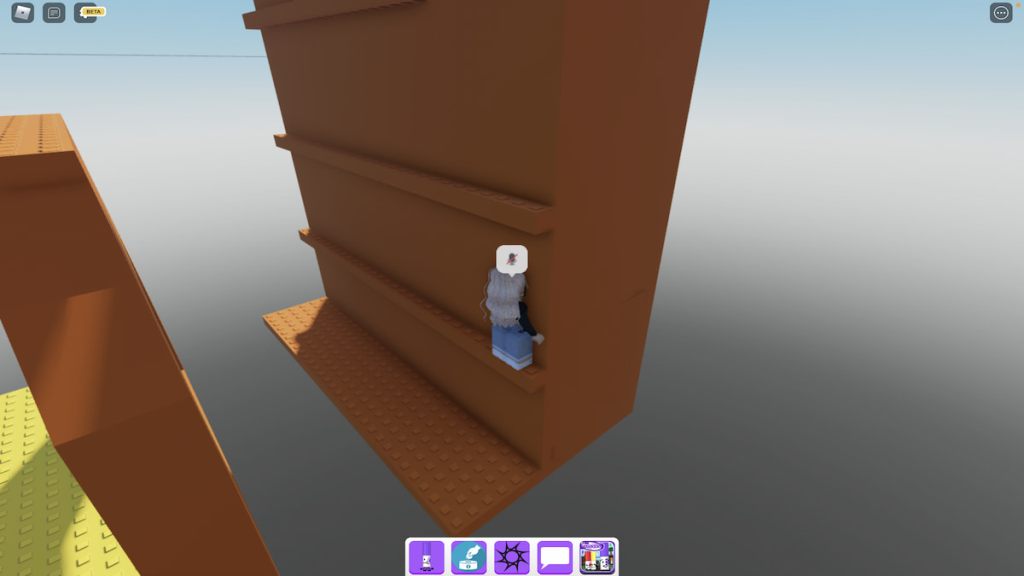
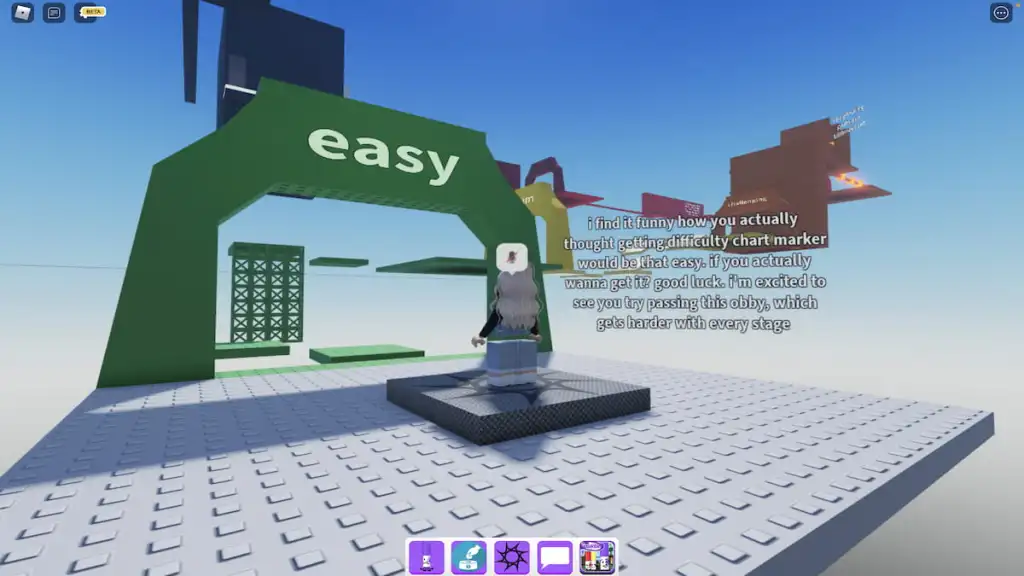
To obtain the Danger Marker , players must reach theinsanelevel of the Difficulty Dimension ’s obby and find a secret expiration inside the sullen maze . To lead off this journeying , walk and jump your way through theeasylevel to reachmedium .
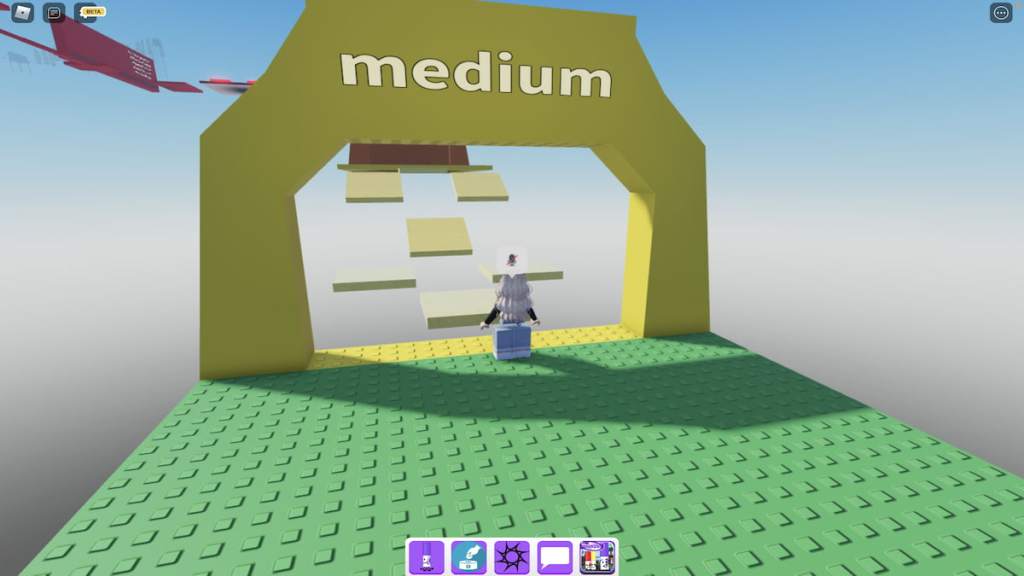
To survivemedium , you ’ll postulate to jump across a set of slippy roofing tile and reach the political program above . If you slide off and come down to your end , you will be restarted at the beginning of theeasylevel , so be careful ! Once you ’ve made it to the start of thechallenginglevel , hop across the small gap and onto the first shelf in front of you .
Now , pass over out and up from this ledge to pass the next one and recur this strategy until you ’re at the top of the bulwark .
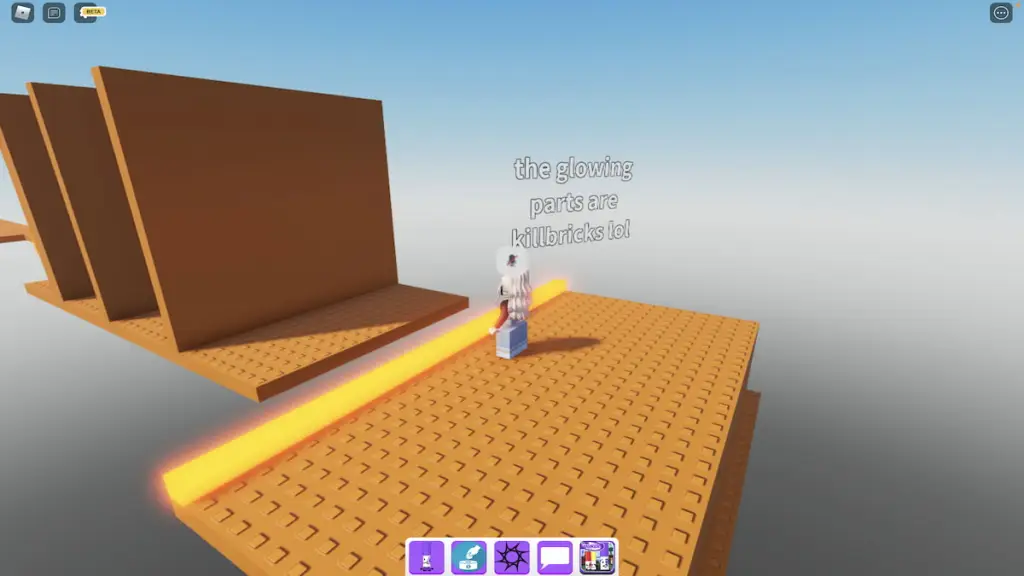
From here , jump over the glowing killbrick , out and around the small wall , and to the commencement of thehardlevel .
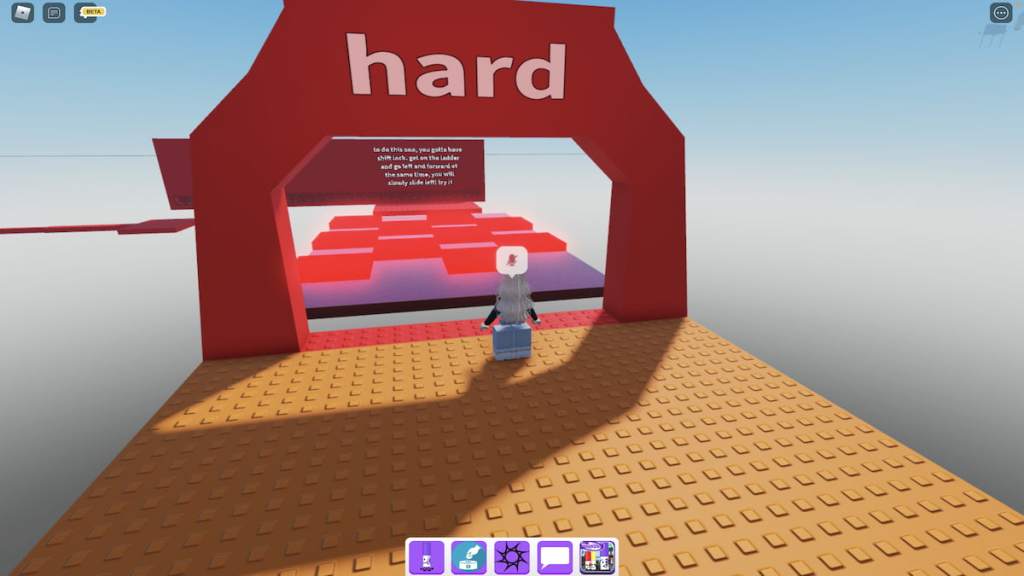
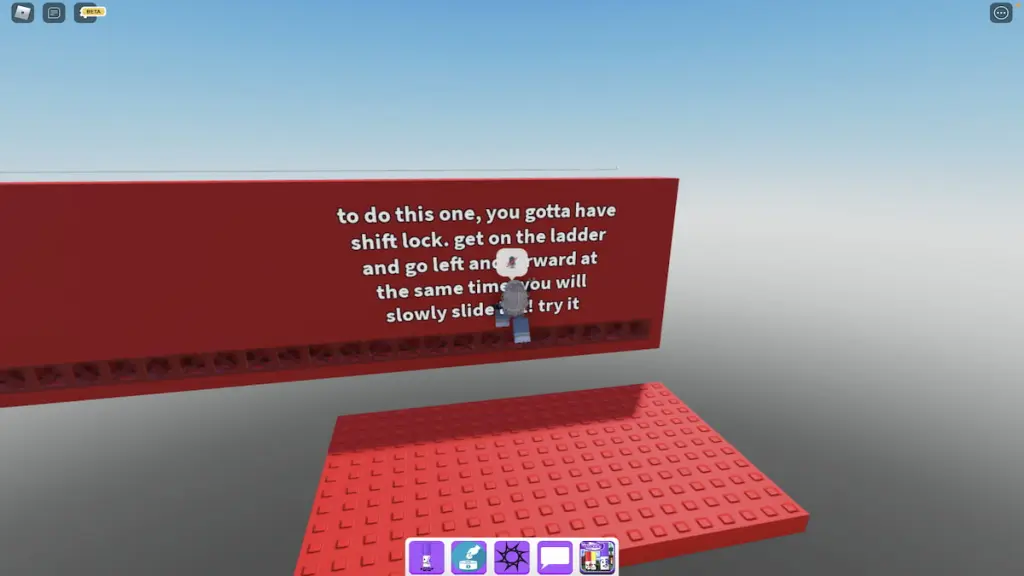
Similar to themediumlevel , thehardlevel utilise a slick base for its first obstacle , create it punishing to avoid the radiate killbrick foursquare as you attempt to leap between them . To complete this obstacle easily , we ’d recommend turn tail and jumping through it in one quick motion rather than taste to leap and stop repeatedly . If you may pick up a solid impulse , you should be able to feed and jump between the square without hitting any of them .
have-to doe with : How to get the Mimic Marker in Roblox Find the marker
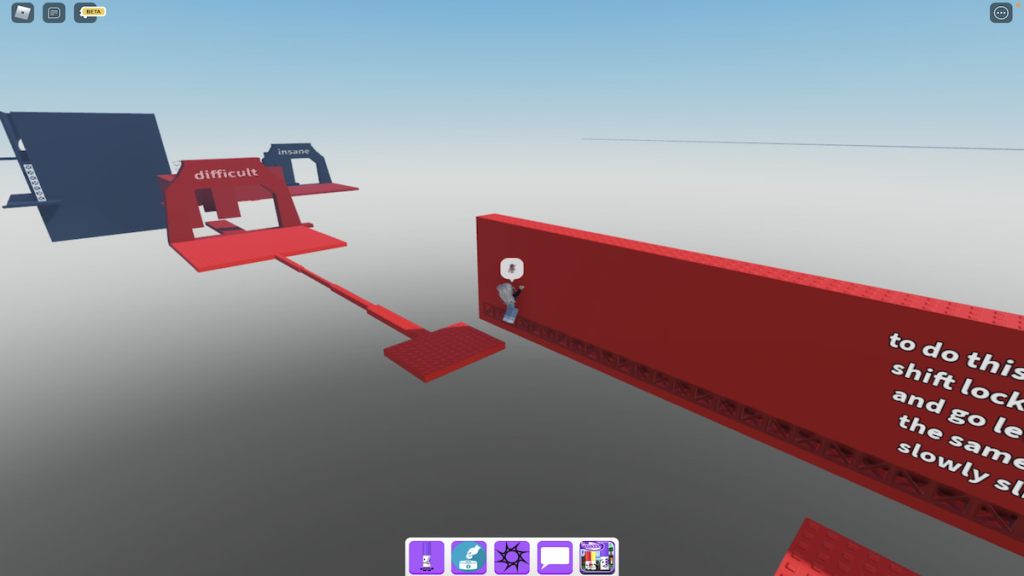
Once you pass the ending of the first obstruction , you ’ll immediately be face with the second gear , which requires you to jump and latch onto a horizontal ravel and slide your way to a pocket-sized platform on your left . Though the experience allege otherwise , using shimmy ringlet is n’t require . If you find that just turn over your camera and displace to the leftfield is easier than using shift lock chamber , that can wholly work too .
To achieve this small platform , either climb down the ladder using the down movement key or press theSpacebarto leap off . Then , simply walk across the sparse bridge to hit the entrance to thedifficultlevel .
This grade expend the same type of obstruction ashard , the horizontal run , but takes it up a notch by make players parachute across a heavy col from one ladder to another . Again , if shift whorl is gentle for you , plough it on , but if not , feel innocent to leave it off . Just be sure to move at your own pace !
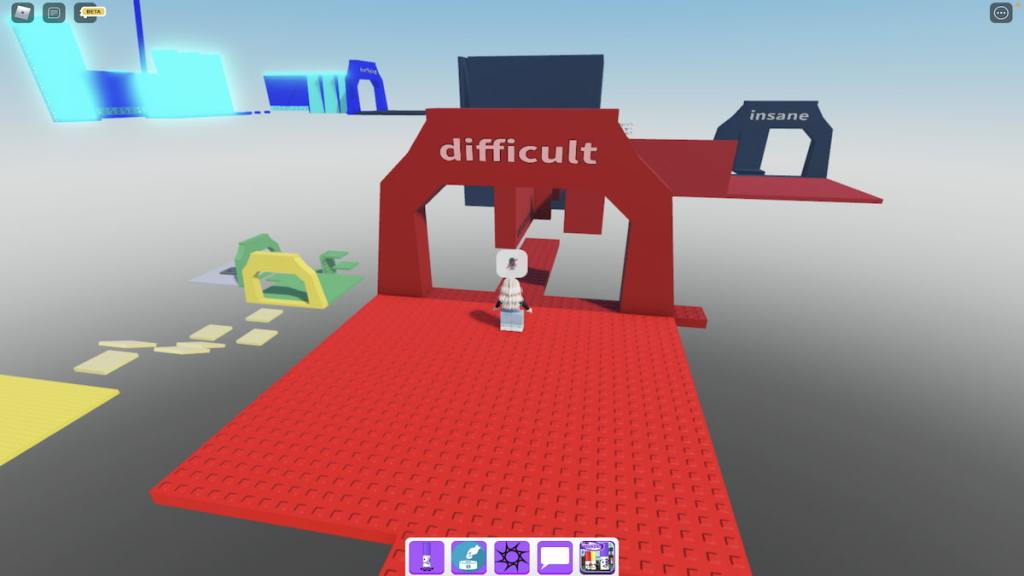
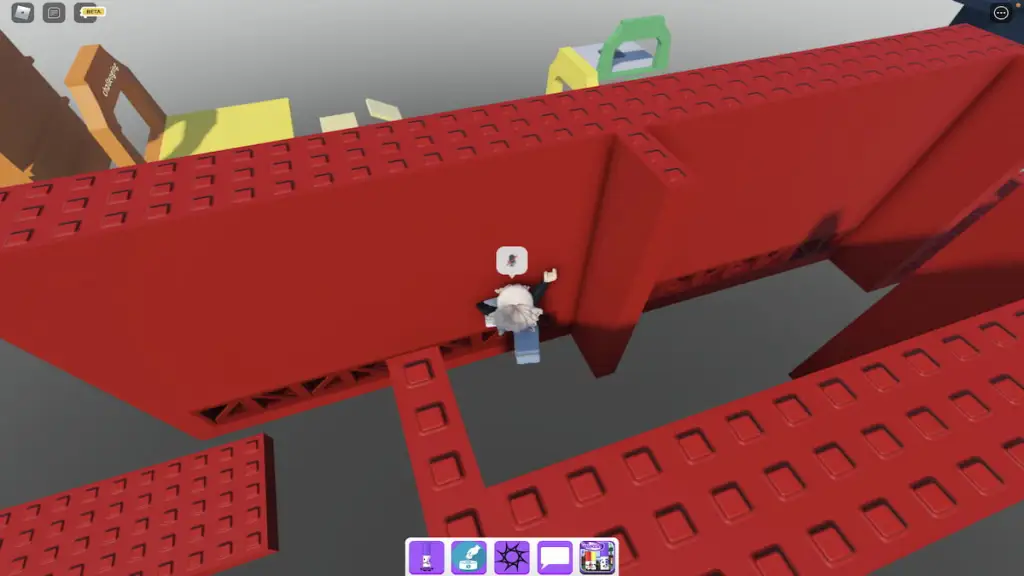
Once you ’ve empty the ladder obstacle , you ’re basically at the closing of thedifficultlevel — all that ’s left to do is jump over a few killbricks . After pass over over the third killbrick , you should be in front of theinsanelevel entrance .
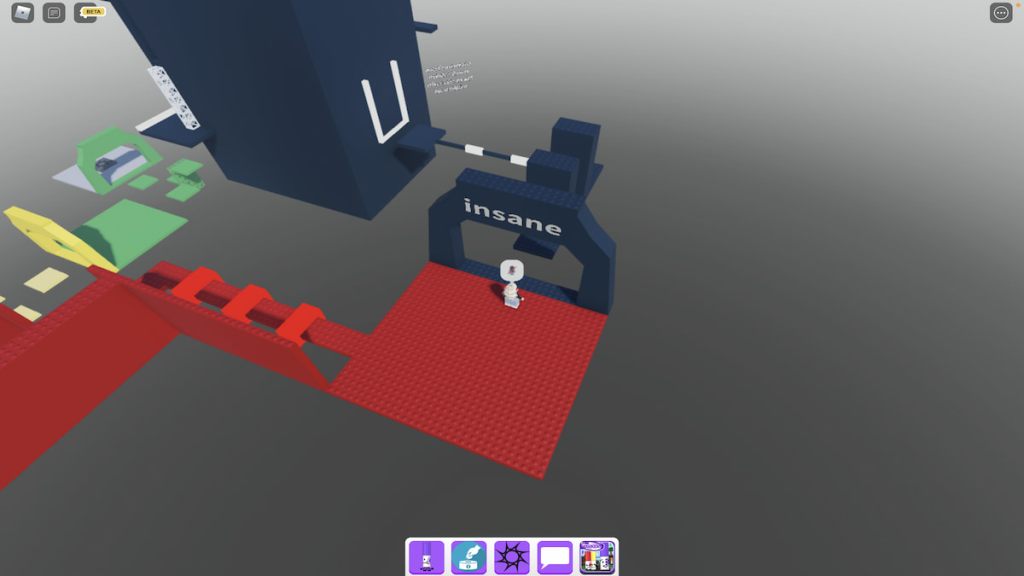
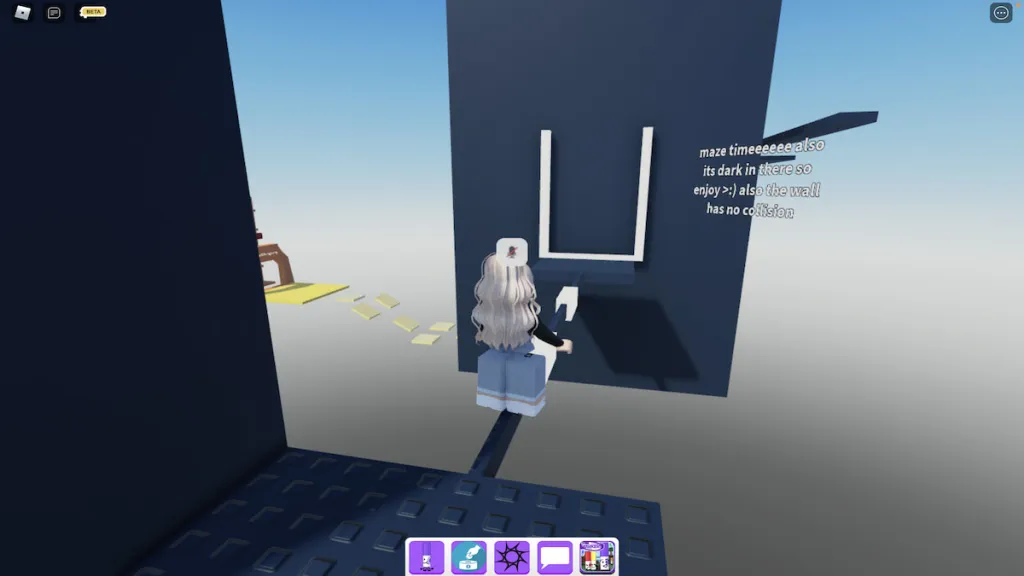
As seen from the image above , theinsanelevel is mostly moderate inside of a building rather than spread out across various platforms . You ’ll want to leap out around two obstacle wall , over two flimsy killbricks , and then through the edifice ’s transparent entrance to reach this edifice .
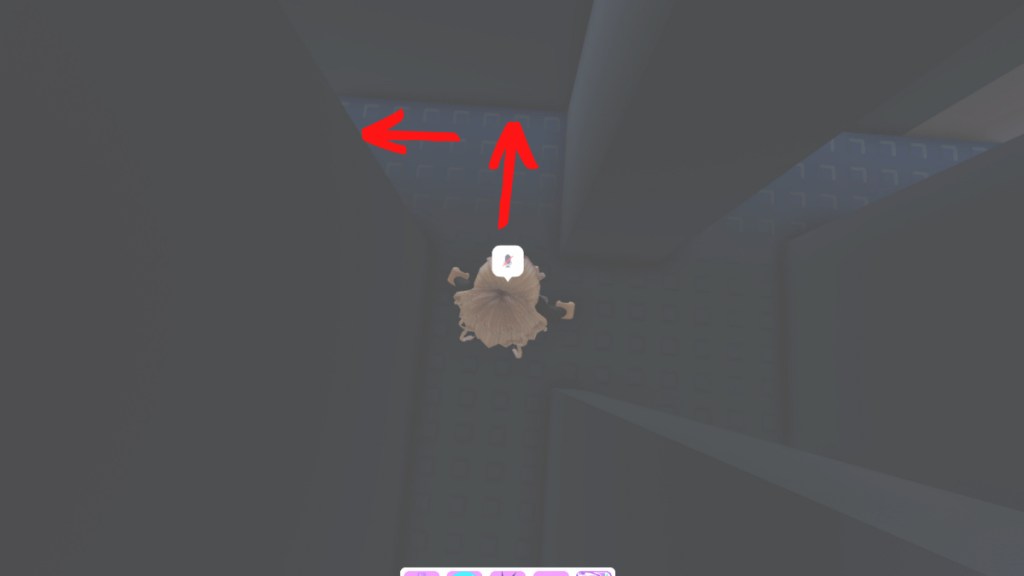
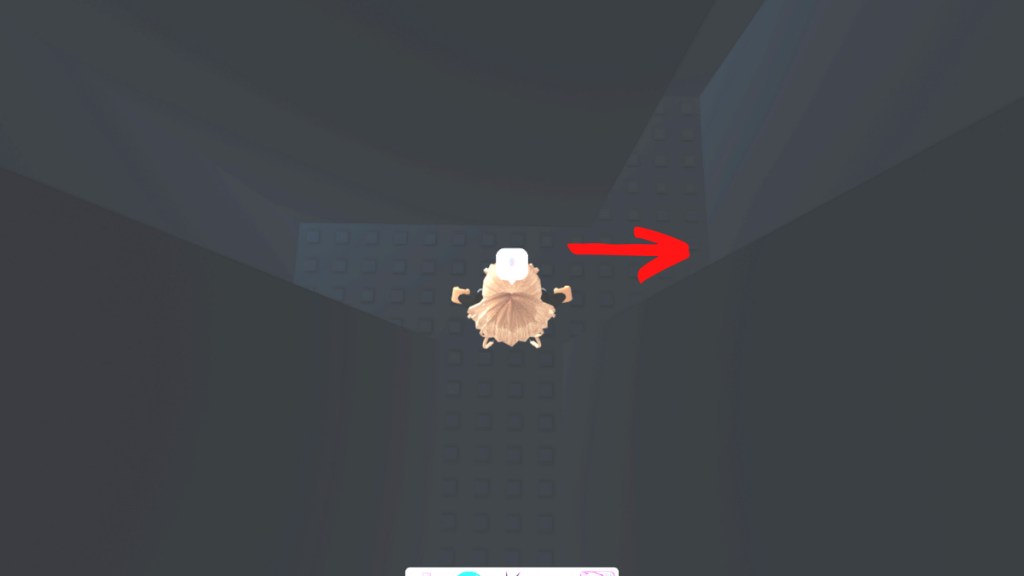
Inside this building is an exceptionally dark maze that can run you totwo unlike exits , one that leads you to the residuum of the received obstacle course and another that teleport you to the Danger Marker ’s obstacle class . The persona below show you the path you take to take to find the undercover Danger Marker obstruction course . To serve you see the itinerary better , we ’ve increased the brightness on these images — regrettably , it ’s nowhere near this bright inside of the maze !
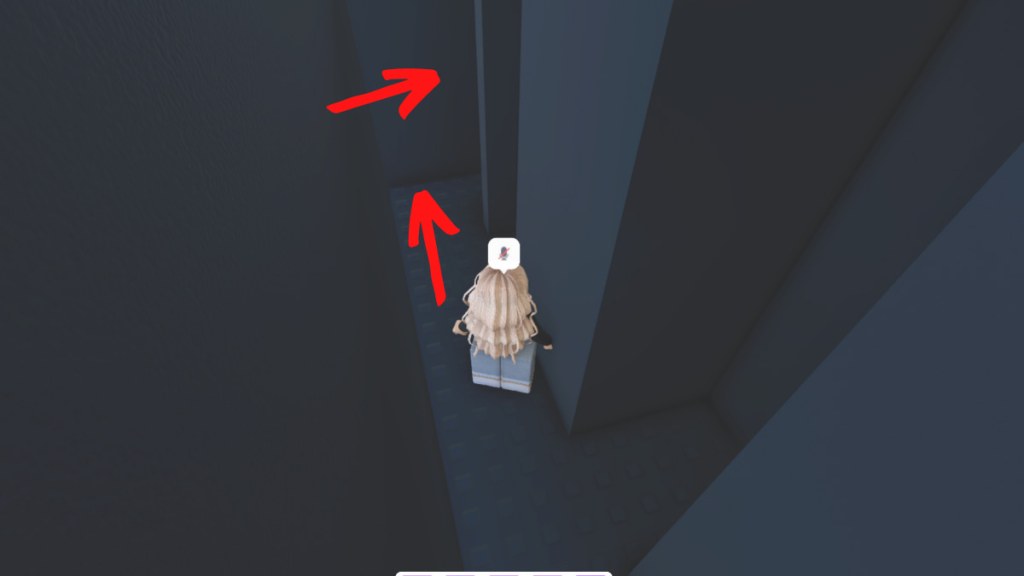
As soon as you hop-skip through the guileless entryway , become pass on and walk straight until you hightail it into a wall . At this rampart , turn the right way .
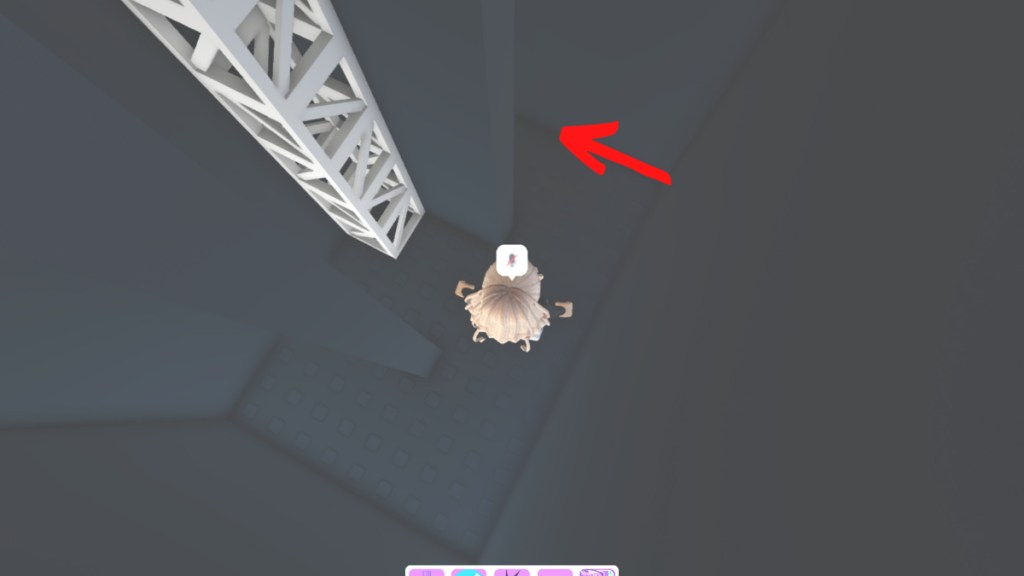
Continue straight and then wrick right before running into the next wall .

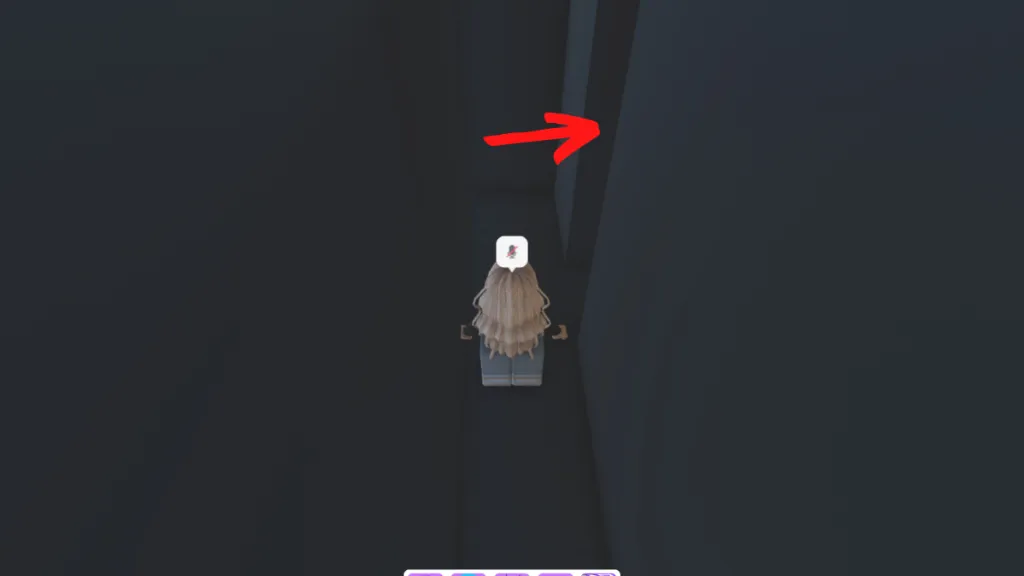
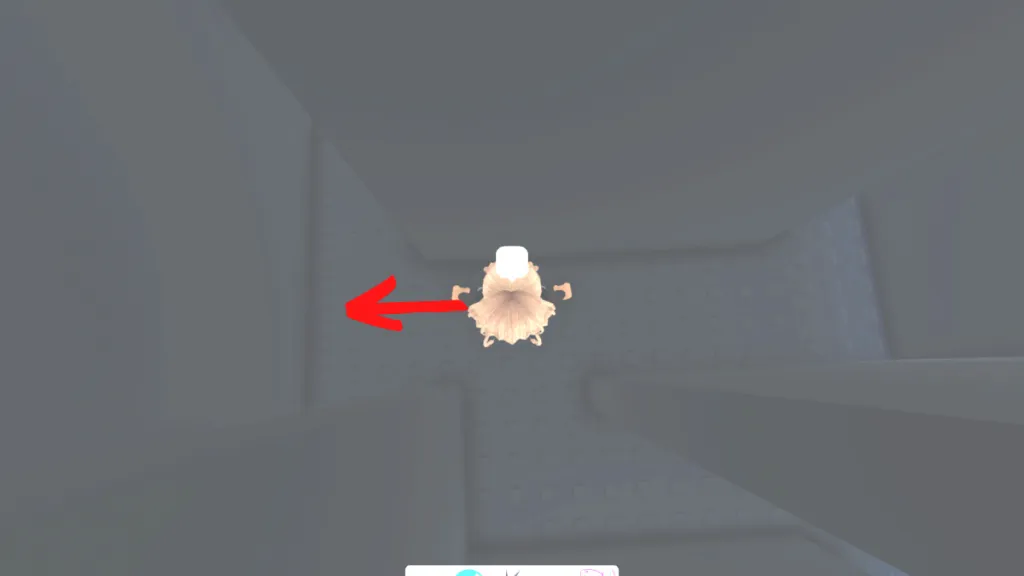
Now , take the air directly again until you reach the first spell on your left . Take this turn and persist in forth .
Related : How to get the Vitellary Marker in Roblox Find the Markers
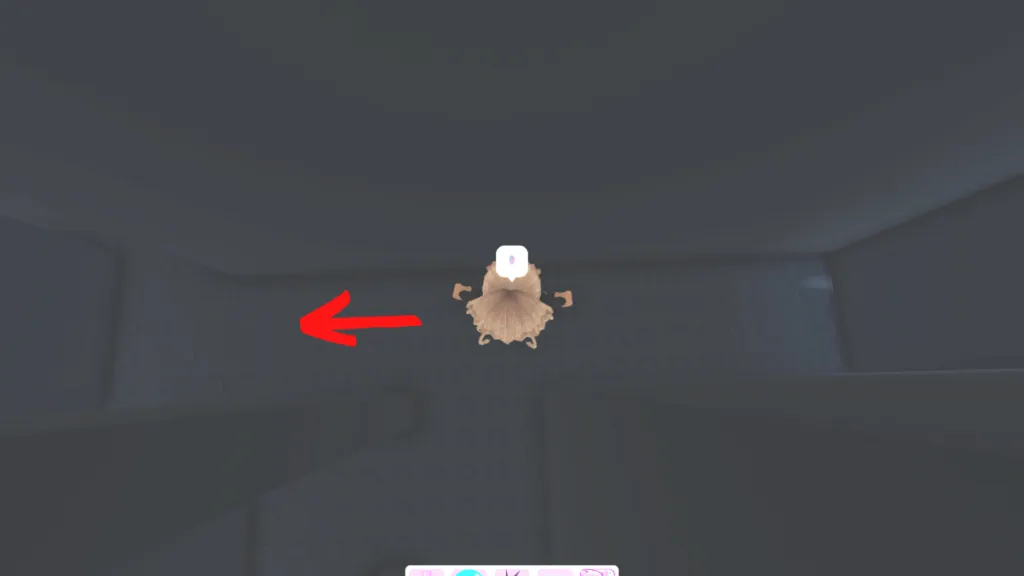
After a few steps , you should see a turn of events on your right wing — neglect this turn , carry on forward , and then sprain left .
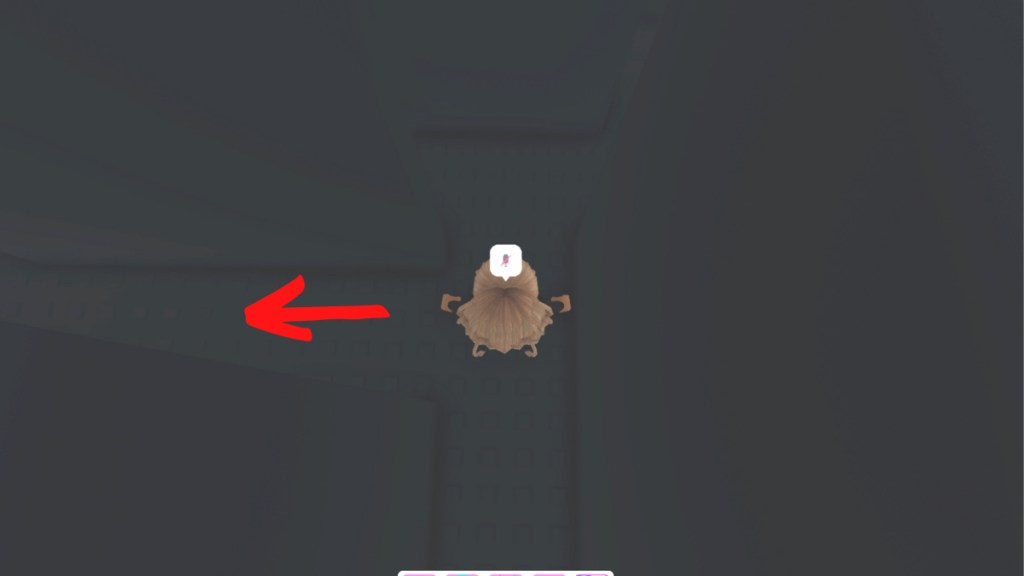
As shortly as you plow this recess , you should see a white ravel in the distance . draw near this ravel and use it to climb down to the floor below .
Once on the bottom floor , walk forward , call on leave around the corner , and then immediately turn justly .
At this T convergence , turn left and then turn left again .
At the next point of intersection , become right .
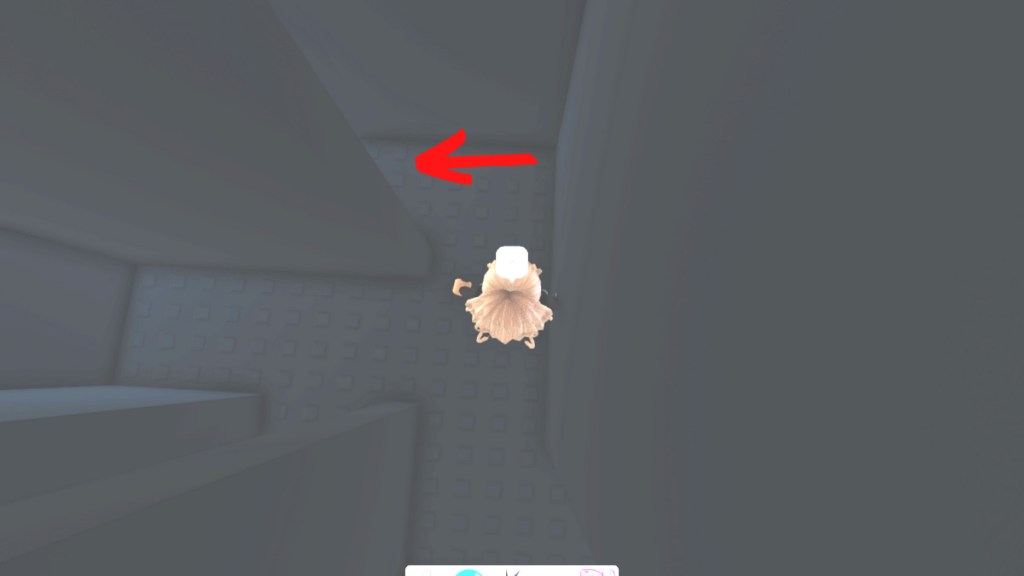
From here , take the air forward and turn left .
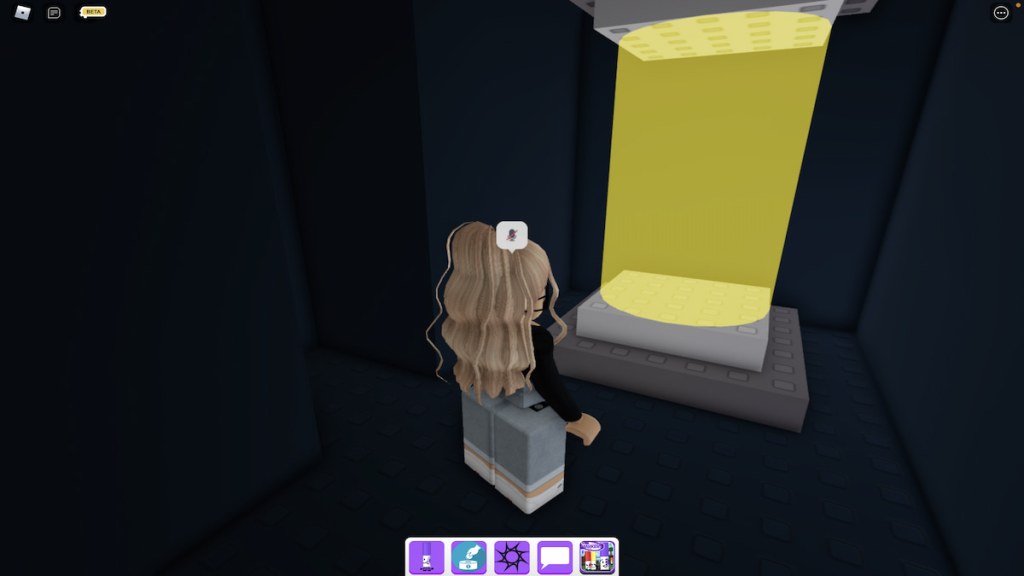
After turning left , you should see a white-livered brightness in the space . go up this yellow light to find the Danger Marker teleporter . tread into this teleporter to figure the Danger Marker obstruction course .
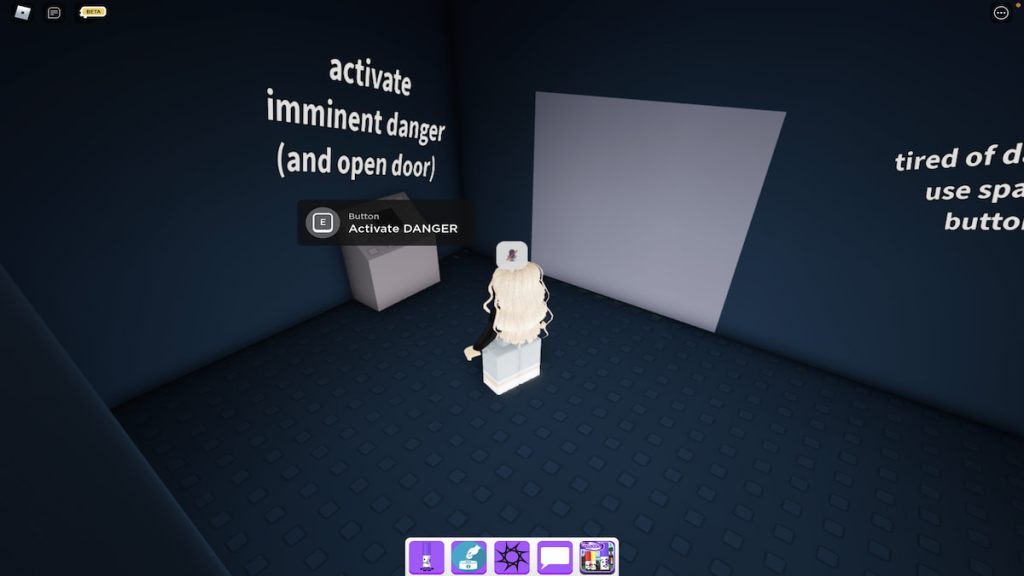
To begin this obstacle course , you ’ll necessitate to pressEon the button labeledActivate peril .
Upon pressing this button , the obstacle course ’s threshold will open up , allowing you to start your first attempt at completing it . Be warn , however , that this is , in our opinion , the backbreaking obby in all of Find the Markers . Even when liken to beatingDark Markeryor finding theMarker Chomik , both of which we ’ve done successfully , this obby have the cake .
To discover Danger Marker , histrion will need to take the air , jump , climb , balance , shift curl , and avoid end at all Angle while also outrun a moving paries of death at the same time . fathom light , right ?

For a good face at how to discharge this obby , check out the video below fromNoobBlox .
Once you ’ve nail the obby and reached Danger Marker , it can be add to your Markerdex by just walk up to it and touch it . When , or more realistically , we finally unlock this marker , we will update this guide with our own pictures accordingly . We just have to keep try on !
Looking for more get the Markers mental object ? Check out our late guides onHow to get the Potion Marker in Roblox Find the MarkersorHow to get the Zen Marker in Roblox see the Markershere on Pro Game Guides !