Shoot and wrick !
Throughout the landscape painting of Horizon Forbidden West , there are several unique Cauldrons spread across for players to search . Each Cauldron is its own exceptional character of tangle with machine and forgotten tech . At the end of each one , instrumentalist will have to defeat a large genus Bos machine and then receive nullification for a couple of the machines . TAU is the Cauldron within Plainsong , and it offers some interesting challenge .
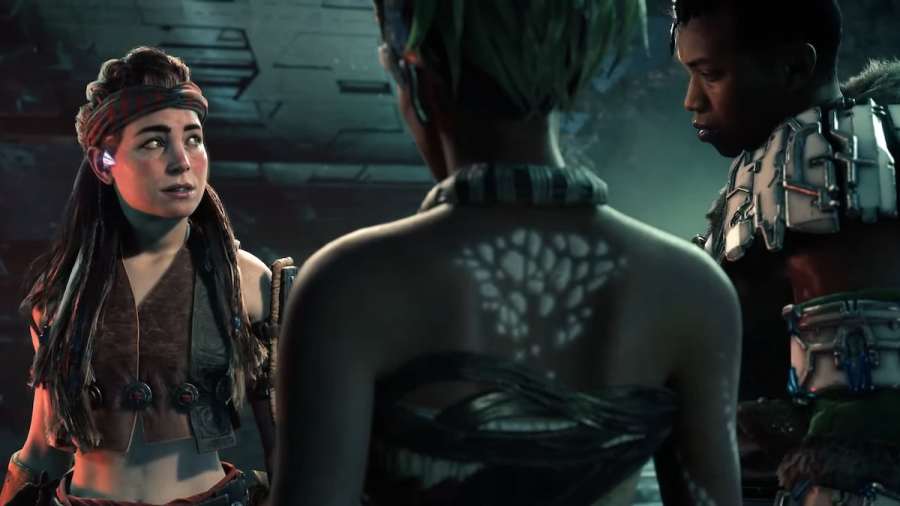
Entering the TAU Cauldron
histrion willenter the TAU Cauldronas the chief story questThe Dying Lands . This is the " Sacred Cave " as Zo and the Utaru call it . Players will need to crawl through the cave space off to the left of the wall of energy to find a proper entering . After the cutscene , role player will get in the Cauldron .
Through the entrance andoff to the far right , instrumentalist will run into a span ofLeaplashersthrough another wall of energy . Be deliberate not to be crowd into the wall as it will continuously shock Aloy . Make certain to take advantage of their acid case shot and weak point to defeat them fleetly .
Related : All Gauntlet Runs in Horizon Forbidden West

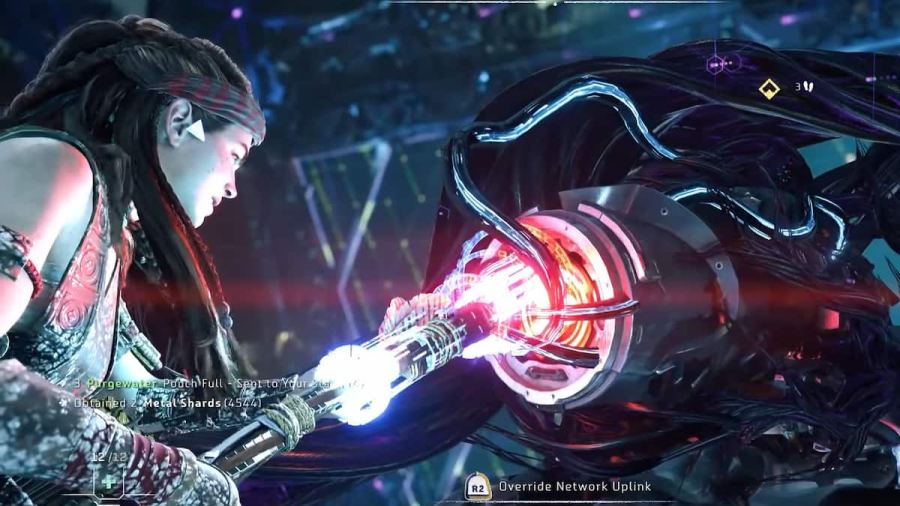
Override the first Network Uplink
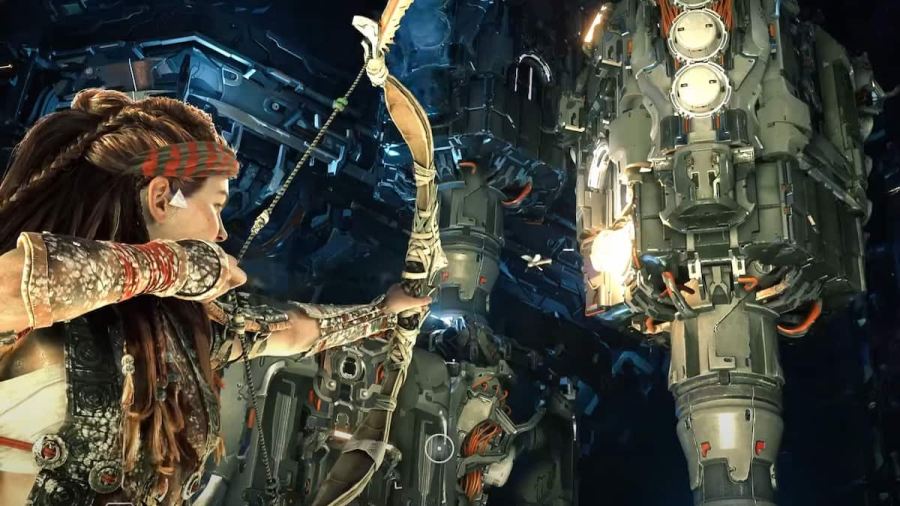
This Cauldron has a very interesting mechanic that Aloy must complete for reach each of the web Uplinks . This requires a bit of timing but is somewhat mere . Once players reach the top of the ramp , they will be stuck with nowhere to go . A couple of rotate mainstay to the left are what actor will require to sharpen on .
For the lowest pillar , the great unwashed can wait from this area toshoot the bottom reel part when it light up . It will only light up for a brusk clip and will only be on while it stops on this side . This will lower the first of the pillar .
The rest of the pillar work about the same . player can quell here or jump up on the tower they ’ve bump down to arrive at the next two pillar ’s release . If they are a bit too fast to hit , just apply Aloy ’s aim focus to slow up down prison term . afterwards , climb up the three pillarsto reach the next part of the puzzle .
While place upright on the loose - up floor push , the next set of pillars will act like the old set . However , players can not shoot this band from here . To the right of the release , thespian can finda slightly break window . bang up or scoot the last of the glassin order to get inside . Players will then postulate topush the octagonal crateful inside out of the get-up-and-go wallopposite the window they entered through .
Then jump back out the window topull the crateful onto the button . This will allow players to pip the next bent of pillars like the last . Then climb up them to extend to the next set . Simplystand on the young idle - up buttonhere toshoot this last solidification . Finally , climb up these to strive the first of the three internet Uplinks .
Override the second Network Uplink
override the first connection Uplink will open into a large erectile room . Go over to the far left tostart alternate across . Some of these spots will only be available to support on for a brusk full stop of time , so watch out . On the other side , run to the far remainder and climb up the arm to reach the level above . This is where the next connection Uplink to overturn .
Override the third Network Uplink
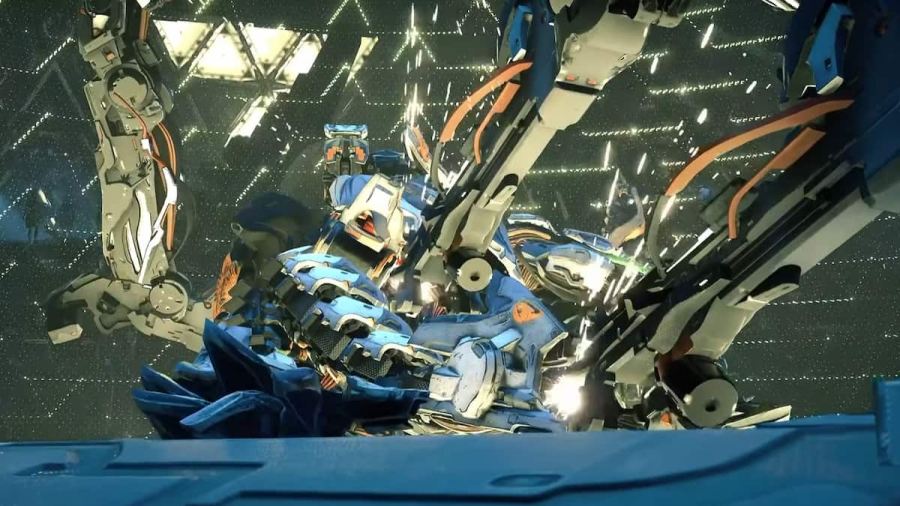
After the bridge deck is made for Zo and Varl to catch up , the player can head through the next triangular archway . Inside , HEPHAESTUS is chanting while crafting his political machine . Once the three have made their way inside , it ’ll be clear that Aloy canuse her sailplane to stand out the gap overthe flying machine and lava .
Landing here , players can then head further in and climb up up the release when it opens . On this upper degree , player will need toclimb the pillar to the rightto the next platform above . From here , player will ask to parachute on one of the vanish motorcar passing by . expect for Aloy to say when the histrion needs to drop down .
From here , players will need toglide across to the chopine off to the right hand . Then run through the overt doorway in the energy carapace to touch the third connection uplink . This will create another bridge deck for the two companion to catch up with Aloy .
Related : All Machine Weak Points in Horizon Forbidden West
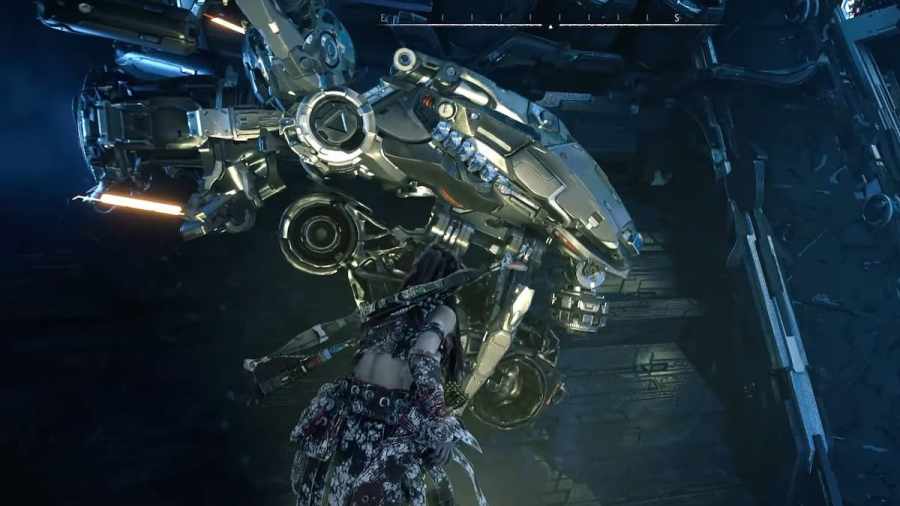
Defeat the Grimhorn
The last connection Uplink will afford a hall into the Repair Bay Core . Inside , actor will be able to present the new crafted Grimhorn , made from the Utaru ’s miss Land God . A cutscene will play where they babble out everything over together before attack the Grimhorn .
leap down into the arena , andscan the Grimhornto get a good idea of its weak points and what it is weak to . While not having many weakly item , player can stillfind several points on the eubstance worth targeting . Once the thespian is aware , they should shift out their weapon system and equipment to give them the best chance again the Grimhorn .
Grimhorn Stats and Parts
subsequently , players will need to reverse the last of the web Uplinks to unloose the Grimhorn . Remember tohighlight the pieces of the enemyin order to know what their feeble item are . The biggest affair to watch out for are the Grimhorns charges and its two launchers on its back .
Once players have defeated the Grimhorn , the concluding override becomes useable . Overriding this will grant Aloy the power to overrule a couple of Modern machine such as the Plowhorn , and Bristleback . After complete this thespian will then just demand to launch the Cauldron .
For more Horizon Forbidden West content , be sure to see outWhere to find the Legendary Armor in Horizon Forbidden Weston Pro Game Guides .