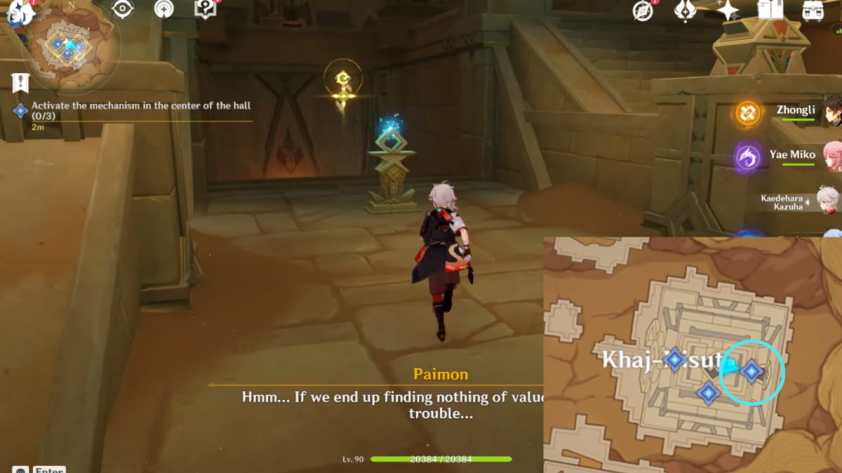
Release three Primal Embers to finish this objective lens .
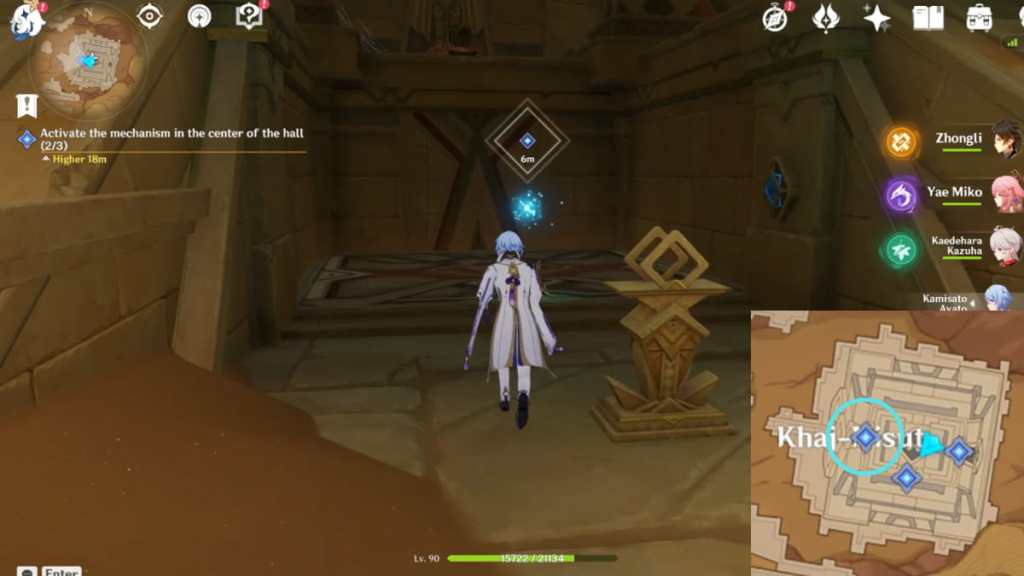
Dreams Beneath the Searing Sandis the fourth part of theGolden SlumberWorld Questline , detail the archaeological team ’s expedition to the Khaj - Nisut . One section involves set off the mechanism in the center of the Radclyffe Hall by solving three puzzles , which you’re able to do in any order .
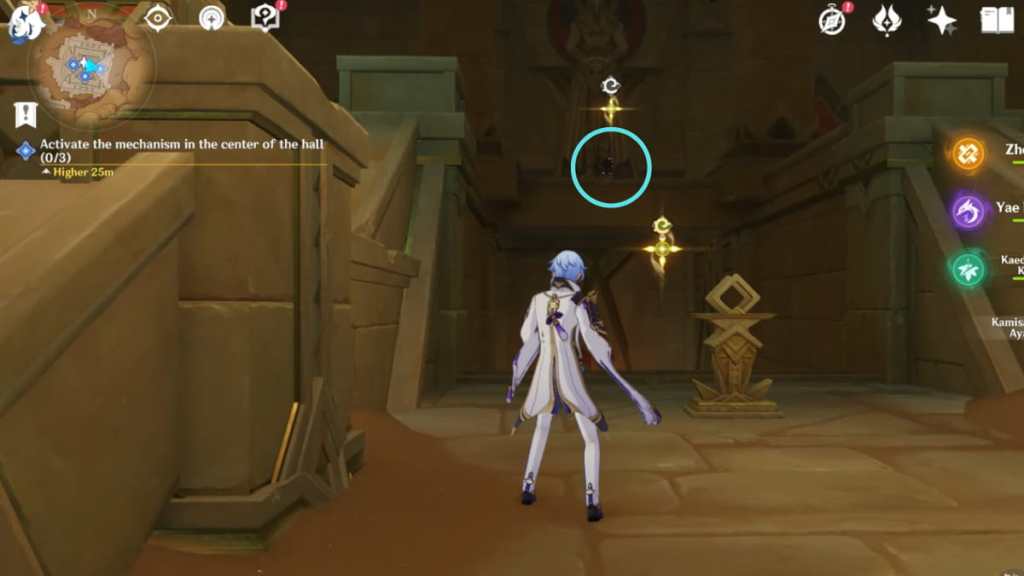
How to Activate the mechanism in the center of the hall (0/3) in Genshin Impact – Dreams Beneath the Searing Sand
After interacting with the Control Unit , you ’ll be expect to set off the mechanism at the center of the hall . This can be done by draw three Primal Embers to their posts to unlock their corresponding Control Units and then interacting with the latter to complete the puzzle .
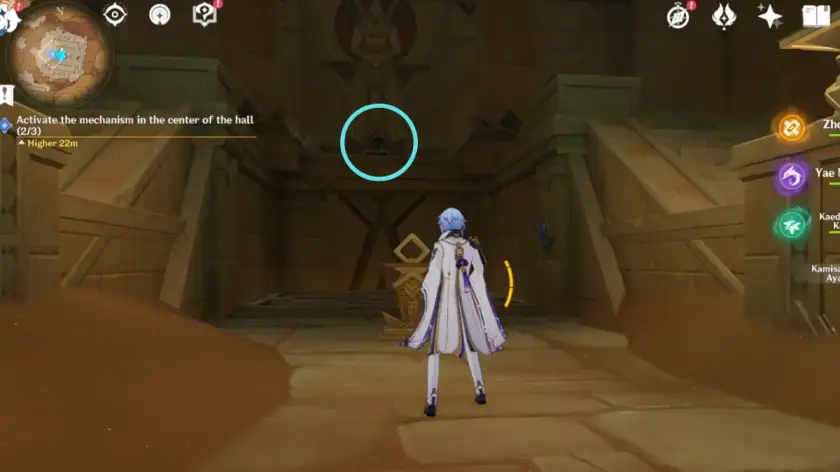
First puzzle
Once you ’re back in the main elbow room , look upto find that theControl Unitabove the first gimmick has been unlocked . rise the stairs or use the Four - Leaf Sigil to propel yourself towards it andinteractwith it to fill out the first puzzle .
relate : Genshin Impact Good Medicine Is difficult to Come By Sumeru Daily Commission guide
Second puzzle
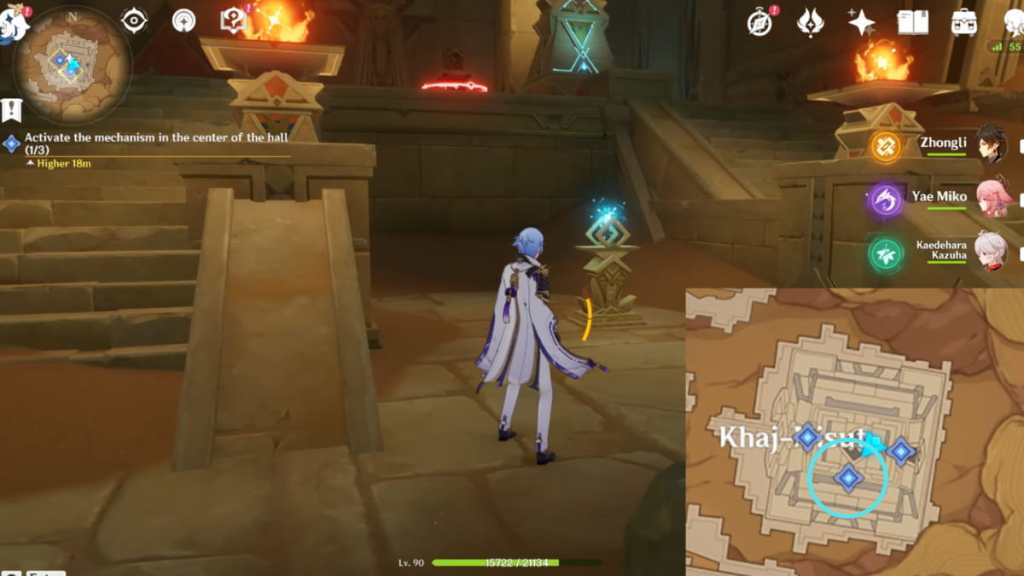
Head to the sphere circle in the image above to find the 2nd twist . Interactwith it to release a Primal Ember , which you must follow toward the elbow room ’s other side . It will lead you to a flooring below , toward a room with a Primal Construct . Defeatthe Primal Construct to proceed .
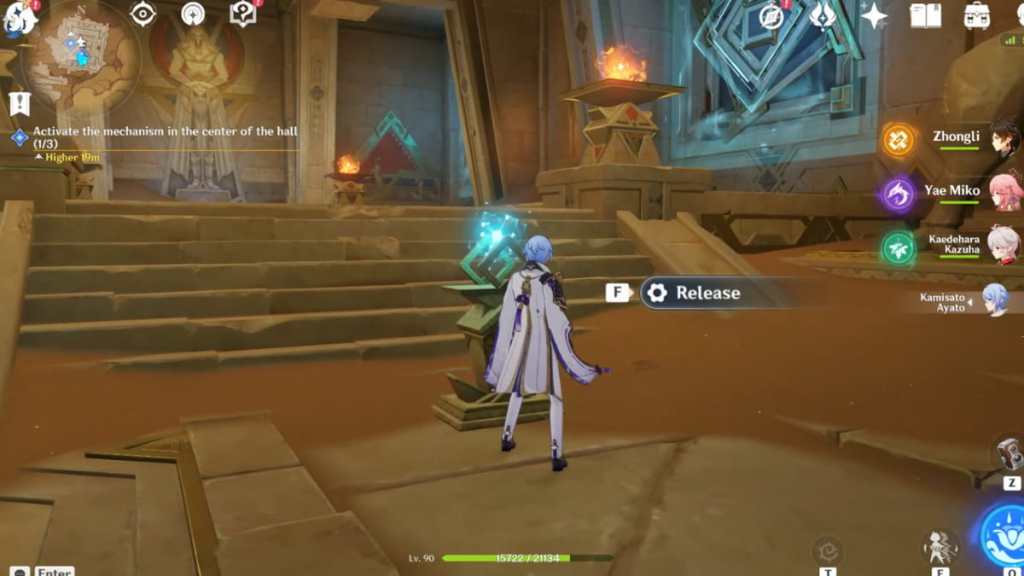
The next part is sly , as you ask to be careful about timing . You must release the Primal Ember from the twist once the turgid Fan Blades areturned off . So wait until there ’s no air bumble out of the first Large Fan Blade , then free the Primal Ember . You must ensure that the Primal Ember flies upwardbeforethe Fan at the border blows air upward . Otherwise , the Primal Ember will return to the machine , and you need to clock its release again .
Related : Cyno ’s particular Dish Recipe and how to cook it in Genshin Impact

Third puzzle
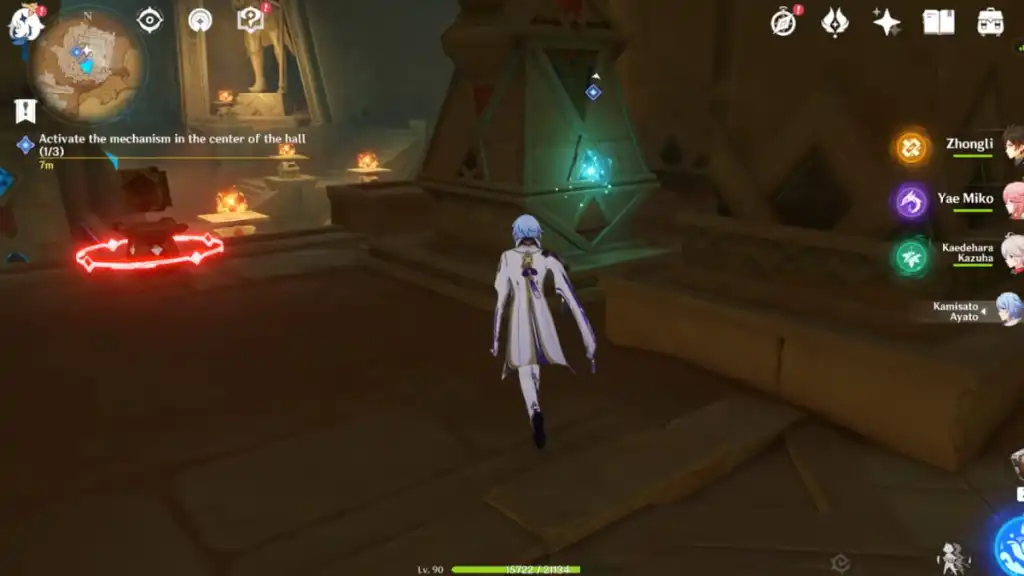
manoeuvre to the area circle in the persona above to rule the third twist . Interactwith it to release a Primal Ember , which you need to surveil toward the elevator in front of it . Then interact with theelevatorto go to a low-toned floor . The room is take with barriers , so follow these directions to make it to the other side .
First , turn leftuntil you experience the bound of the barrier , then moveforward . Stick to the slightly conjure up floor in the center of the way andturn rightin between the barriers at the top and bottom . Keep move until you ’re at thevery rightof the elbow room , then moveforwardto recover the equipment . Interact with the equipment to expel the Primal Ember , which will go to its post .
Turn back and interact with theelevatorto channelize back to the upper floor , then climb the stairs and interact with theControl Unitto complete the teaser .
mark out our scout onHow to Look for the materials that Kayvan needs in Genshin Impactto fill in a Sumeru Daily Commission .