Team up with Eremites in this dizzying ruin exploration pursuance .
Lost in the Sands is the first pursuance in theGolden Slumber World Questline , an authoritative serial that helps unlock plenty of underground ruin and geographic expedition mechanics in the Sumeru desert .
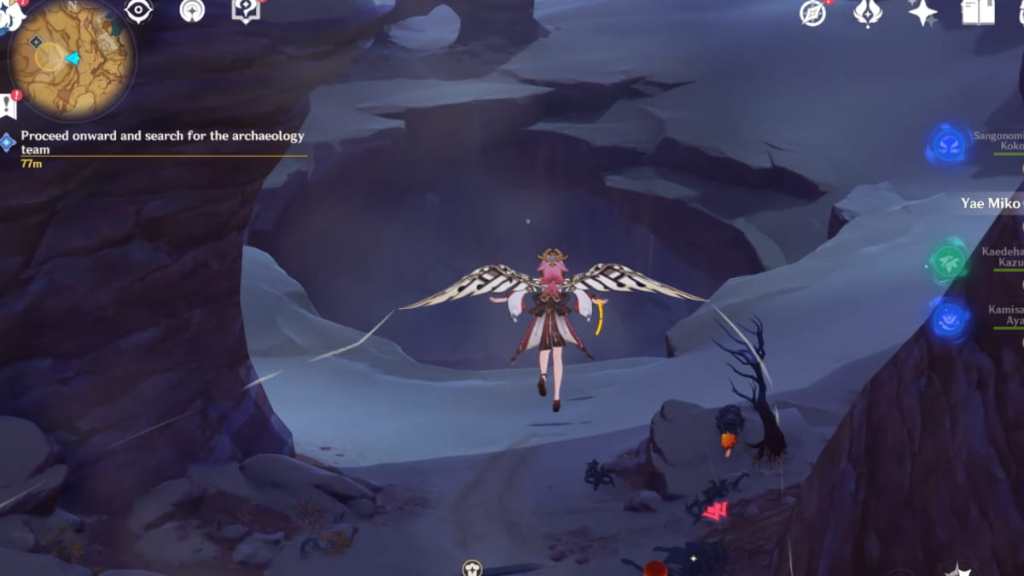
In this World Quest , a merchant from Monstadt nominate Bonifaz will take you to search for his familiar , Nachtigal , who accompany a researcher and his two mercenaries deep into the desert .

How to unlock the Golden Slumber Sumeru World Questline in Genshin Impact
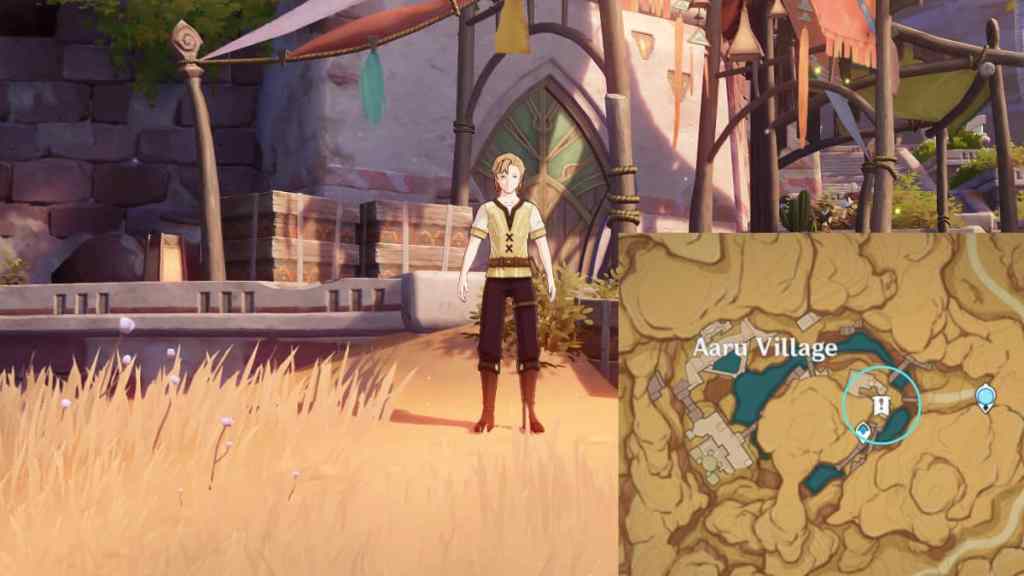
To unlock this World Quest , you musthead to the Sumeru desertthrough Caravan Ribat . Once you reach Aaru Village , you ’ll spot an NPC advert Bonifaz with a bluish ecphonesis bell ringer over his head . Interact with him to initiate the Golden Slumber World Questline and the first pursuit in the seriesLost in the Sands .
How to complete the Lost in the Sands Sumeru World Quest in Genshin Impact
The first part of this quest is moderately straightforward :
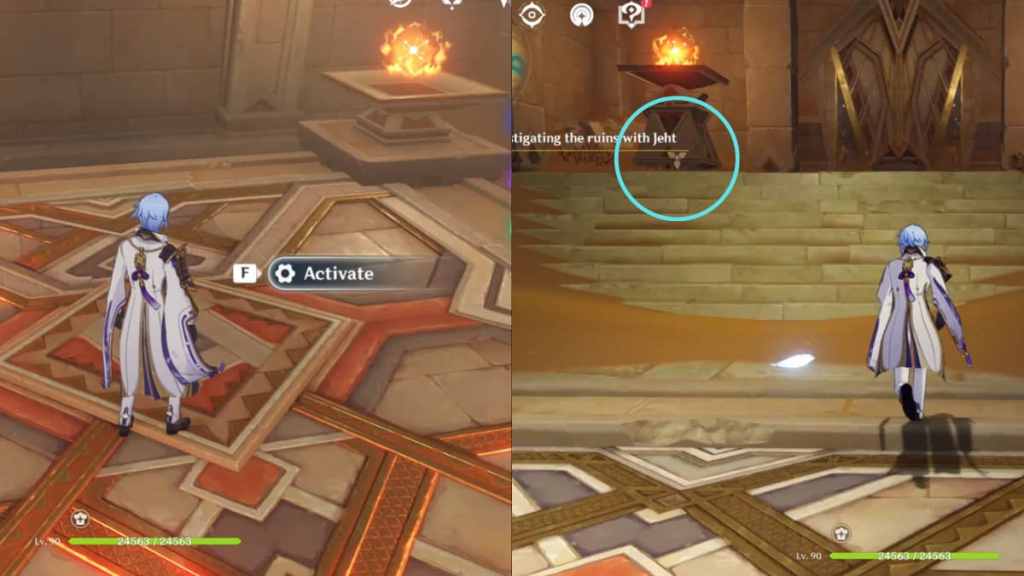
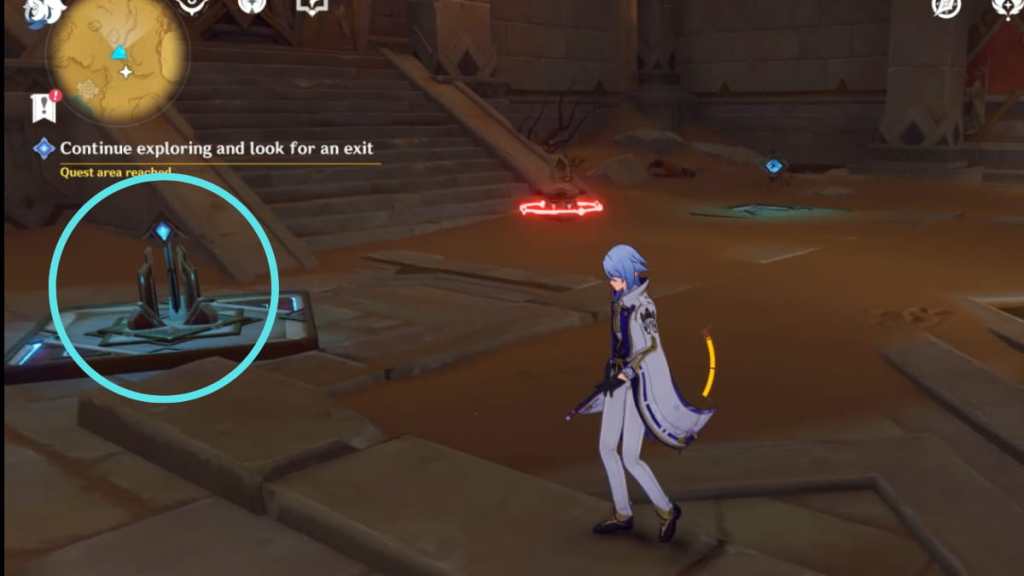
You ’ll find a locked gate at the end of the corridor with a Loose Sand Pile in front of it ( pictured above ) . Use any Anemo character toapply Anemo to the Baroness Dudevant , uncover a mechanics . Interact with the mechanics to trigger it and unlock the logic gate .
Related : Genshin Impact link the Eremites and Embrace a grand New Life ! World Quest guide
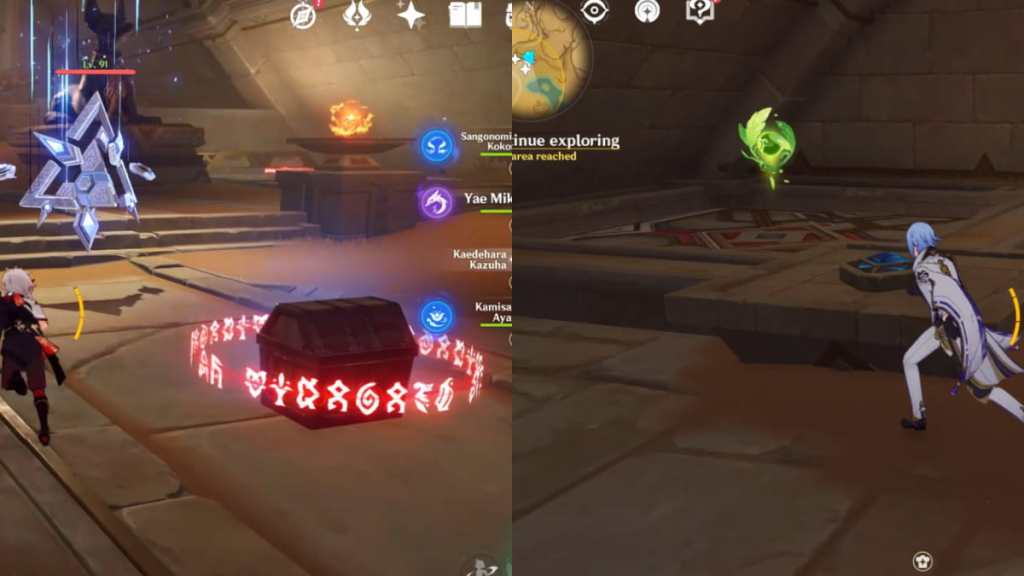
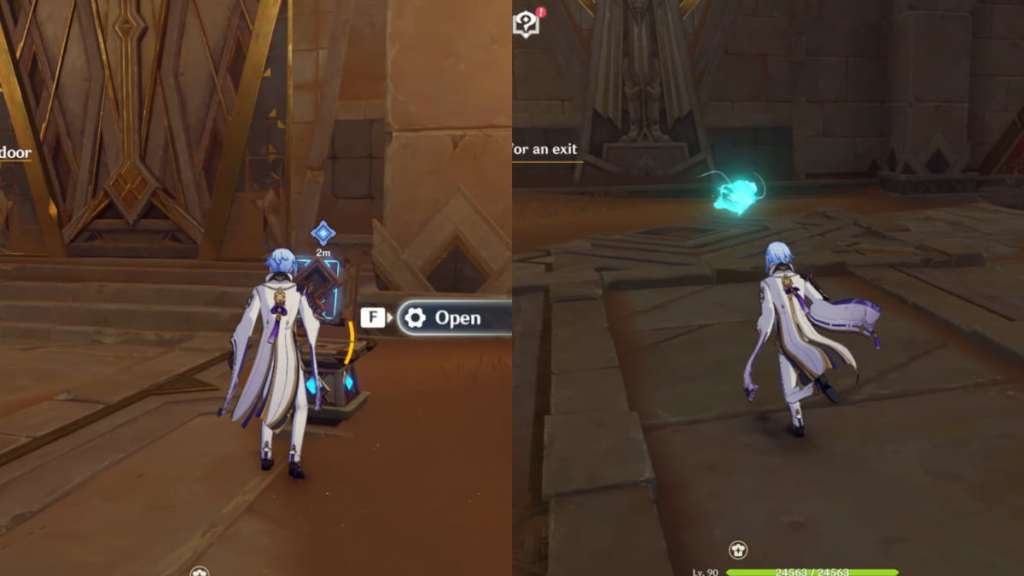
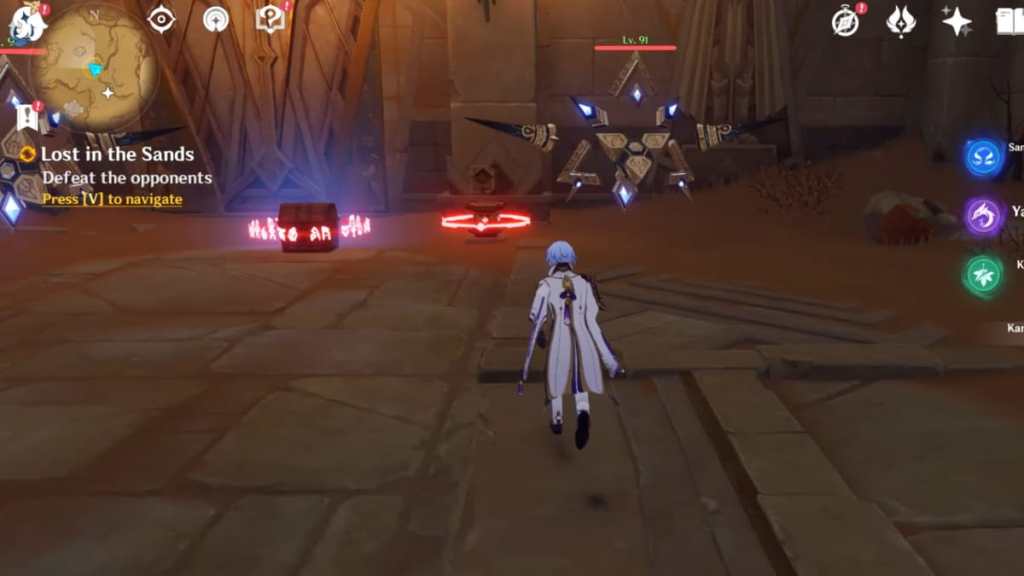
Upon insert the ruin , a Primal Construct will spawn . Defeat it to start the gate leading further underground . to boot , you could loot an Exquisite bureau on the leftfield after using Anemo to remove the Loose Sand Pile and a Sacred Seal on the right . After looting , point further into the ruination . Although it ’s optional , we highlyrecommend follow the Seelieas it will guide you to the path required to go on with the quest .
ensure tointeract with the mechanismto unlock the gate so you do n’t get stuck at a drained end . The Seelie will eventually lead you to a room with chemical mechanism that shoot out Pyro , but you do n’t have to worry as they wo n’t deal major damage . Once the Seelie settle in its Court , bleed straight out front to find a room with a locked Chest .
A Primal Construct will spawn as you come near the locked Chest . Defeat it to unlock the recherche Chest for you to loot . Then head directly forward and bend leave to determine a Dendroculus float above anelevator . Step onto the center of the elevator andinteract with it to activate it . It will take you one trading floor down , where you must puzzle out a Pyro Torch puzzle .
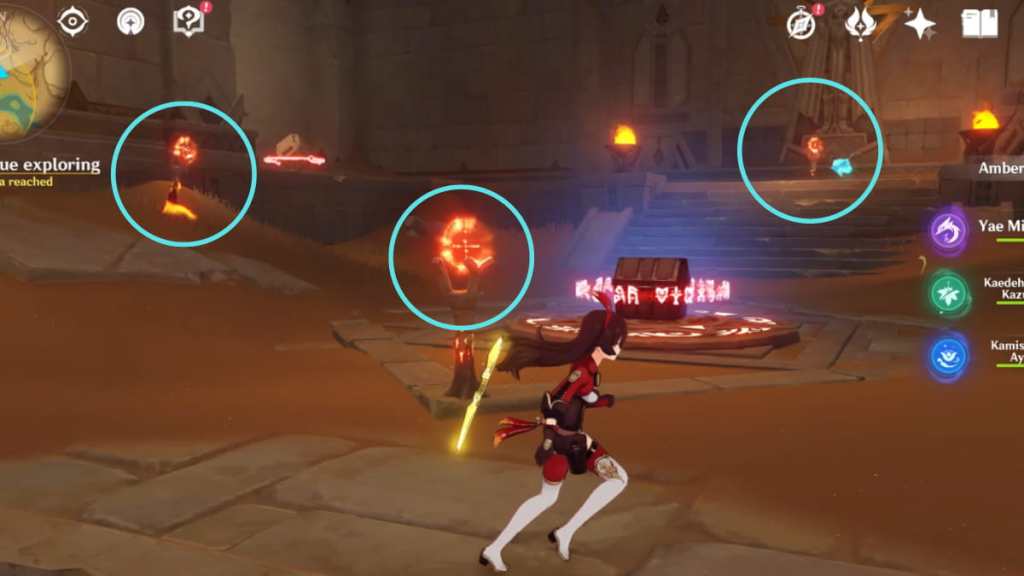
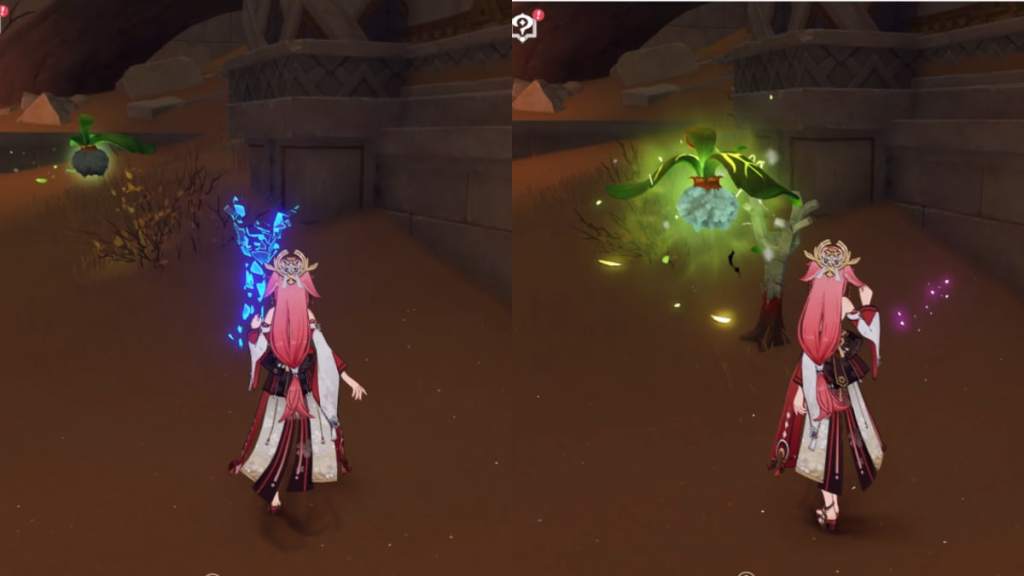
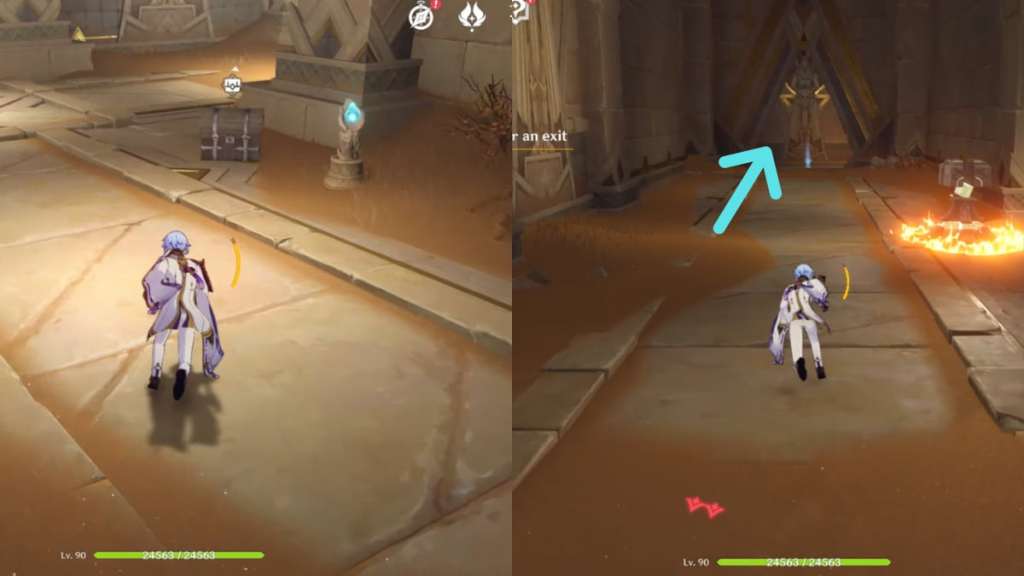
There are four Pyro Torches in the way , which can be activated in any order . However , start by activate the three pictured above on the room ’s compass north , west , and south face . The one on the right wing is a Ghost Torch that you need to aerate with the help of the floating Tri - Yana Seed .
Waituntil the Tri - Yana Seed is beside the Ghost Torch , and then attack it with anyElectroskill . This will drive the Torch to revivify , allowing you to activate it using Pyro . Once all four Torches are activated , an Exquisite Chest will engender at the center of the room . Next , you mustfollow the Seeliewaiting for you at the bound of the room . It will guide you to the front of a locked logic gate , which you’re able to unlock byinteracting with the chemical mechanism .
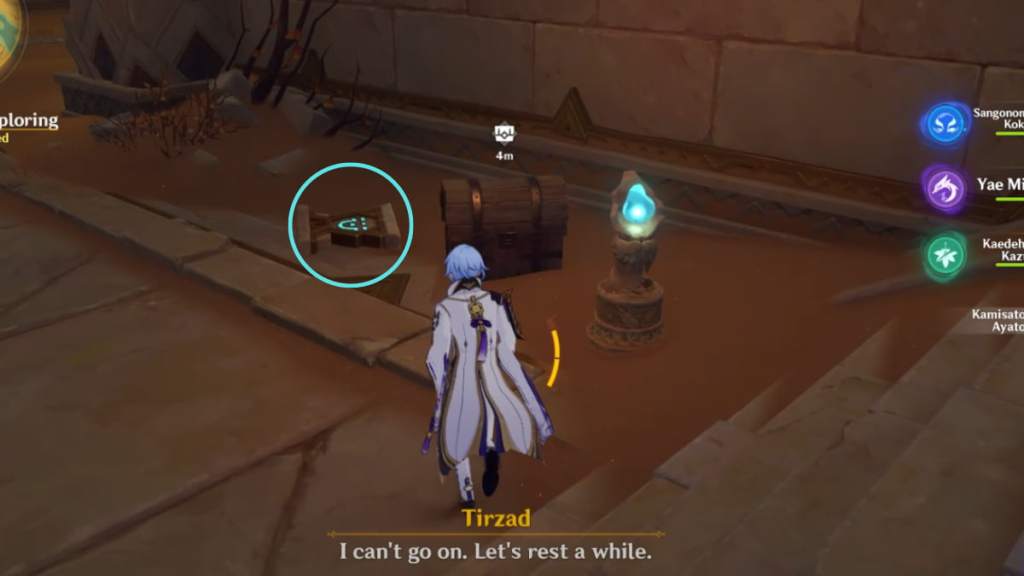
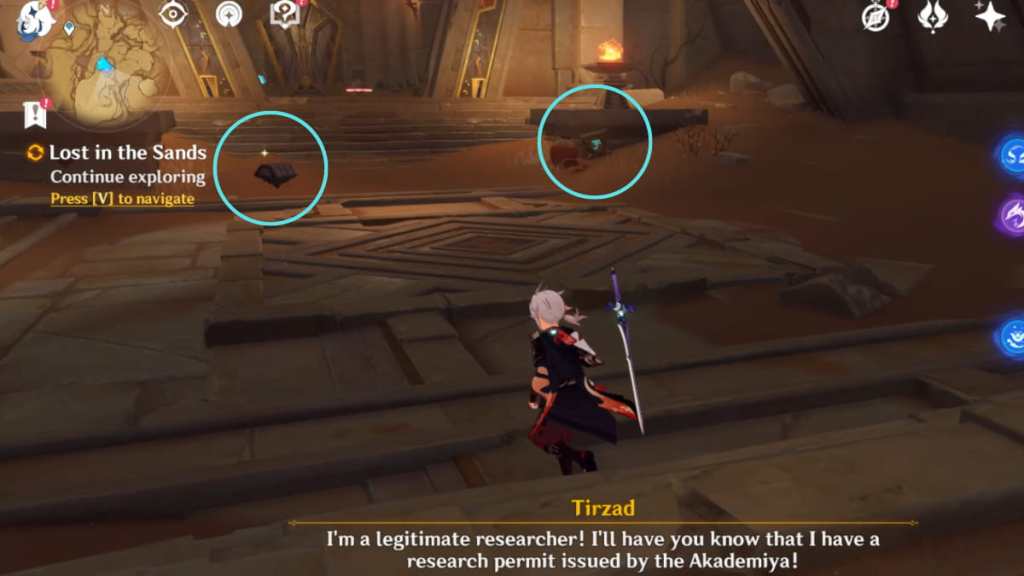
Keep following the Seelie until it reaches its Court . Pick up the secondSacred Sealbeside the Common Chest . Once that ’s done , keep going forward until you ’re mechanically roped into a conversation with Jeht , Tirzad , and Jebrael .

Related : How to look into the Elemental Monuments around the hospital in Genshin Impact – King Deshret and the Three Magi
channelize to the side and climb the stairs to find an elevator . Step onto the center andinteract with it to Activate . The elevator will take you to a higher floor , where you ’ll find a small motorcar above a staircase . Interact with the machineto make friends with it and unlock the Wonders of the World Achievement calledClose Encounters of the Which Kind?After that , employ the elevatoragain to return to the previous storey , where Tirzad and Jebrael are hold off .
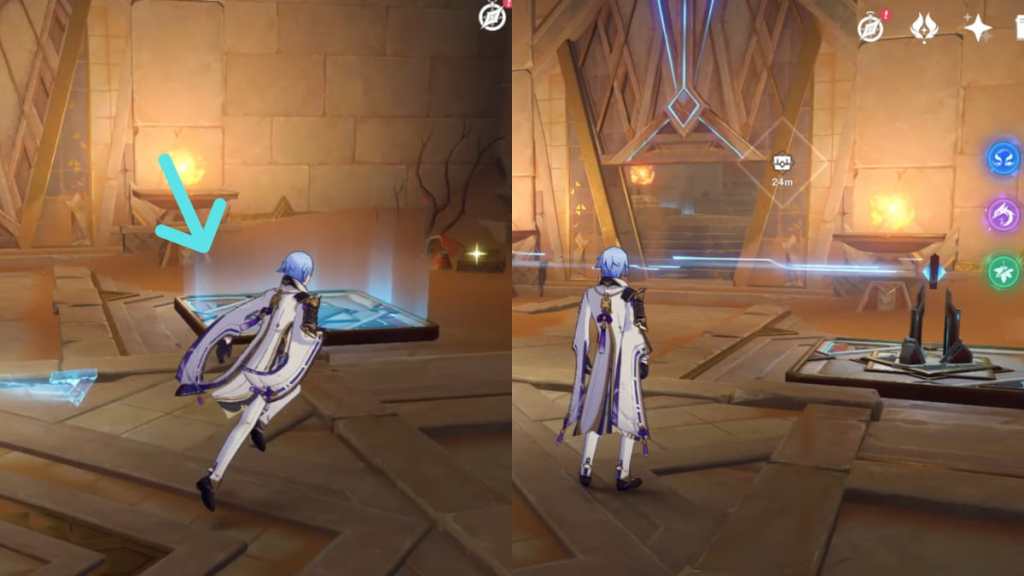
After parting ways with the Seelie , keep following the path until you see a blue light directly in advance ( pictured above ) . In the next way , you need to solve a Replicator Keystone puzzle .
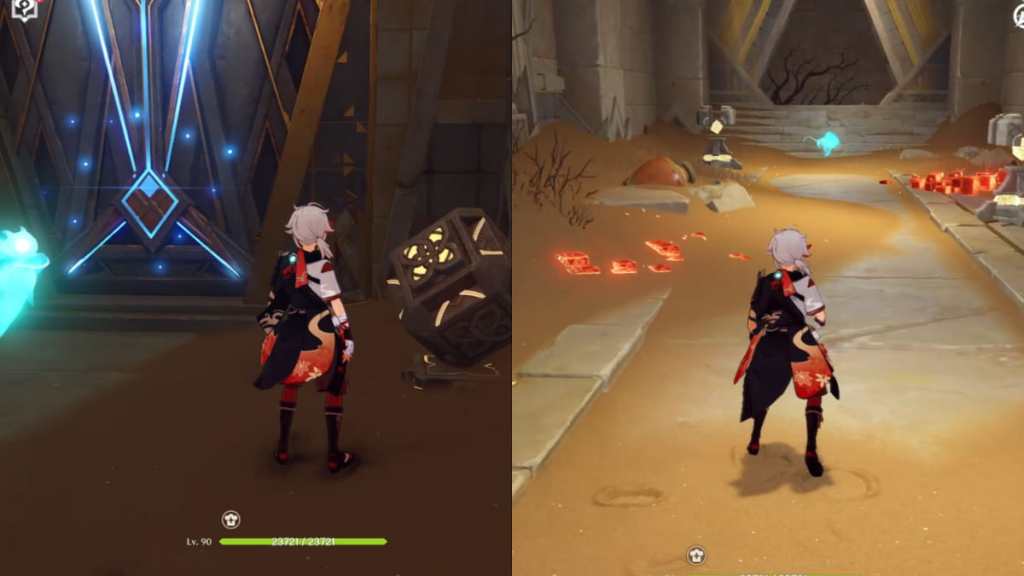
To resolve it , you involve toapproach the Forged Prismal Light(floating blue triangle ) so that it ’s floating around you . Then step onto theReplicator Keystone(glowing platform ) to draw it to transmute into a gimmick . The gadget will connect with the opposite side through a blue cable , unlock the logic gate in front . Enter the logic gate to rifle anExquisite Chest . Then defeat the Primal Construct to continue with the next mystifier .
The logic behind this puzzle is the same as the previous one . Approachthe Forged Prismal Lightso it ’s blow around you , then maltreat onto theReplicator Keystoneplatform to reveal a equipment . There are two Prism Lights and platforms , so you want to reveal two devices . Then interact with the twist on the left torotate it twiceor until ablue melodic phrase bod , unlock the Control Unit at the centre .
Interact with the Control Unitto open up the gate in front of it . Then enter the way and defeat the Primal Constructs to unlock anExquisite Chestand another Control Unit , which you need tointeractwith to launch the logic gate run toward the issue .
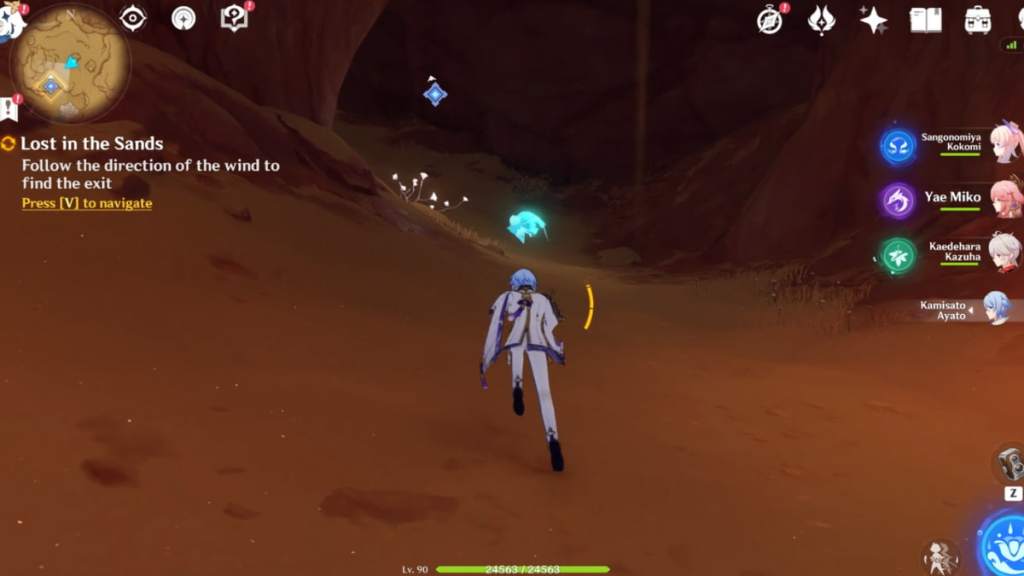
On the last leg of your geographic expedition , you ’ll reunify with Nachtigal , Cyrus , and the rest of the squad , and must comply the route toward the exit . You ’ll chance aSeeliein the locality — follow it to buy the farm the ruin and discharge the World Quest . You ’ll unlock the Wonders of the World Achievement calledExploration in the Desert , and mechanically unlock the next quest in the Golden Slumber questline , AnIntroduction to Indoor Archaeology .
chequer out ourGenshin Impact Secret of the Scorching Desert Mysterious Ruins Domain walkthroughto explore another puzzler - domain ruination in the desert .