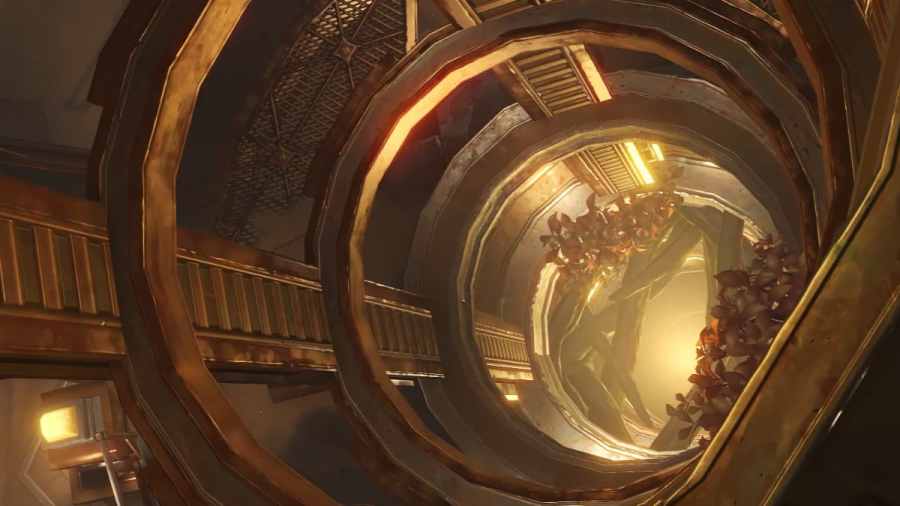
work off the grave Ruin Golem attacking all hold up beings in the Valley of Dahri .
Afratu ’s Dilemma is a Genshin Impact World Quest that you may accept in the Valley of Dahri . In this pursuance , you ’ll meet a investigator named Afratu concerned in stopping the heavyweight Ruin Golem in the Valley of Dahri . This quest is a must if you need to learn bits of Khaenri’ah traditional knowledge .
There are no specific prerequisites to unlocking this quest , but you must have access code to theSumeru desertand lighting up the Land of Upper Setekh to make it promiscuous to complete .
How to complete the Afratu’s Dilemma Sumeru World Quest in Genshin Impact
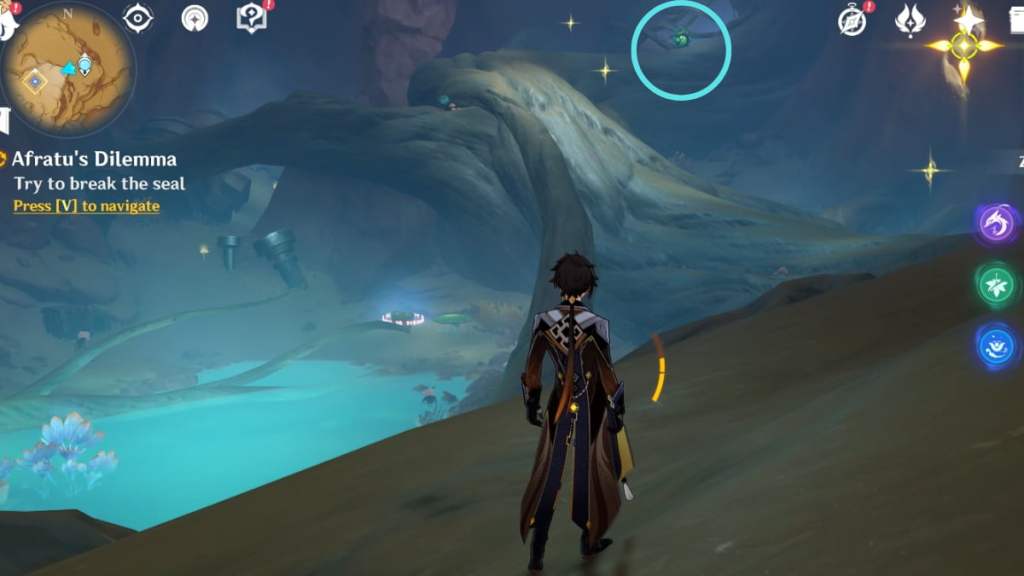
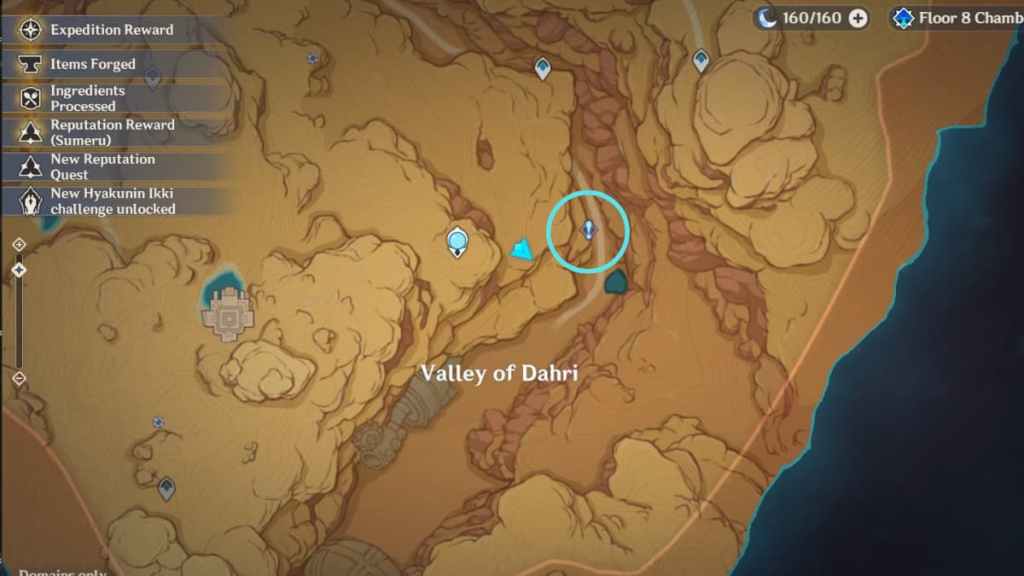
Head to the field circled in the figure of speech below to find Afratu . Once you get confining , a blue ecphonesis mark will look on your World Map or mini - map . Approaching it will automatically trigger the quest .
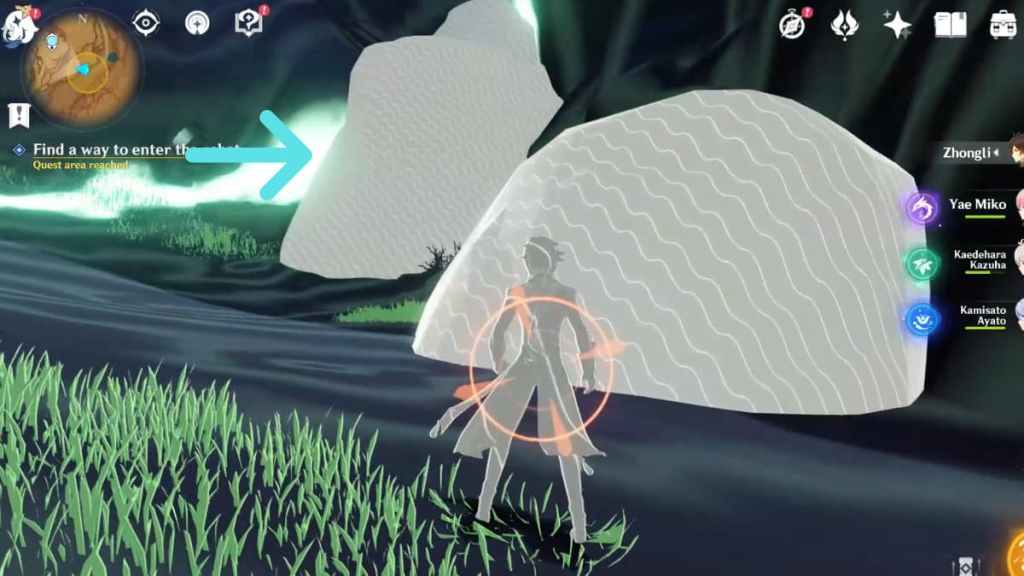
Find a way to enter the robot
After speaking with the research worker , you must approach the glow spot up ahead to begin the next segment . Be careful , as there ’s a Ruin Golem that will direct you and shoot beams — expend a cuticle or skirt to avoid taking massive damage . You need to unfreeze the road by destroying thesecond boulderblocking the track , which you could bump usingElemental Sight . However , the usual bowlder - breaking methods do n’t operate , so you must use yourself as lure to prompt the Ruin Golem to destroy it .
relate : All novel Sumeru Desert Creatures you could trance in Genshin Impact
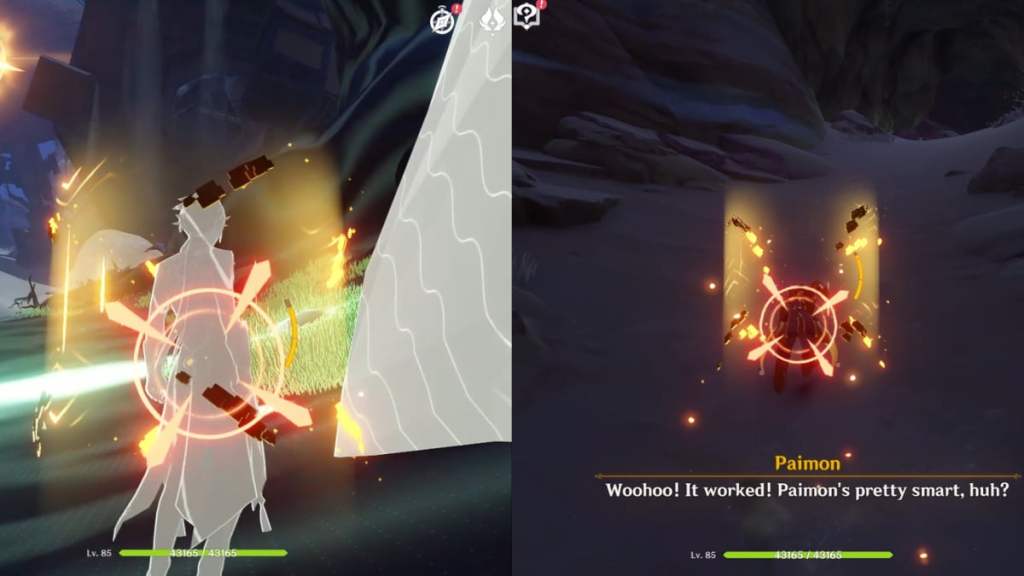
To do so , stand beside the boulderand wait for the Ruin Golem to target you , then dodge before the beam make you . This will force the beam to hit the boulder or else , opening a path ahead .
Try to break the seal
Once inside the cave , utilize the Four - Leaf Sigils to actuate yourself toward the light-green circle at the other side , which is a seal call the Suda ’s Flow . Use aNormal Attackto break it and proceed . Your path will be blockade with another seal ; likewise , use a Normal Attack to crack it .
You ’ll encounter a small Hilichurl ingroup where you may overcome the enemies to unlock a Chest , but this part is optional . To continue the quest , look upand habituate the Four - Leaf Sigils to lead upwards . You ’ll run into ahidden Teleport Waypointthat we commend activating to make it easier to yield to the area later .
cite the quest marker for which direction to go , but do n’t exit the cave , as the entire quest materialise underground . Keep follow the path through the giant tree ramification , or apply Four - Leaf Sigils . You ’ll take on another sealing wax near some kingdom Fungi blocking your way , so get free of it using a Normal Attack . After that , you ’ll find a seal above a Ruin Grader that you could split up using anarcher .
Enter the robot
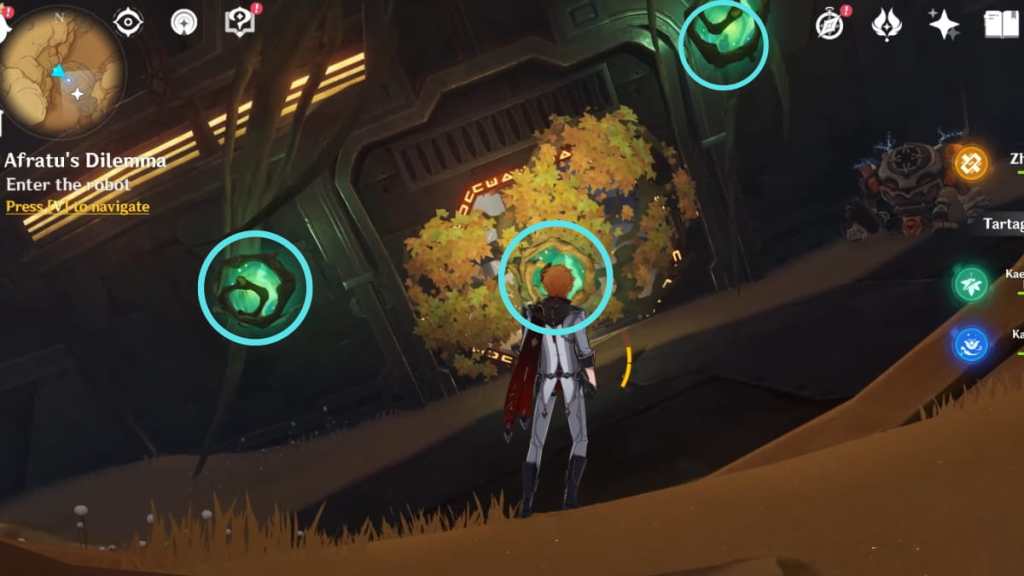
Three seals block the entrance of the robot . only use aNormal Attackto break each seals in any guild and enrol .
Investigate the cockpit
Once inside , habituate the Four - Leaf Sigils to propel yourself to the highest point in the room , neglect the cockpit at the center .
Break Suda’s Flow at three locations
In this segment , you involve to decimate a cluster of seal of approval in three locations . They must be done in theexact orderprescribed below . recall that there are many other seals in the vicinity , but you only need to destroy the one mentioned below for the quest — the eternal rest are optional .
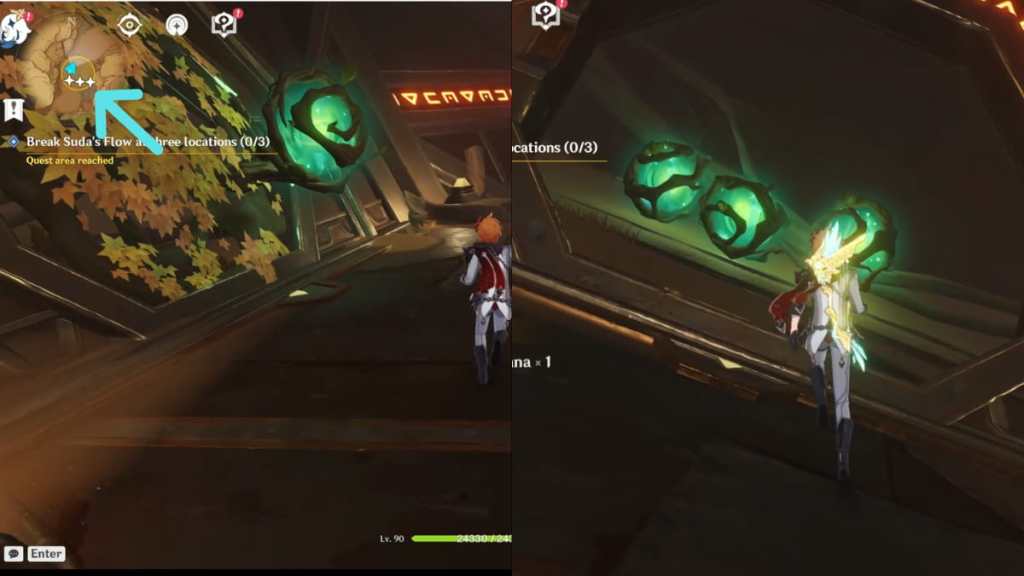
First , head to the lofty area near the high point of the room pictured above ( see the mini - function above for the exact location ) , where you ’ll witness a sealskin in front of a room access . break off the sealusing a Normal Attack to find a elbow room withthree more seal . bust them using Normal Attacks to get rid of the first Suda ’s Flow . This will cue a nearby doorway to open .
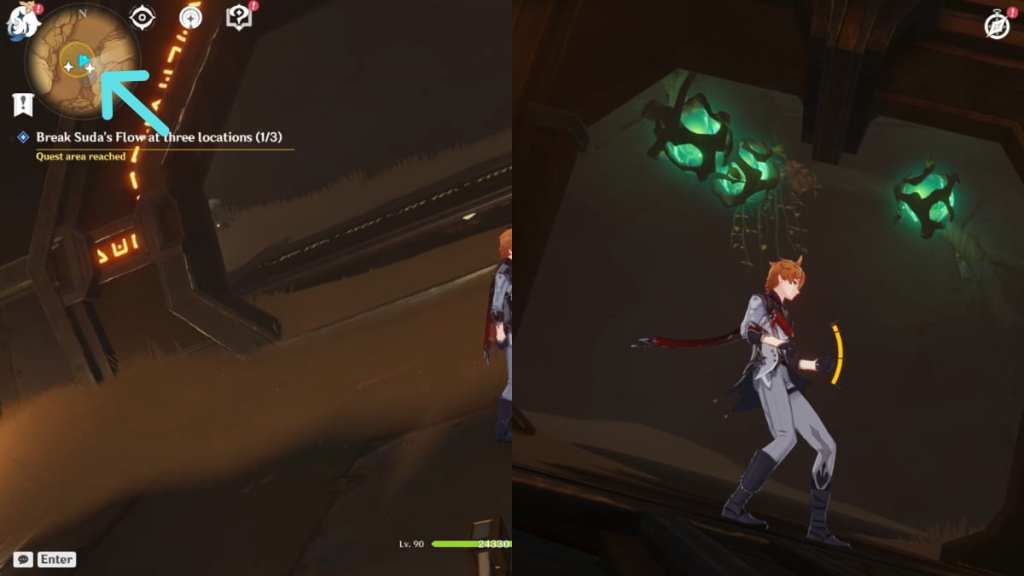
Glide toward the nearby opened door ( see the mini - map above for the exact location ) . Once inside , you ’ll find two seals on the leftfield and right . you could turn left to get disembarrass of a sealing wax and inscribe a room with some foeman you could defeat to unlock a Chest , although this part is optional . To keep with the quest , turn rightand let out the seal blocking the room access . Once it open , look upto findthree more sealsyou must demolish to get rid of the second Suda ’s Flow .
leap down the entrance underneath the cockpit ( be careful of fall damage ! ) to find oneself a glade withsix sealsarranged in a circle . apply Normal Attacks to get free of all six seals in any order to bust the third and final Suda ’s Flow .
relate : How to unlock the Garden of Endless Pillars Domain in Sumeru in Genshin Impact
Enter the cockpit
Anair currentwill appear at the heart of the clearing , allowing you to head back up . Then glide toward the cockpit and enter . Head toward the glowing billet , where you’re able to interact with the control center toTurn Offthe Ruin Golem . Next , you could either return to Afratu to dispatch the quest or stay andcontrol the Ruin Golemto get two wonderment of the World Achievements : What Does This Button Do?andThe Breakthrough .
Report back to Afratu
Once you ’re done , follow the quest marker back to Afratu in the Valley of Dahri to report your progress , completing the World Quest . Doing so will unlock the Wonders of the World Achievement calledReclining on Top of the World .
Check out ourGenshin Impact Dreams Beneath the Searing Sand World Quest guide – Golden Slumberto complete a massive World Questline in the desert .